


Unbelievably chocolatey brownies with an oozing gooey Biscoff centre. It doesn't get any better than this. Get ready to meet your new favourite brownie.
Oh my goodness, the massive hit of chocolate combined with warm, melting Biscoff spread is absolute heaven. These brownies need to be tasted to be believed they really are the ultimate treat!

It's no secret that I love incorporating Lotus Biscoff AKA Cookie butter into my recipes.
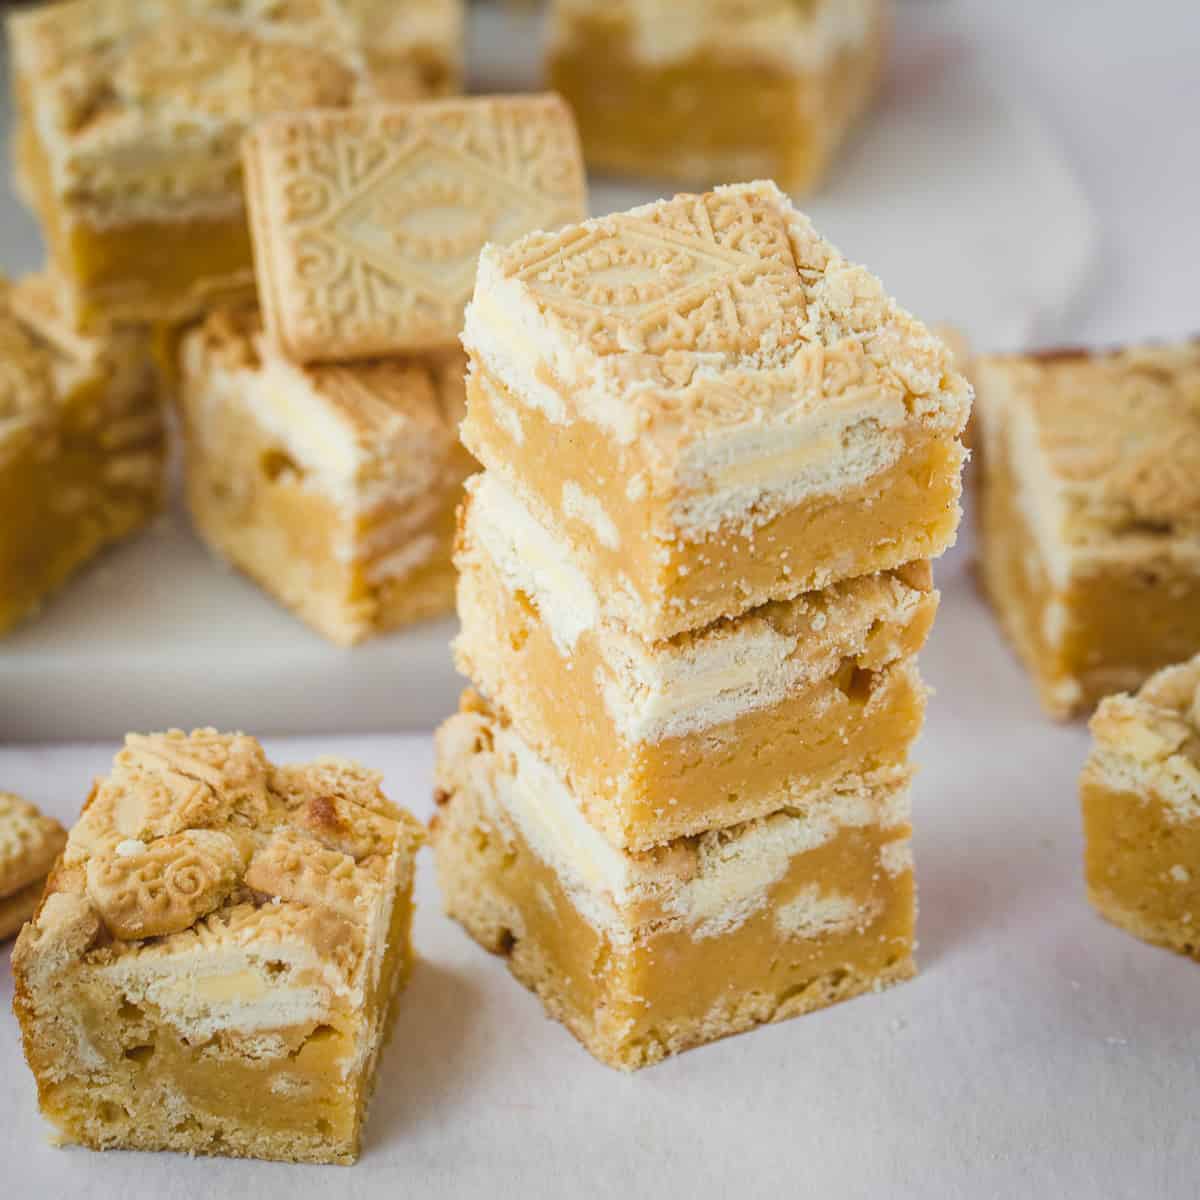
Fancy a non-chocolate version? Try these Biscoff Blondies instead.
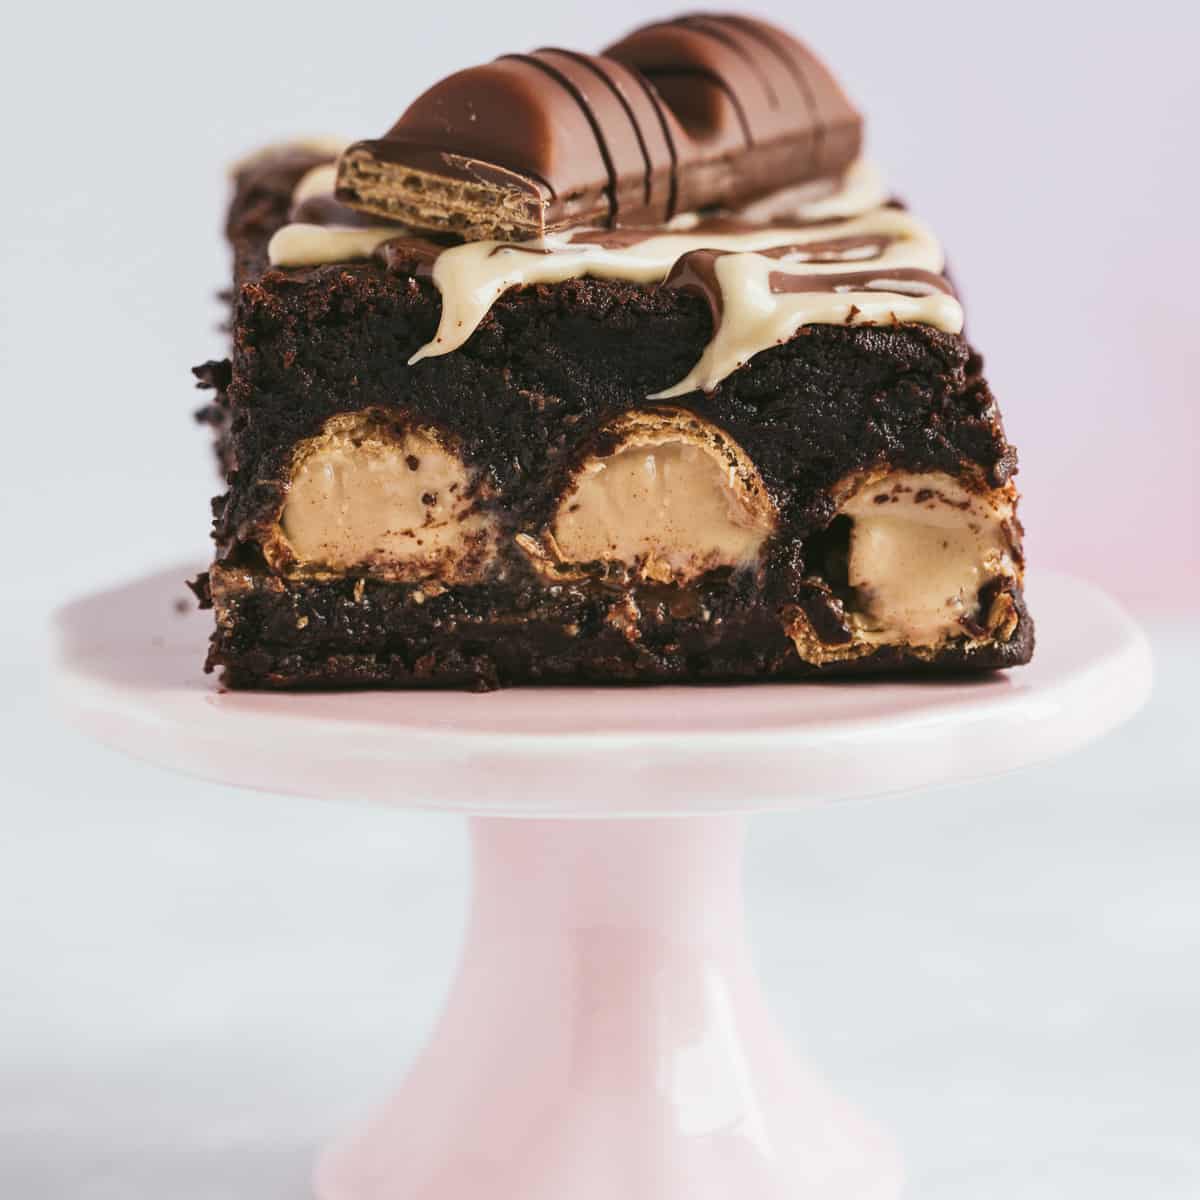
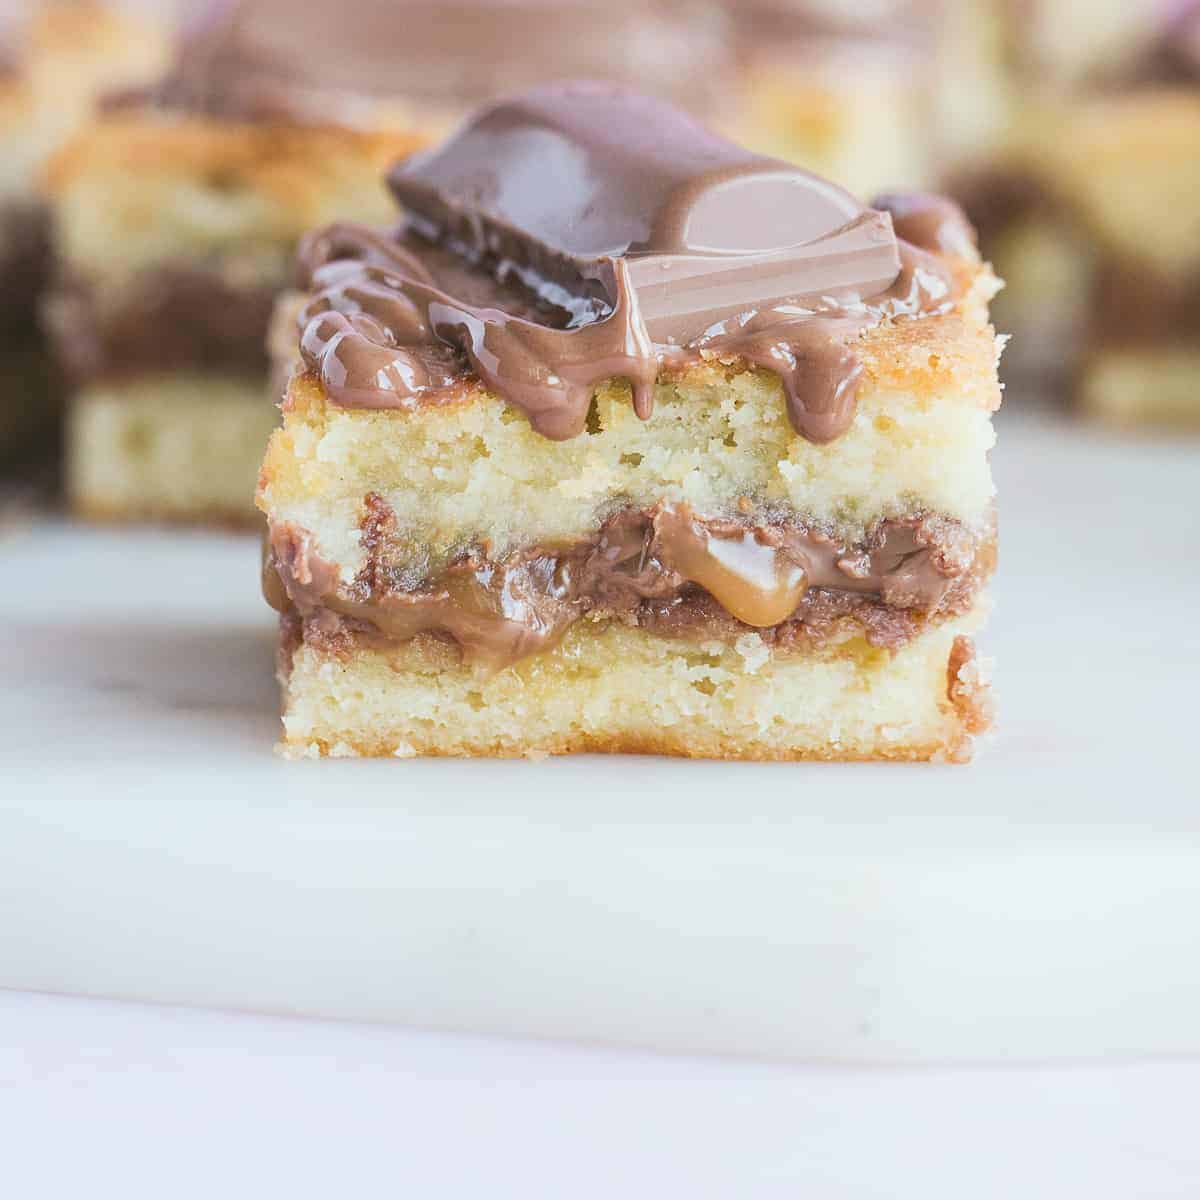
I've said it before and I'll say it again: once you have a foolproof base brownie recipe you can add any flavour to it and it will work a treat. Just like with these Kinder Bueno Brownies or these Jaffa Cake Brownies. The ingredients and method for the brownies are exactly the same.
And they turn out perfectly every single time!
As with all my other brownie recipes are very easy to make. I didn't want to make anything too similar to all the other Biscoff Brownie recipes out there so I experimented a bit.
Biscoff centre
I did try the recipe out adding in dollops of Biscoff spread to the brownie batter then swirling it in, but I found a couple of problems:
- The Biscoff flavour was overpowered by chocolate.
- The Biscoff spread went dry and grainy when baked.
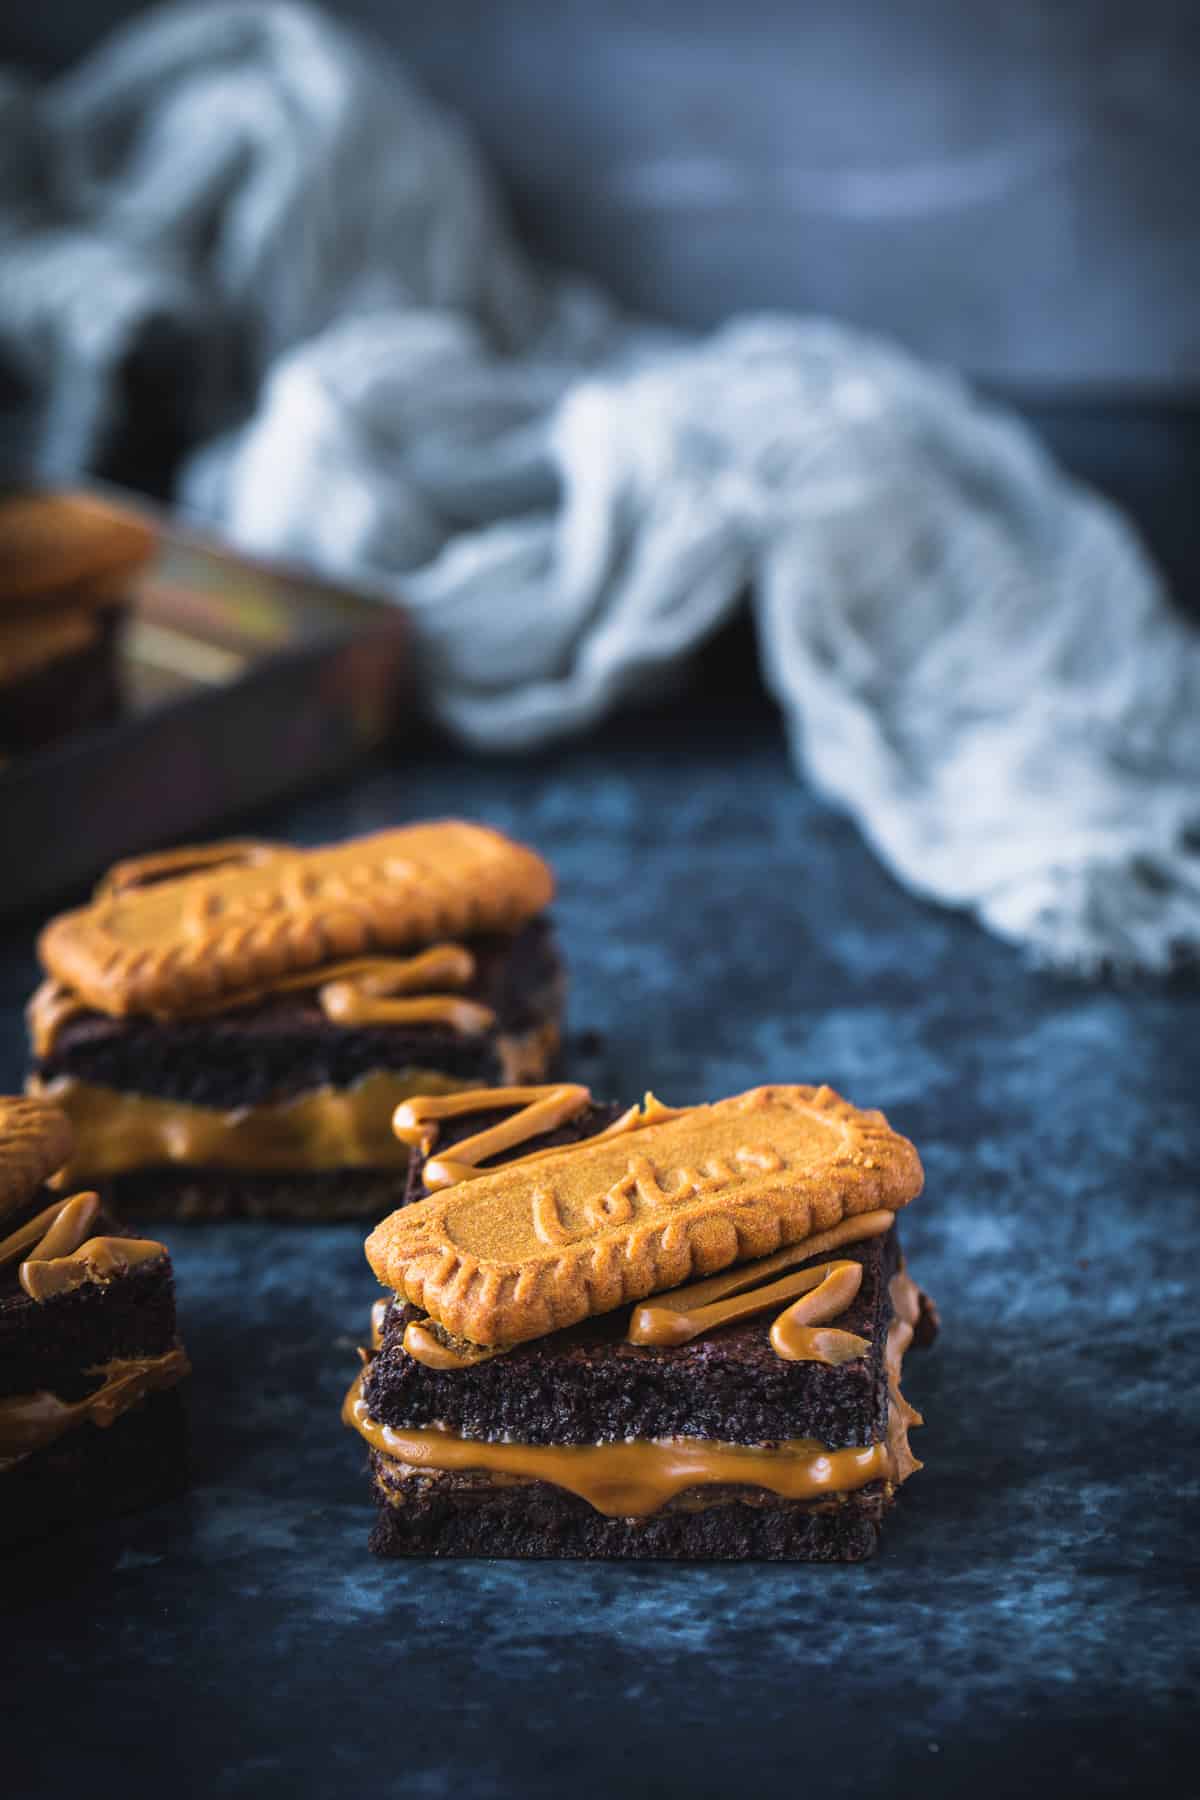
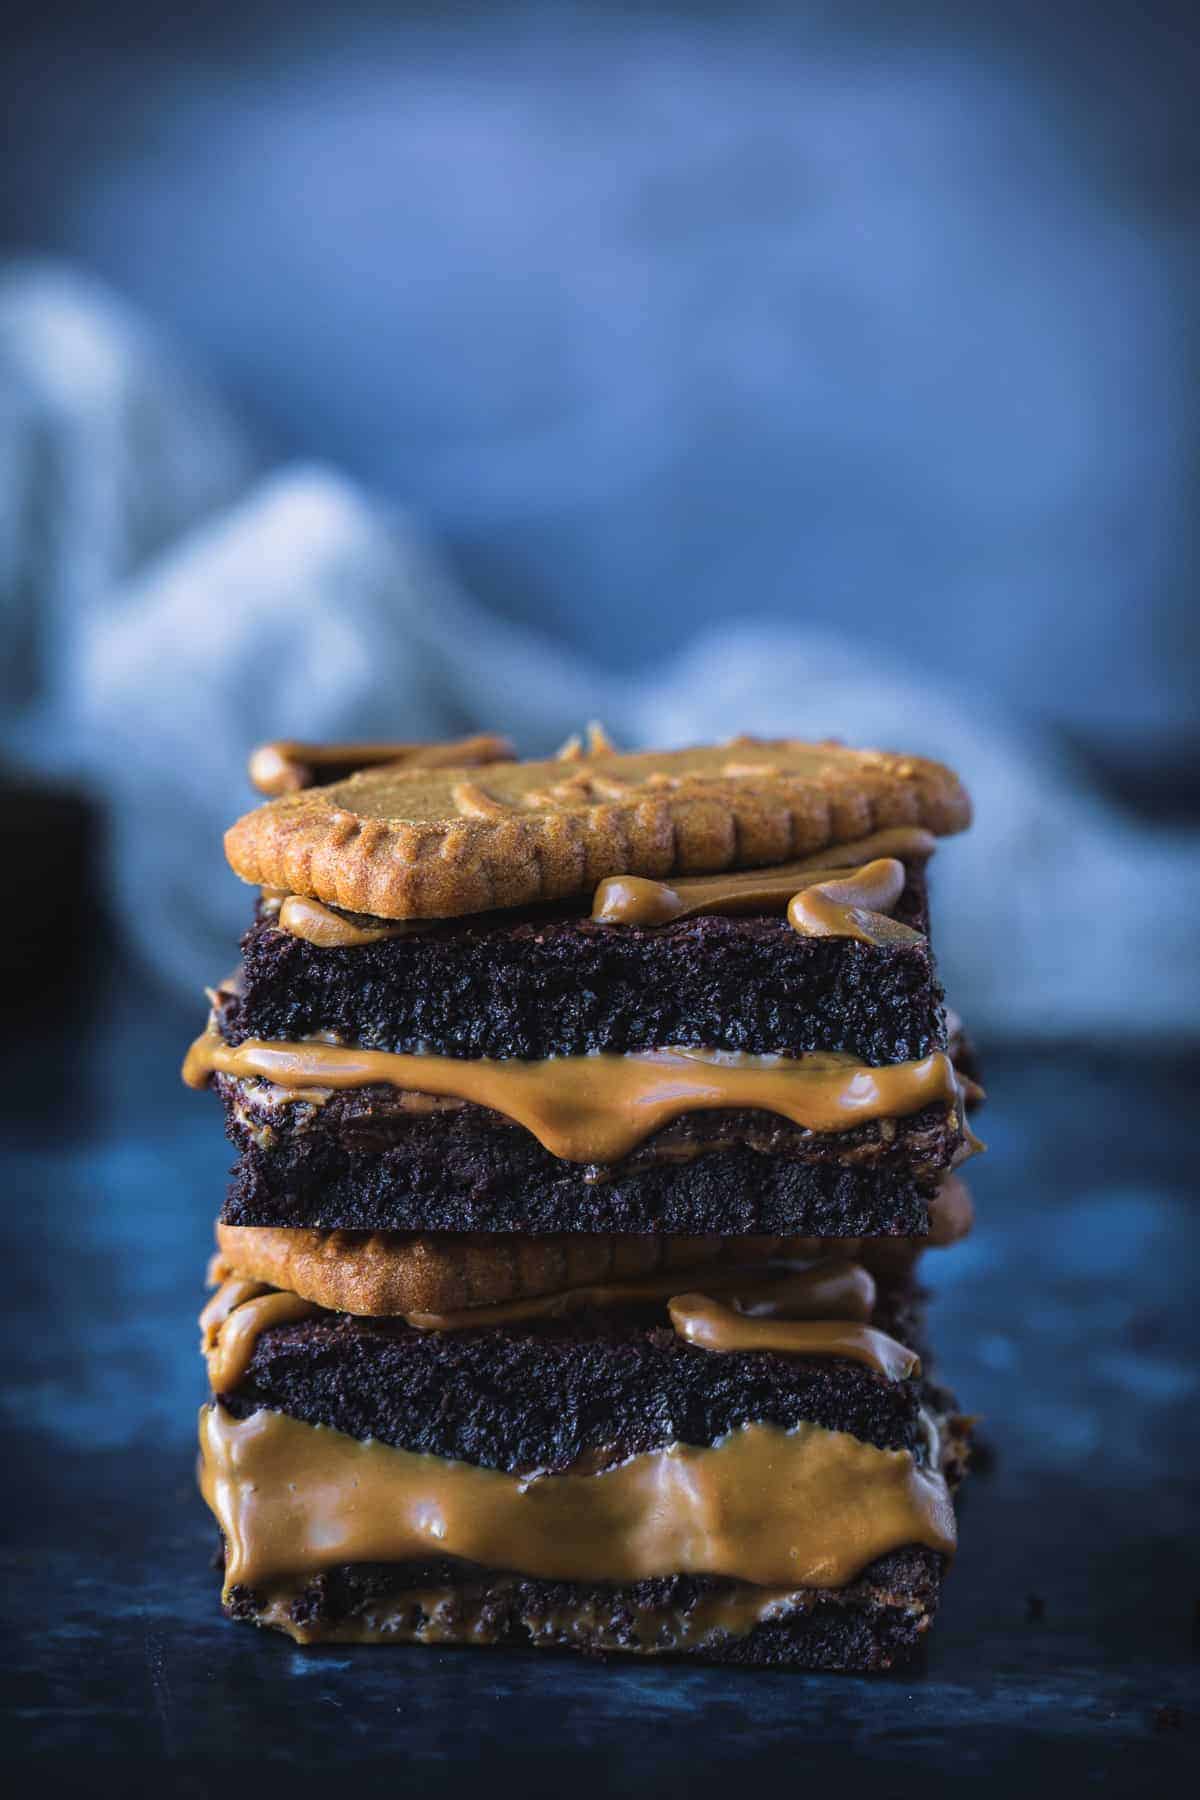
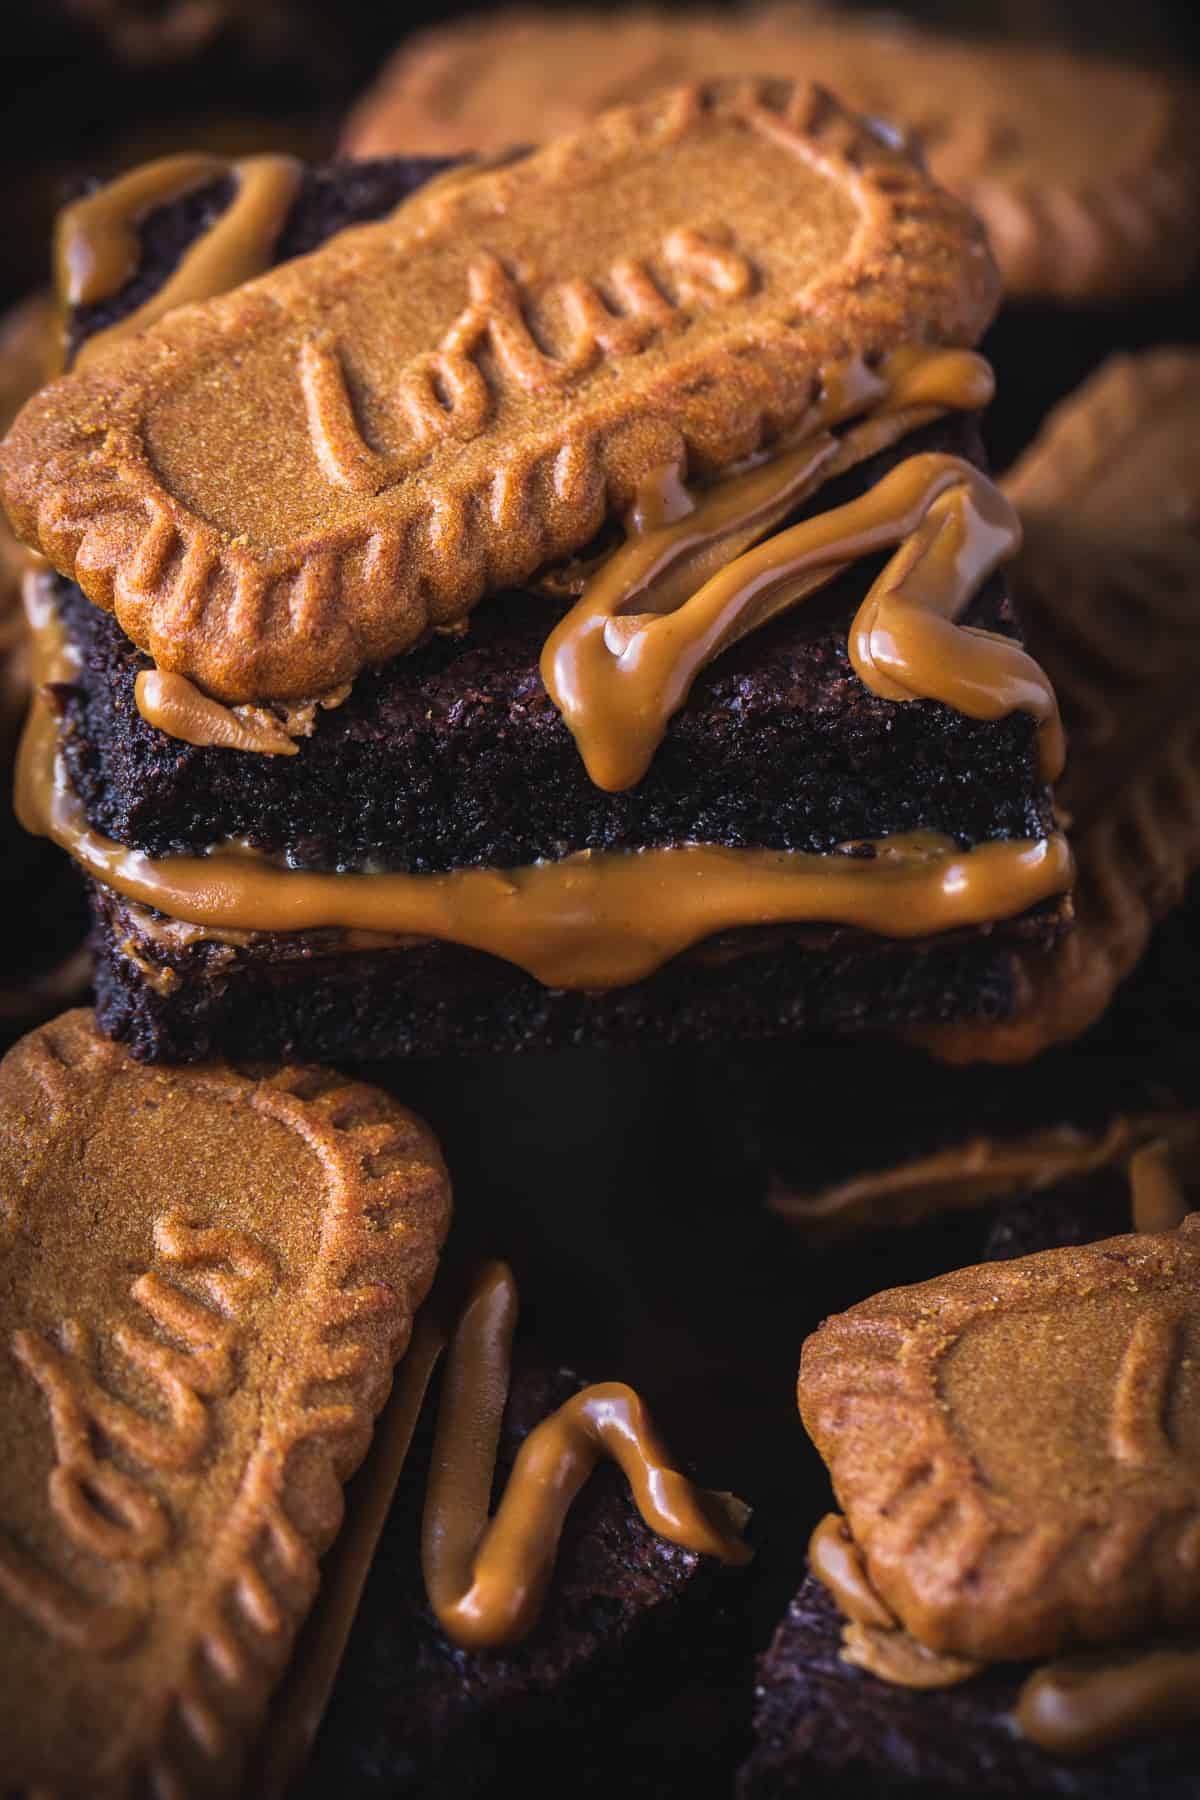
My favourite version was when I added a thick layer of Biscoff to the centre of the brownie mixture. I think this is the best way of incorporating as much Biscoff flavour and they look pretty amazing too.
I can't get over that oozing Biscoff centre! Just look at it...
How to make them
Start by melting the butter and chocolate over a low heat. For this recipe, I used the Callebaut dark chocolate chips. I tend to buy Callebaut chocolate in large bags because it works out much cheaper and the chips are very easy to smoothly melt down.
Set aside the chocolate and butter mixture and add the sugars and eggs to a large bowl. For this part, you will need a handheld electric whisk to whip up the eggs and sugar until they've doubled in size and taken on a mousse-like texture.

Beating the eggs and sugar well at this stage is important because it helps to give the brownies the crisp top and gooey middle.
Pour in the cooled melted butter and chocolate, vegetable oil and vanilla extract. Ditch the electric whisk, instead, fold the ingredients together in large looping movements until everything is a uniform colour.

Amy's tip: the addition of a tablespoon of vegetable oil makes for the ultimate fudgy brownie and it works like a charm in any brownie recipe.
Next, sieve the flour, cocoa powder and salt into the bowl. Again, use a spatula to gently fold the dry ingredients into the wet ingredients. You don't want to overmix or the brownies will lose their fudgy texture.

How to assemble
Amy's tip: watch the step by step recipe video to help you!
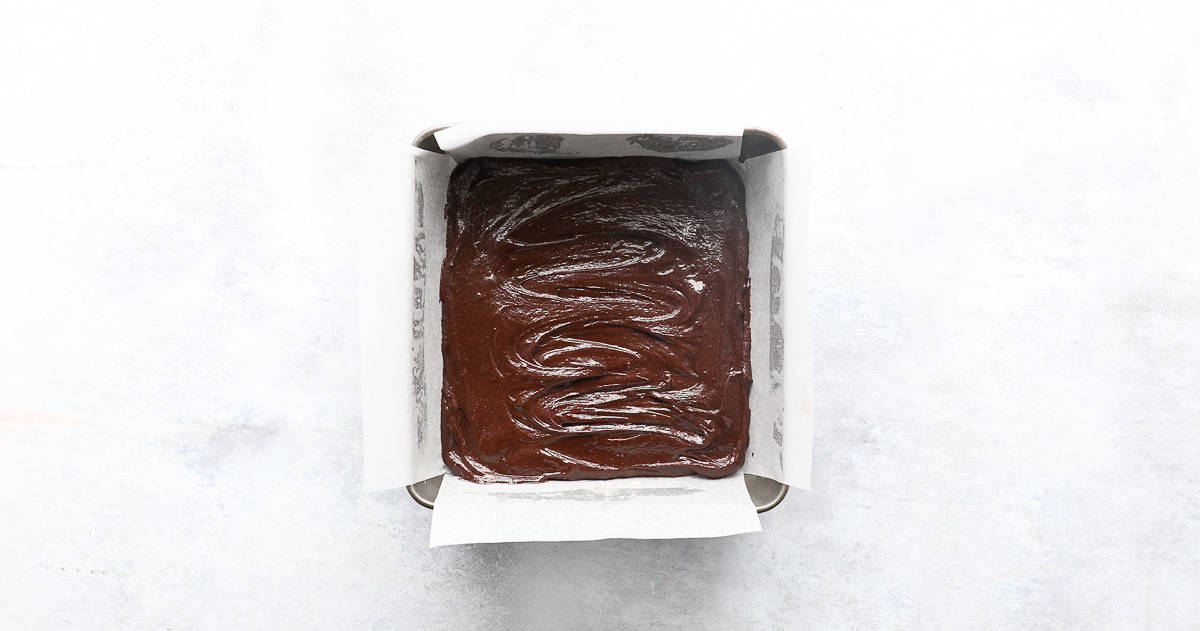
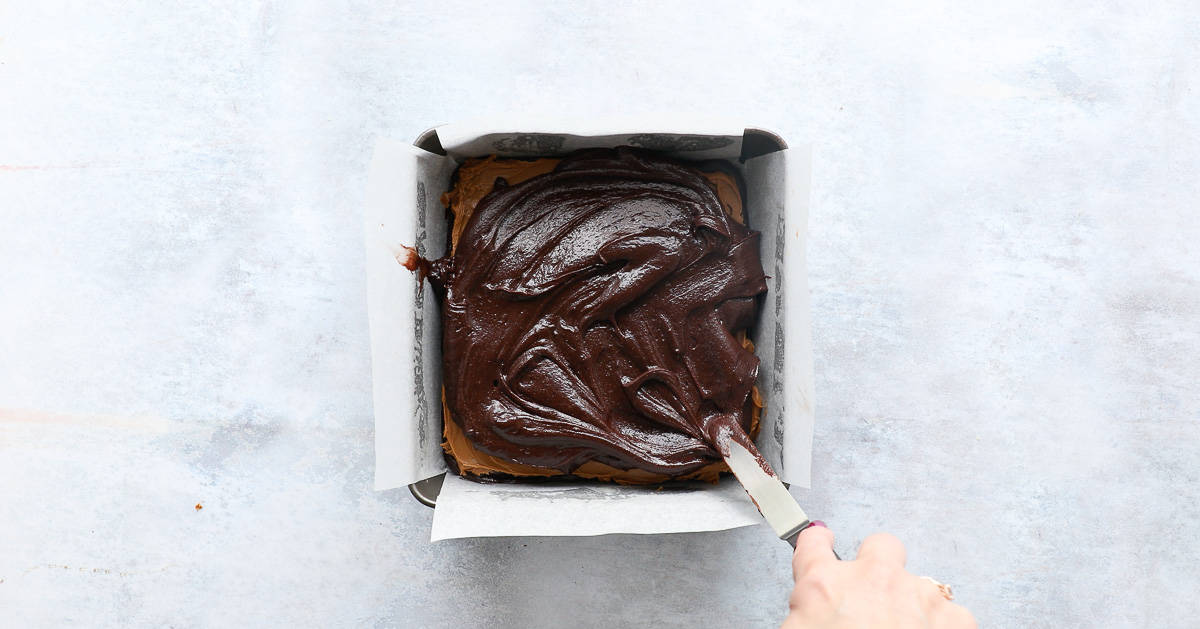
Line a 20cm square tin with non-stick baking paper. Transfer half of the brownie batter into the tin.
Add dollops of Biscoff spread all over the top of the brownie mixture.
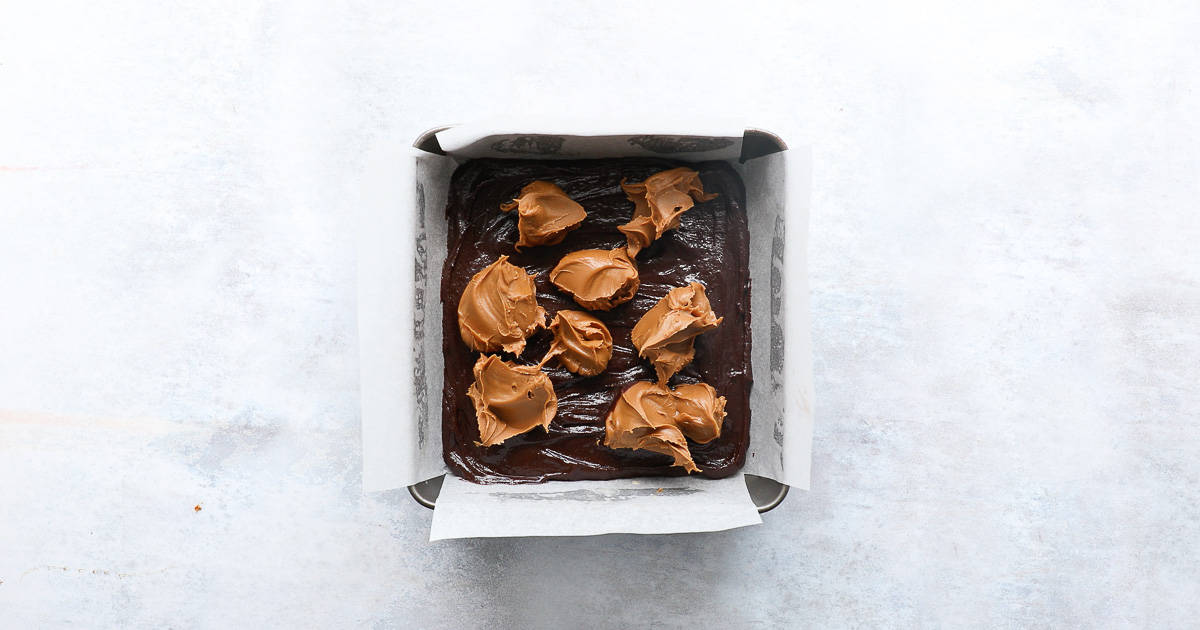
Use a small offset spatula or butter knife to gently spread the Biscoff into an even layer.

You will need to take your time doing this because the idea is to have three very defined layers of brownie then Biscoff then more brownie. Take care not to mix the Biscoff with the brownie layer underneath it.
When you have an even layer of the Biscoff add the remaining brownie batter on top and gently smooth it out so it's an even layer. Again, taking care not to disturb the layer of Biscoff underneath.
Bake in the centre of the oven for 30 minutes.
No, the baked brownies turned out perfectly and I did not need to freeze the Biscoff. The Biscoff didn't seize or go grainy and was still oozy in the middle of the brownies.
No, I used room temperature Biscoff spread straight from the jar. It would be easier to spread it in an even layer if it was warm but I think melting it down then baking the spread would alter the finished texture. You would risk the spread overbaking and going dry in the middle.
Decoration
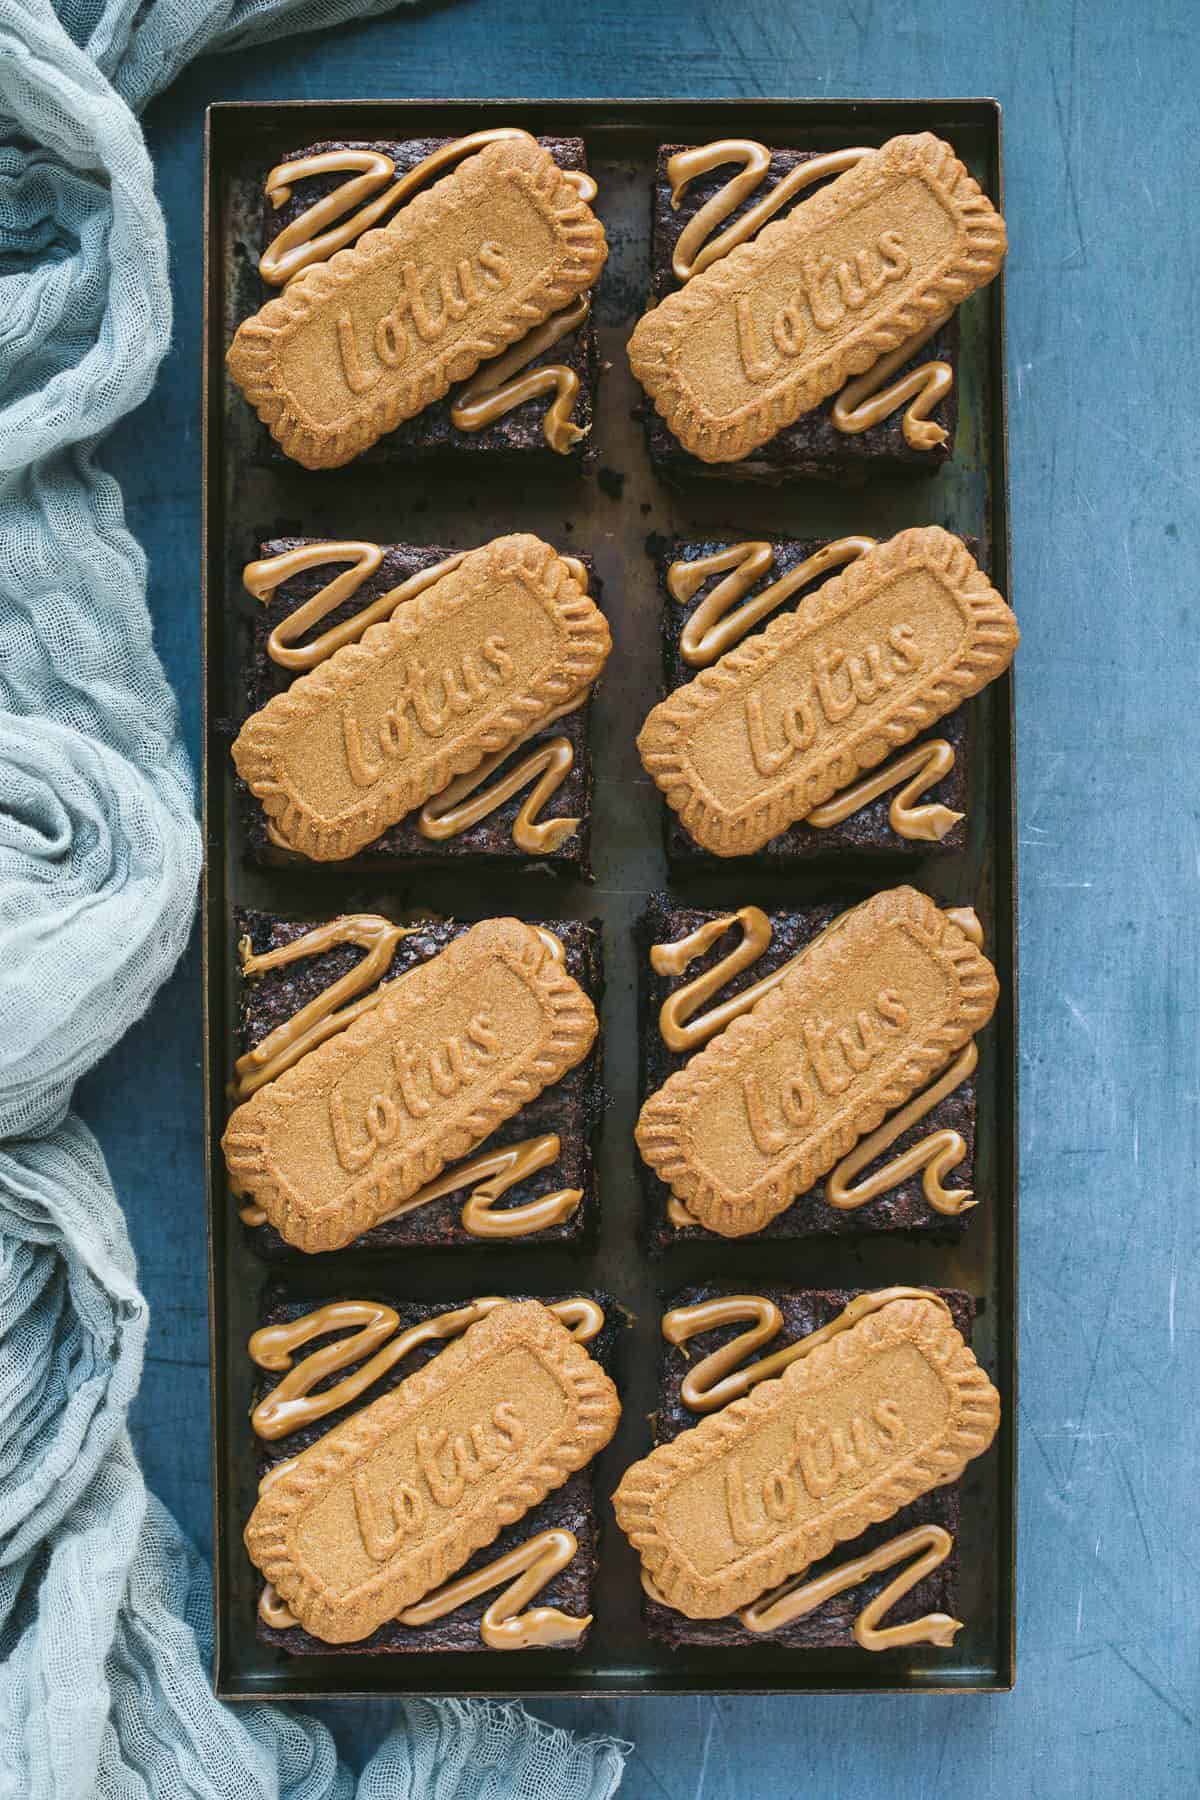
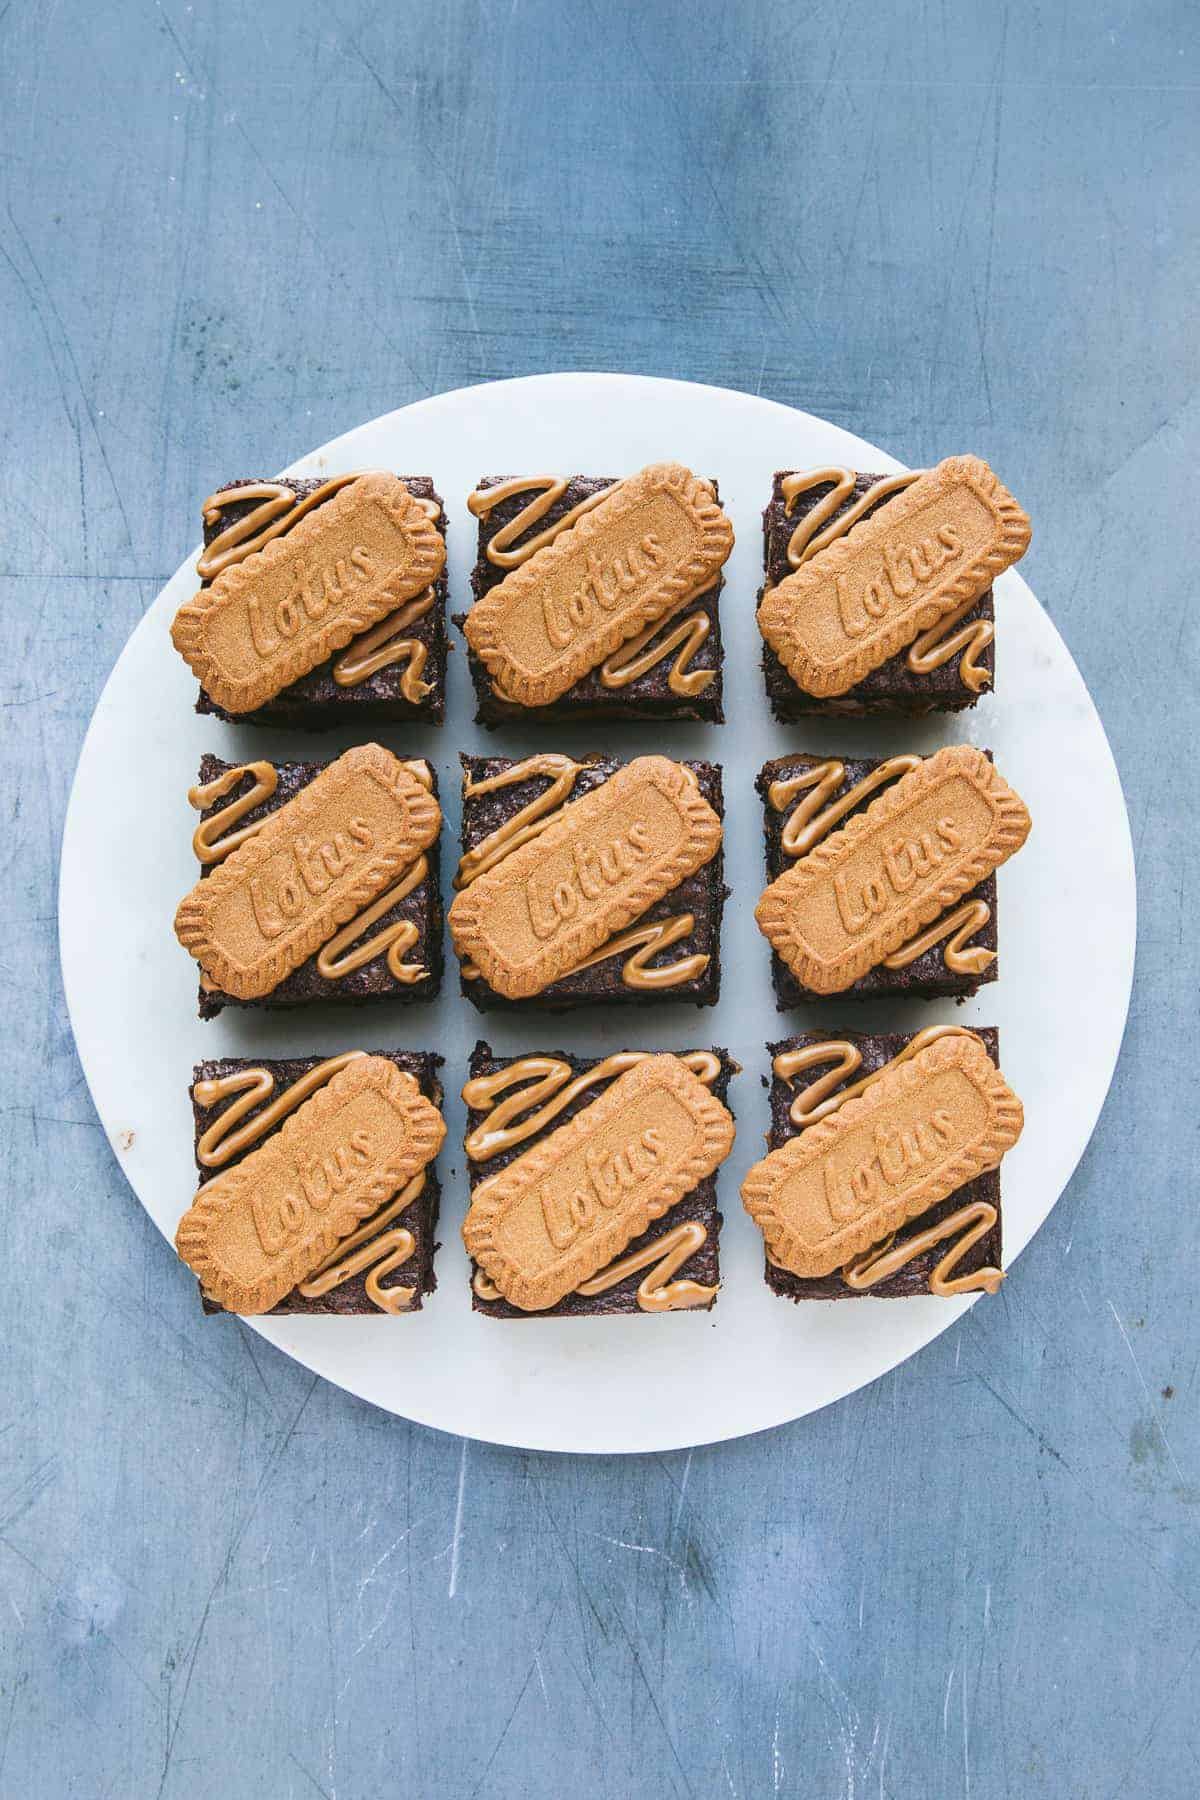
I cut the brownies into 9 equal squares - you'll notice I do this with all my traybakes baked in a 20cm tin because they look the best in photographs cut this way. You could definitely get 12 brownies out of a 20 cm tray though!
For decoration, I like to drizzle the star ingredient on top, I used a piping bag with the end snipped off and added a couple of tablespoons of Biscoff spread. I did warm the spread up for about 15 seconds to make it easier to work with.
Add a Lotus Biscoff biscuit to each brownie for a final flourish.
TOP TIPS
- Use a quality dark chocolate of at least 50% cocoa.
- Use a good quality unsweetened cocoa powder. The Green and Black's one is very good as is the Dr Oetker fine dark cocoa powder.
- Use an electric handheld whisk: to beat the eggs and sugars for at least 3-4 minutes or until the mixture has doubled in size.
- Now ditch the electric whisk: when adding the melted chocolate and butter to the whisked egg mixture use a spatula or wooden spoon and not an electric whisk.
- Fold gently by hand: likewise, fold the flour, cocoa powder and salt in by hand very gently and do not overmix.
- Timings: 25 minutes for an underdone very fudgy oozing brownie. 30 minutes for a set brownie with a fudgy squidgy middle. 35 minutes for a set brownie that's not gooey but still has a little squidge in the middle.
- Properly cool: once baked allow the brownies to cool in the tin until you can handle it. I then suggest wrapping it in clingfilm and putting the tin into the fridge for 2-3 hours before attempting to remove the brownies and cut them. You must wait until the brownies are cool otherwise you won't be able to cut them into neat squares.
- Storage: store in an airtight container in a cool dark place for up to 5 days.
I hope you enjoy baking these Biscoff Brownies as much as I did. Please leave me a rating and comment below if you make them!
More easy traybakes you'll love


Biscoff Brownies
Unbelievably chocolatey brownies with an oozing gooey Biscoff centre. It doesn't get any better than this. Get ready to meet your new favourite brownie!
Ingredients
For the brownies
- 200g (1 cup) 70% dark chocolate, finely chopped (if not using chocolate chips)
- 200g (¾ cup + 2 tbsp) unsalted butter
- 3 large eggs, or 4 medium eggs
- 150g (¾ cup) dark brown soft sugar
- 100g (½ cup) caster sugar
- 1 tablespoon vegetable oil
- 1 teaspoon vanilla extract
- 100g (½ cup + 2 tbsp) plain flour
- 75g (½ cup + 3 tbsp) cocoa powder
- ½ teaspoon salt
- 250g (1 cup) Lotus Biscoff spread (smooth)
To decorate
- 2-3 tablespoons Lotus Biscoff spread (smooth)
- 9-12 Lotus Biscoff biscuits
Instructions
- Preheat the oven to 180ºC/160ºC Fan/Gas 4/350ºF Line a 20cm (8 inch) square tin with baking paper.
- Break the chocolate into small pieces and cut the butter into pieces of about the same size. Put the chocolate and butter into a saucepan and melt over a very low heat, stirring occasionally. Set aside to cool.
- In a large bowl, add the eggs, brown sugar and caster sugar. Use a hand-held electric whisk to beat the eggs and sugars until they are light, pale and have doubled in volume.
- Pour the melted chocolate and butter and vanilla extract into the whipped egg and sugar mixture. Use a spatula or wooden spoon to mix the ingredients together in large looping movements.
- Sieve in the flour, cocoa powder and salt. Use a spatula or wooden spoon to fold the dry ingredients very gently into the wet ingredients. Stop mixing as soon as you can no longer see white streaks of flour.
- Add half the brownie mixture to the prepared baking tin and smooth it out to make it even. Dollop over the 250g Biscoff spread and gently spread it over the top of the brownie mixture taking care not to mix it in. Add the remaining brownie mixture on top of the layer of Biscoff spread and carefully smooth it out without disturbing the layer of Biscoff underneath.
- Bake in the centre of the preheated oven for 30 minutes.
- Remove from the oven and allow the brownies to completely cool in the tin before turning them out. Cut them into 9 or 12 equal squares. Add the 3 tablespoons of Biscoff spread into a piping bag (warm the spread for 15 seconds in the microwave first) snip the end off the piping bag and drizzle the spread over the top of each brownie. Add a Biscoff biscuit to each bronwie square for decoration.
Notes
- Use a quality dark chocolate of at least 70% cocoa.
- Use a good quality unsweetened cocoa powder. The Green and Black's one is very good as is the Dr Oetker fine dark cocoa powder.
- Use an electric handheld whisk: to beat the eggs and sugars for at least 3-4 minutes or until the mixture has doubled in size.
- Now ditch the electric whisk: when adding the melted chocolate and butter to the whisked egg mixture use a spatula or wooden spoon and not an electric whisk.
- Fold gently by hand: likewise, fold the flour, cocoa powder and salt in by hand very gently and do not overmix.
- Timings: 25 minutes for an underdone very fudgy oozing brownie. 30 minutes for a set brownie with a fudgy squidgy middle. 35 minutes for a set brownie that's not gooey but still has a little squidge in the middle.
- Properly cool: once baked allow the brownies to cool in the tin until you can handle it. I then suggest wrapping it in clingfilm and putting the tin into the fridge for 2-3 hours before attempting to remove the brownies and cut them. You must wait until the brownies are cool otherwise you won't be able to cut them into neat squares.
- Storage: store in an airtight container in a cool dark place for up to 5 days.
Nutrition Information:
Yield: 12 Serving Size: 1Amount Per Serving: Calories: 588Total Fat: 37gSaturated Fat: 15gTrans Fat: 0gUnsaturated Fat: 18gCholesterol: 137mgSodium: 223mgCarbohydrates: 57gFiber: 4gSugar: 33gProtein: 8g
Nutrition is an estimate only.


Sarah
Hi just to let you know that although oil is mentioned in the ingredient list and shown in the video I can't see it mentioned in the written list of instructions. Also in step 8 there is a typo in the word brownie.
Looking forward to eating these later.
Thanks.