


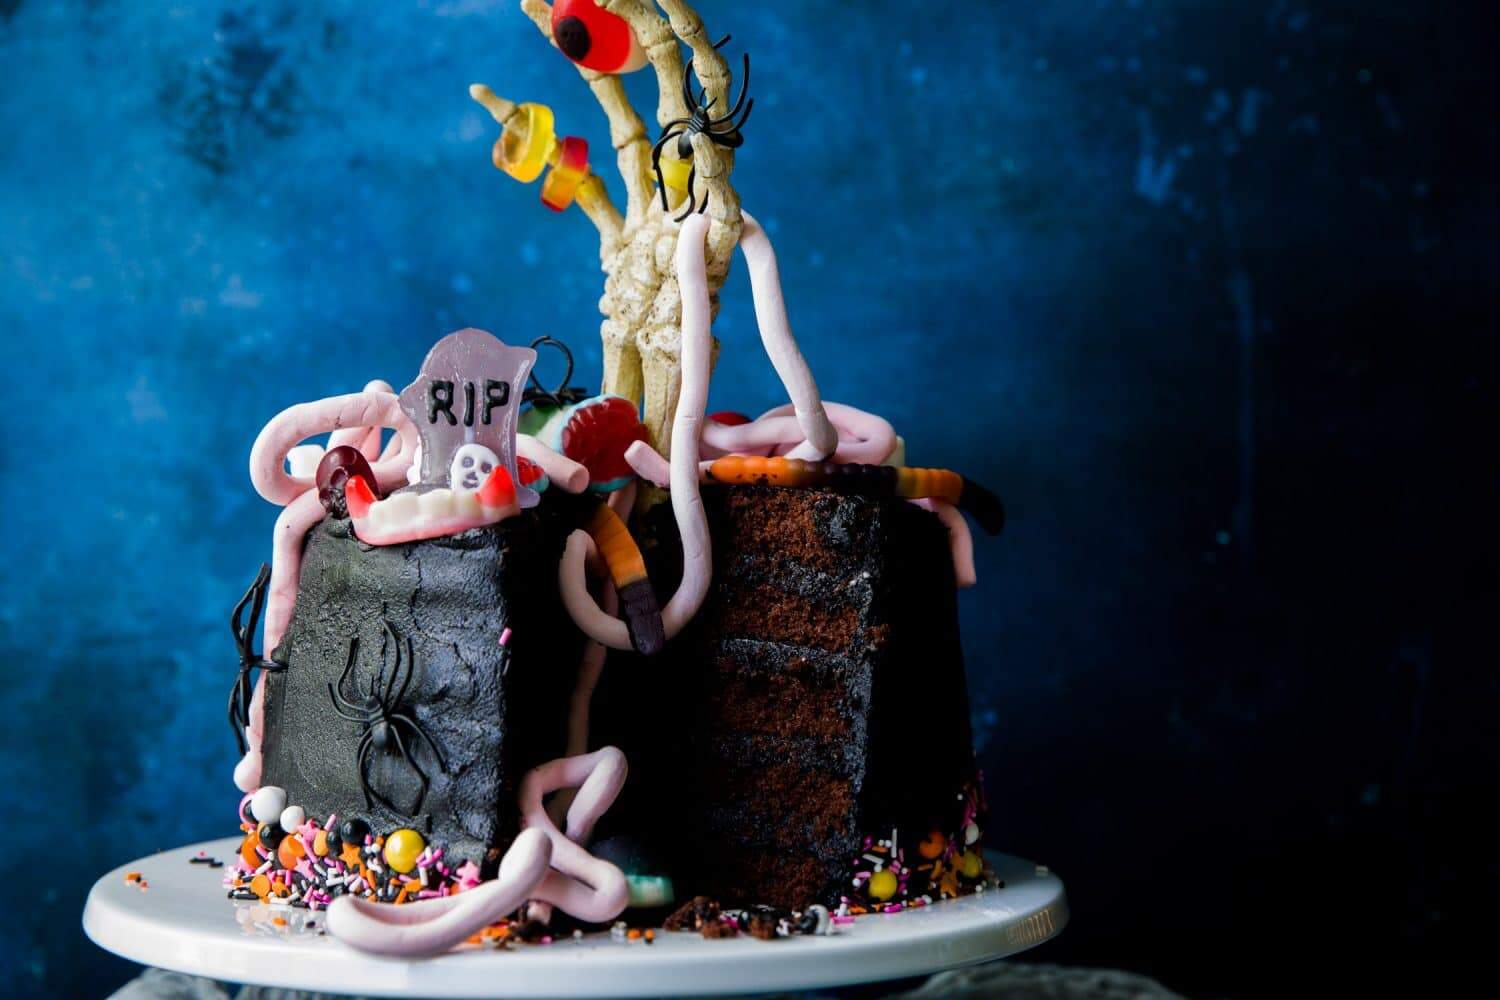
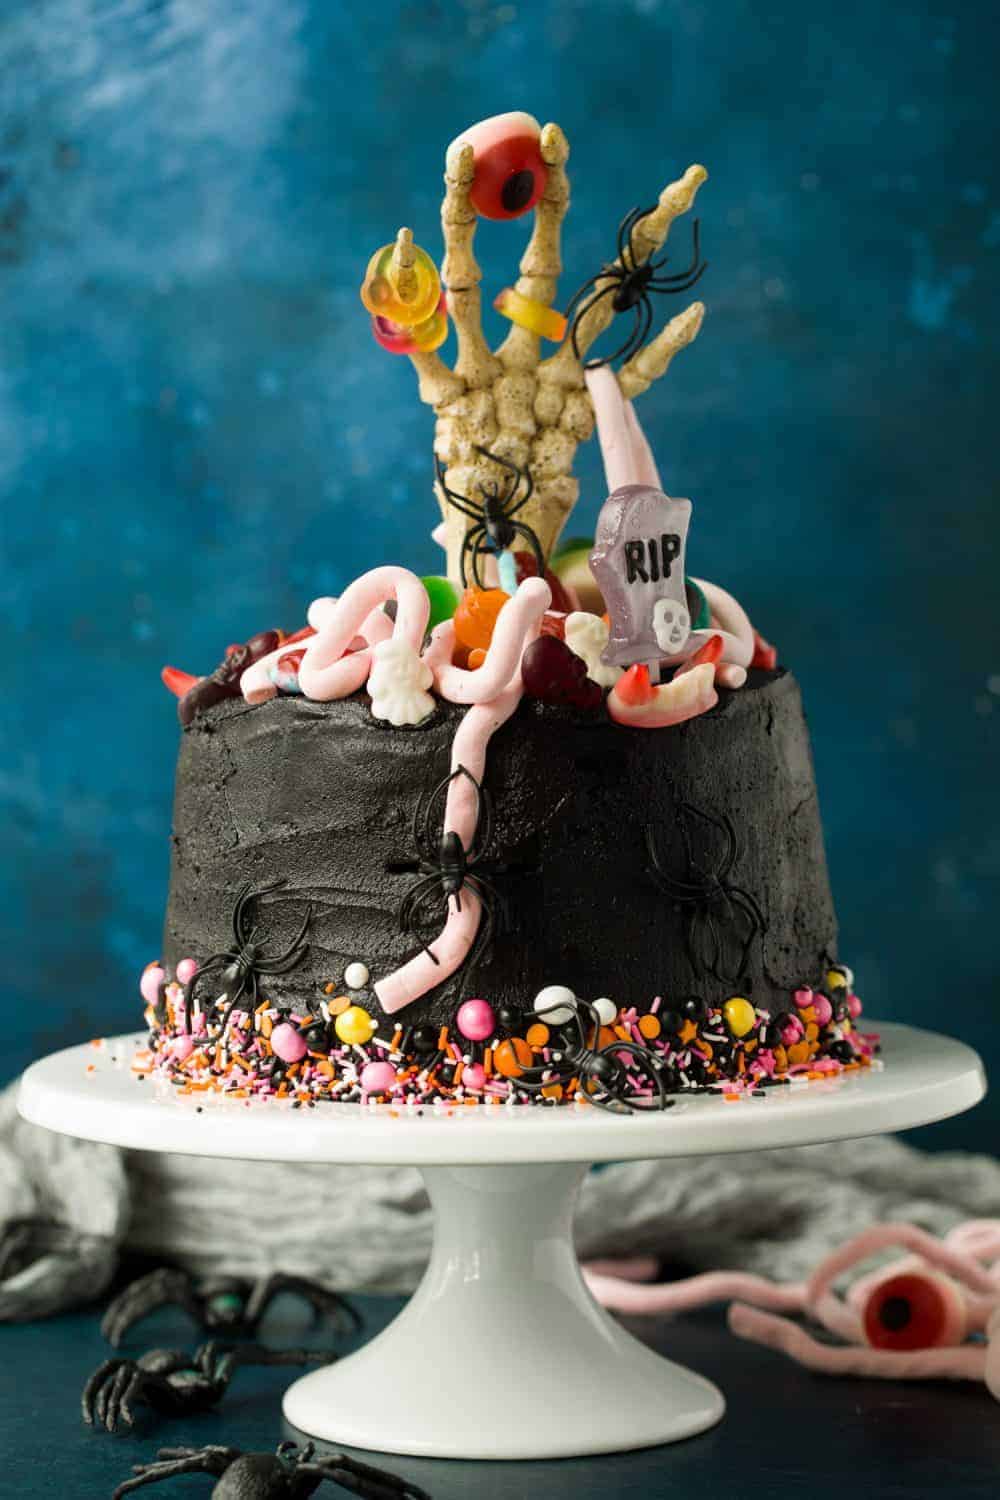
A five-layer chocolate cake smothered in black chocolate buttercream icing and topped with Halloween sweets.
This creepy skeleton hand cake is sure to be a real head-turner this Halloween.

As the weather turns and the nights draw darker the countdown to Halloween has begun. Cue snuggly jumpers, long winter boots and roaring fires.
My favourite pastime at this time of year is cosying up and cocooning myself indoors. Hot chocolate in one hand Stephen King book in the other.
I am the poster girl for all things creepy and love nothing more than a slice of black cake and a few chapters of Pet Cemetary <evil laugh>
So when it comes to Halloween, although I love the cutesy cupcakes and googly-eyed desserts you can't beat a huge and creepy Halloween cake for your Halloween table centrepiece.
5 LAYER CHOCOLATE HALLOWEEN CAKE
This Halloween cake is adapted from my simple chocolate cupcakes recipe and they are to die for (pun intended). The recipe produces soft, fluffy and very chocolatey cupcakes and it is great for layer cakes too.
I know making a layer cake can seem daunting especially when faced with the prospect of slicing bigger cakes into thin even layers. Slicing cakes, unless you're a pro, will inevitably end in disaster.
My number one tip for making a perfect layer cake is to invest in a set of special cake tins. I have a couple of different sets including the Wilton easy layer tins - which I find to be way too shallow which makes the baked cakes really difficult to work with.
LAYER CAKE TINS
I bought the Wham 5 layer Rainbow Cake Tins for £10.79 on Amazon. I like them because they are slightly deeper than other tins I've tried so you can achieve a really nicely proportioned cake with perfect layers that are easy to decorate.
All five tins will fit into one oven (spread across two shelves) this means you can bake all your cakes at once and don't need to hand around baking several cakes in batches.

HALLOWEEN CAKE DECORATIONS
I wanted to do something different and original for my Halloween Cake and came up with the idea of making it look like a skeleton hand was coming out of the top of the cake, making a grab for all the Halloween sweets.
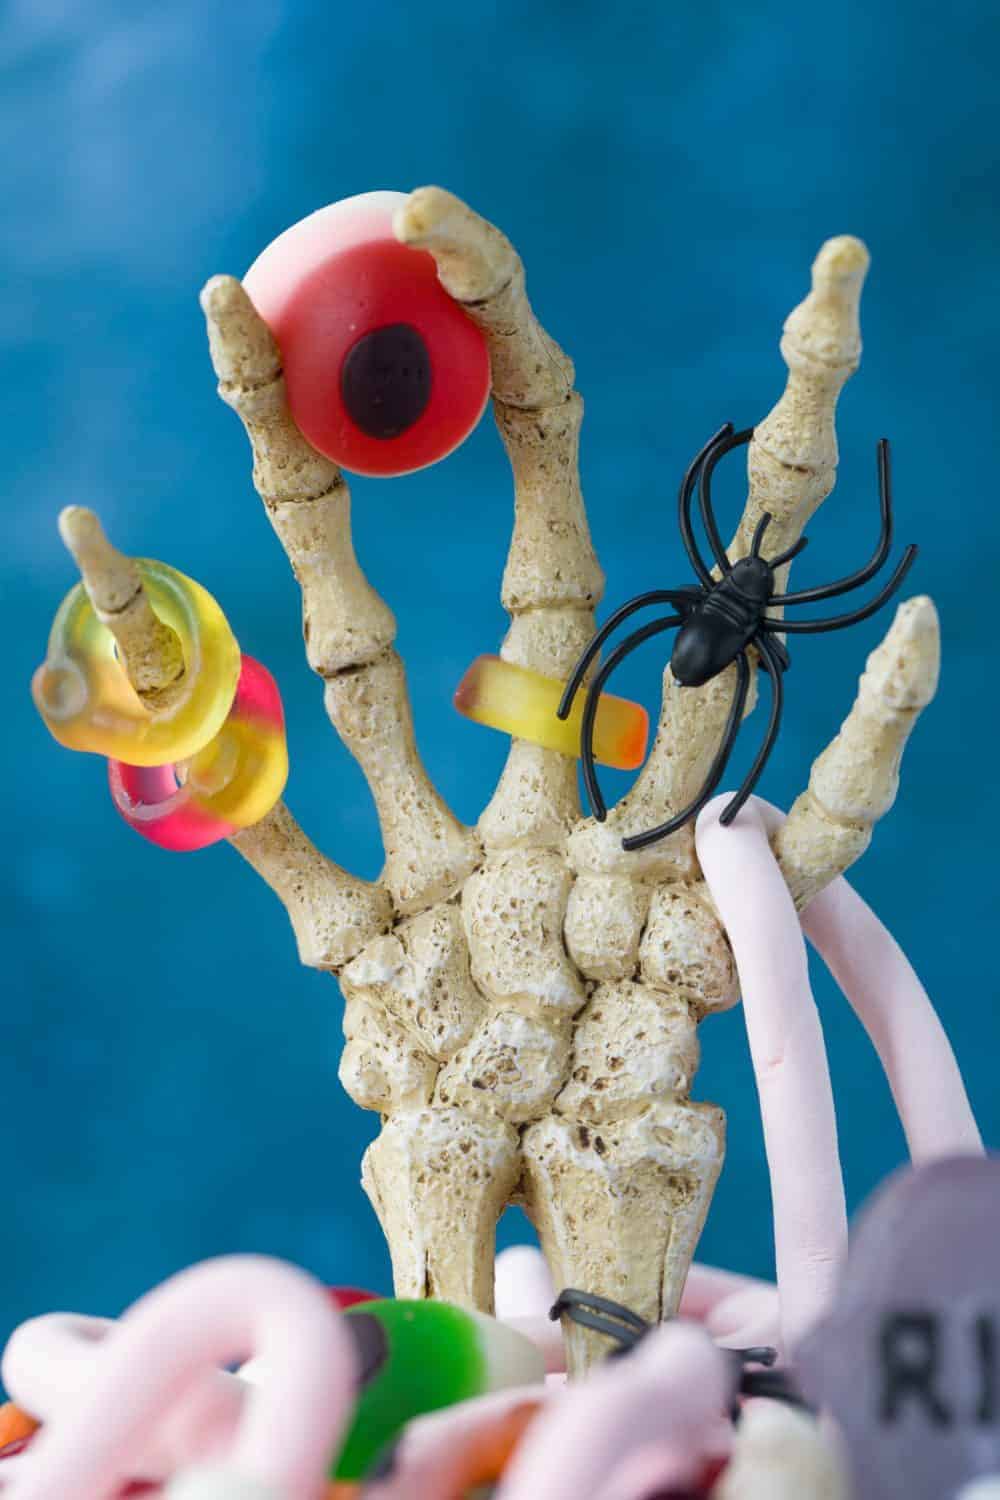
You can buy the skeleton hand I used from Amazon. It's actually meant as a fish tank ornament but I think it makes a really good prop and I'm sure I'll get lots of use out of it in upcoming Halloween recipes.
For Halloween sweets decorations I popped into B&M where they had a huge variety of spooky sweets perfect for this Halloween themed bake.
BLACK BUTTERCREAM ICING
It can be tricky to achieve black buttercream. I made my buttercream the day before the layer cakes and left it to develop and darken in colour overnight in the fridge.
In order to make the icing black you are going to need to start with a brown base - hence the reason this buttercream is chocolate flavoured.
It is really hard to make vanilla buttercream go black. Believe me, I've tried! So I wouldn't recommend you use anything other than chocolate buttercream for this particular bake or you may end up with a concrete grey colour cake!
For black buttercream, I use Sugarflair Black Extra which is a very concentrated gel. I use this because I don't want to add loads of black colouring to a cake.
One: the kids will go totally bonkers because of the E numbers.
Two: it will alter the taste if you use too much.
I saw one recipe which said to add the entire pot of gel colouring to the icing. DO NOT DO THAT! It would have tasted absolutely disgusting.
Follow the instructions below to make the chocolate buttercream, then colour it with the black gel, and if possible leave it to develop for a couple of hours or preferably overnight in the fridge.
HOW TO MAKE A HALLOWEEN CAKE
This Halloween cake is easier than it looks! Just follow the step by step instructions below and use the images to help you. There is also a video in the recipe card below.
5-Layer Chocolate Cake
- Preheat your oven to 175ºC / 160ºC Fan / 350º F / Gas 4.
- Prepare 5 layer tins with a circle of baking parchment on the bottom and give them a quick spray with Wilton Bake Easy this will stop the cakes from sticking.
- Add the flour, cocoa powder, sugar, baking powder, salt and butter to a stand mixer fitted with the paddle attachment or into a large bowl if using an electric handheld whisk/ whisking by hand. Beat slowly until the ingredients look like damp sand.
- In a jug, whisk the milk, eggs and vanilla together, then slowly pour it into the sandy mixture beating on a low speed. Turn the mixer up to high speed until the mixture is smooth and creamy without any lumps.
- Scrape the sides of the bowl down and beat for a further minute. Take care not to overmix or the cake will lose its fluffiness.
- Spoon the mixture evenly between the 5 layer tins and bake in the pre-heated oven for around 25 minutes or until a skewer inserted into the middle comes out clean. The cakes are properly baked when they spring back when pressed lightly with your finger.
- Leave the cakes to cool in their tins.
Black Chocolate Buttercream Icing
Note: For very black buttercream you will need to leave the colour to develop over a couple of hours or preferably overnight.
- Add the room temperature butter to a stand mixer with paddle attachment fitted. Beat until very smooth and creamy (at least 3-4 minutes) If you are using a handheld electric whisk this will take longer. It is also possible to make the buttercream by hand but it will take a lot of elbow grease!
- Sift the icing sugar and add it a few tablespoons at a time. Beat until fully incorporated.
- Add the cocoa powder and beat until there are no streaks of colour and the mixture is an even medium brown shade.
- Slowly add the milk and vanilla and beat until smooth.
- Add a teaspoon of Sugarflair black food colouring and mix thoroughly. The colour will resemble dark concrete and won't look black yet so don't be tempted to add more.
- Cover the bowl and put the buttercream in the fridge to develop in colour for at least two hours but preferably overnight.
- When you're ready to use the buttercream remove it from the fridge and microwave it in 15-second bursts until it's the right consistency.

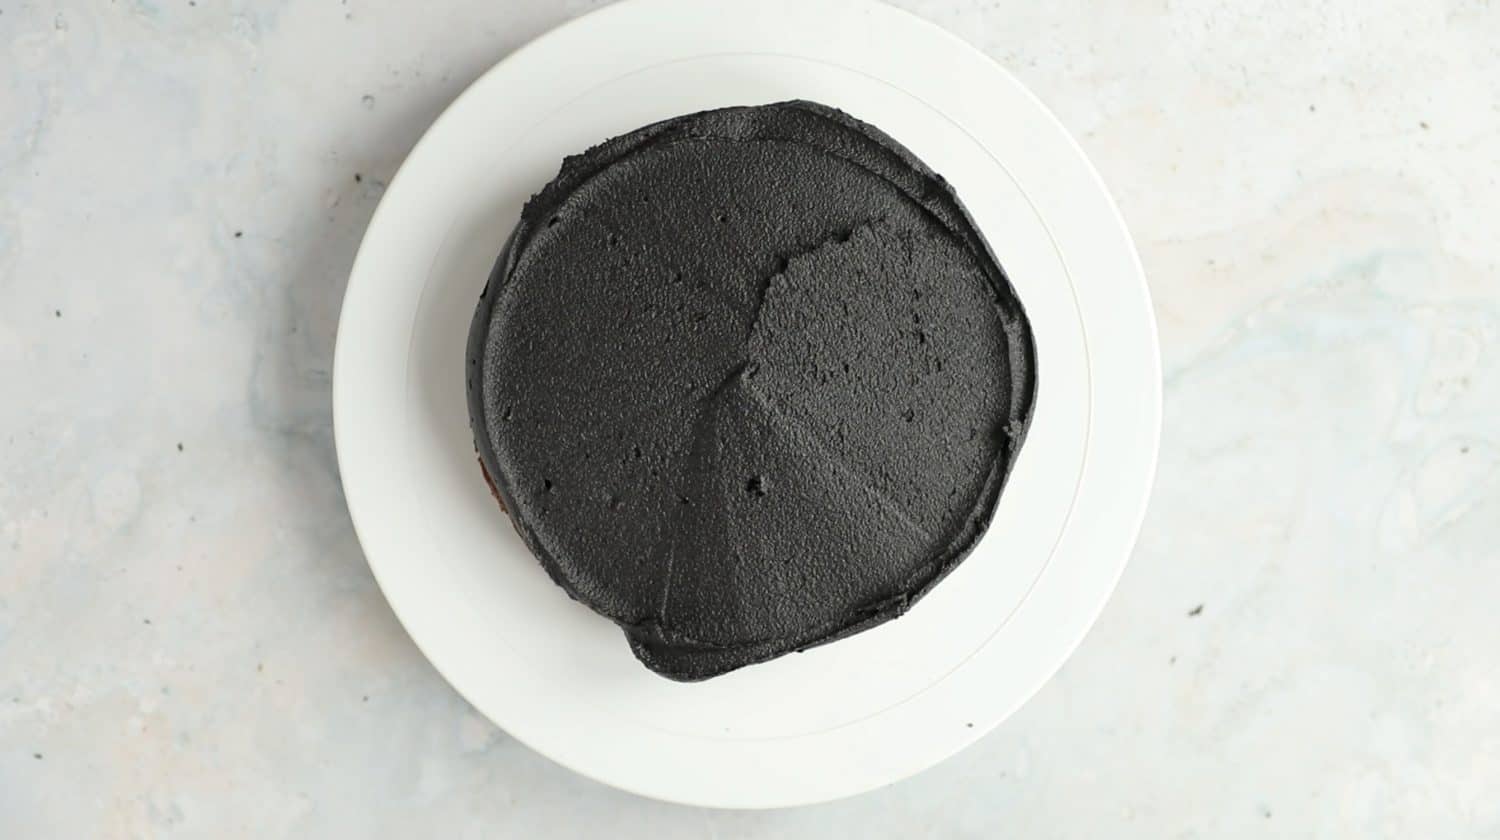
Add black buttercream to layer cake 
Smooth with a palette knife 
Repeat until all layers have been used 
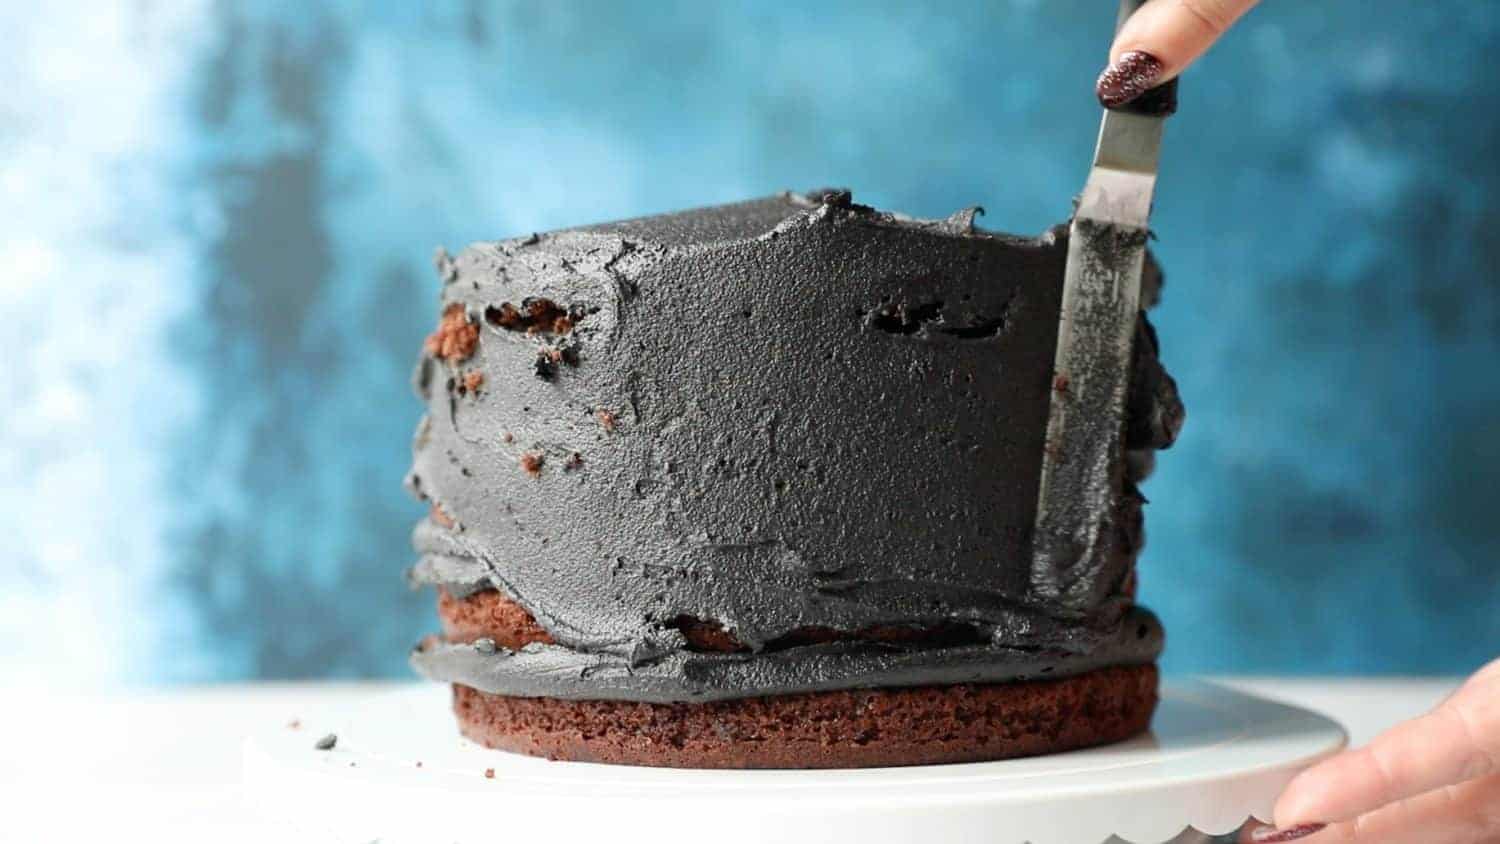
Spread black buttercream over the top and sides of the cake 
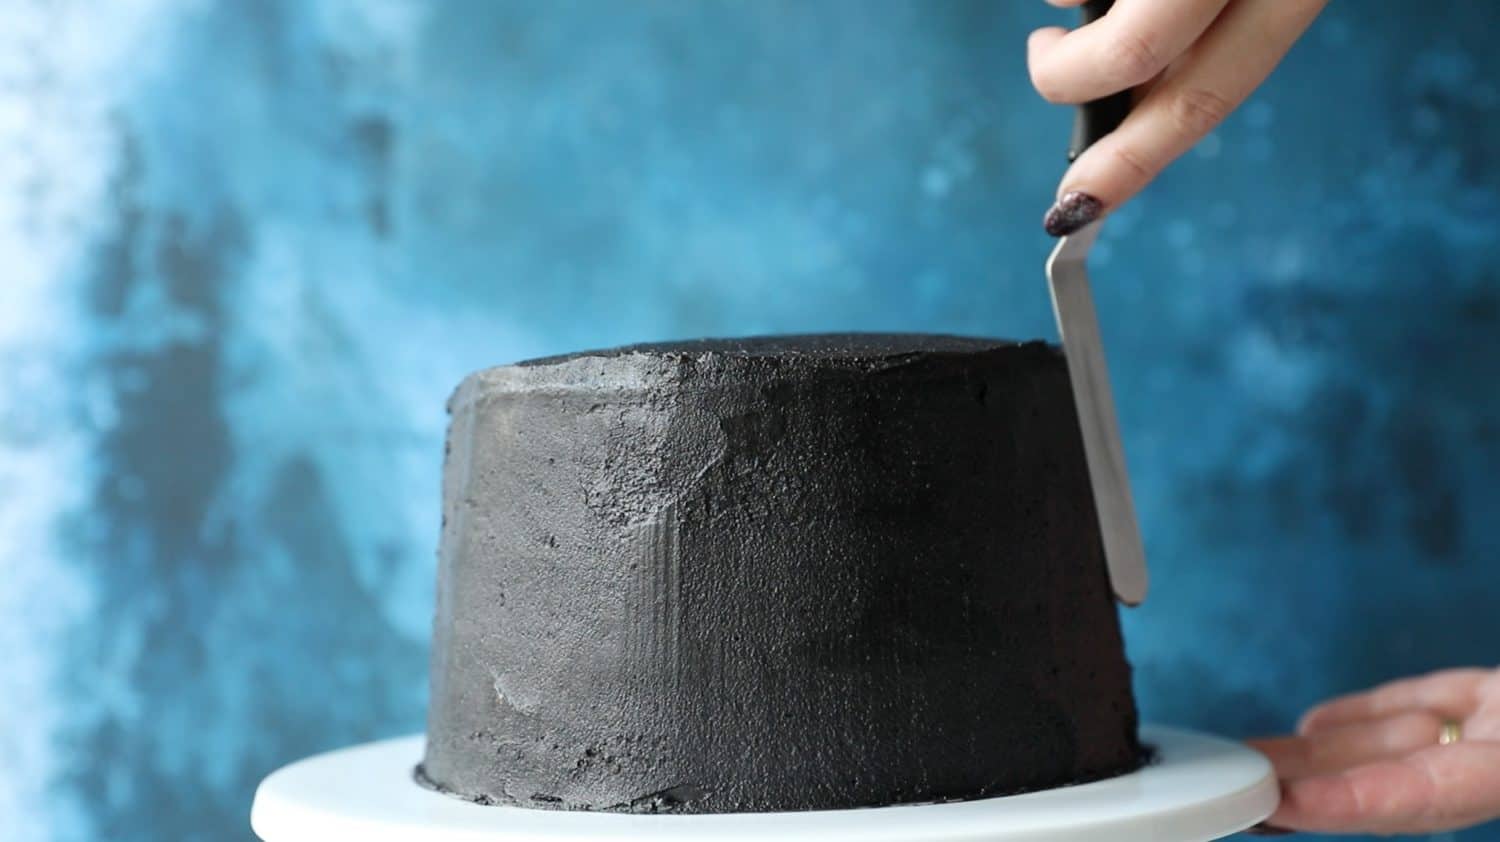
Smooth with a cake scraper and palette knife


Assembling and Decorating
- Add the first layer cake to a cake stand or turntable.
- Add buttercream icing on top of the cake - you can do this by using a piping bag without a tip fitted or spoon it on. Use a spatula to even out the buttercream.
- Repeat for the next four layers. Don't worry if any of the buttercream escapes from the layers - you can use this to cover the sides of the cake later.
- When you get to the final layer, pile the remaining buttercream on top of the cake and use a spatula to spread it down the sides.
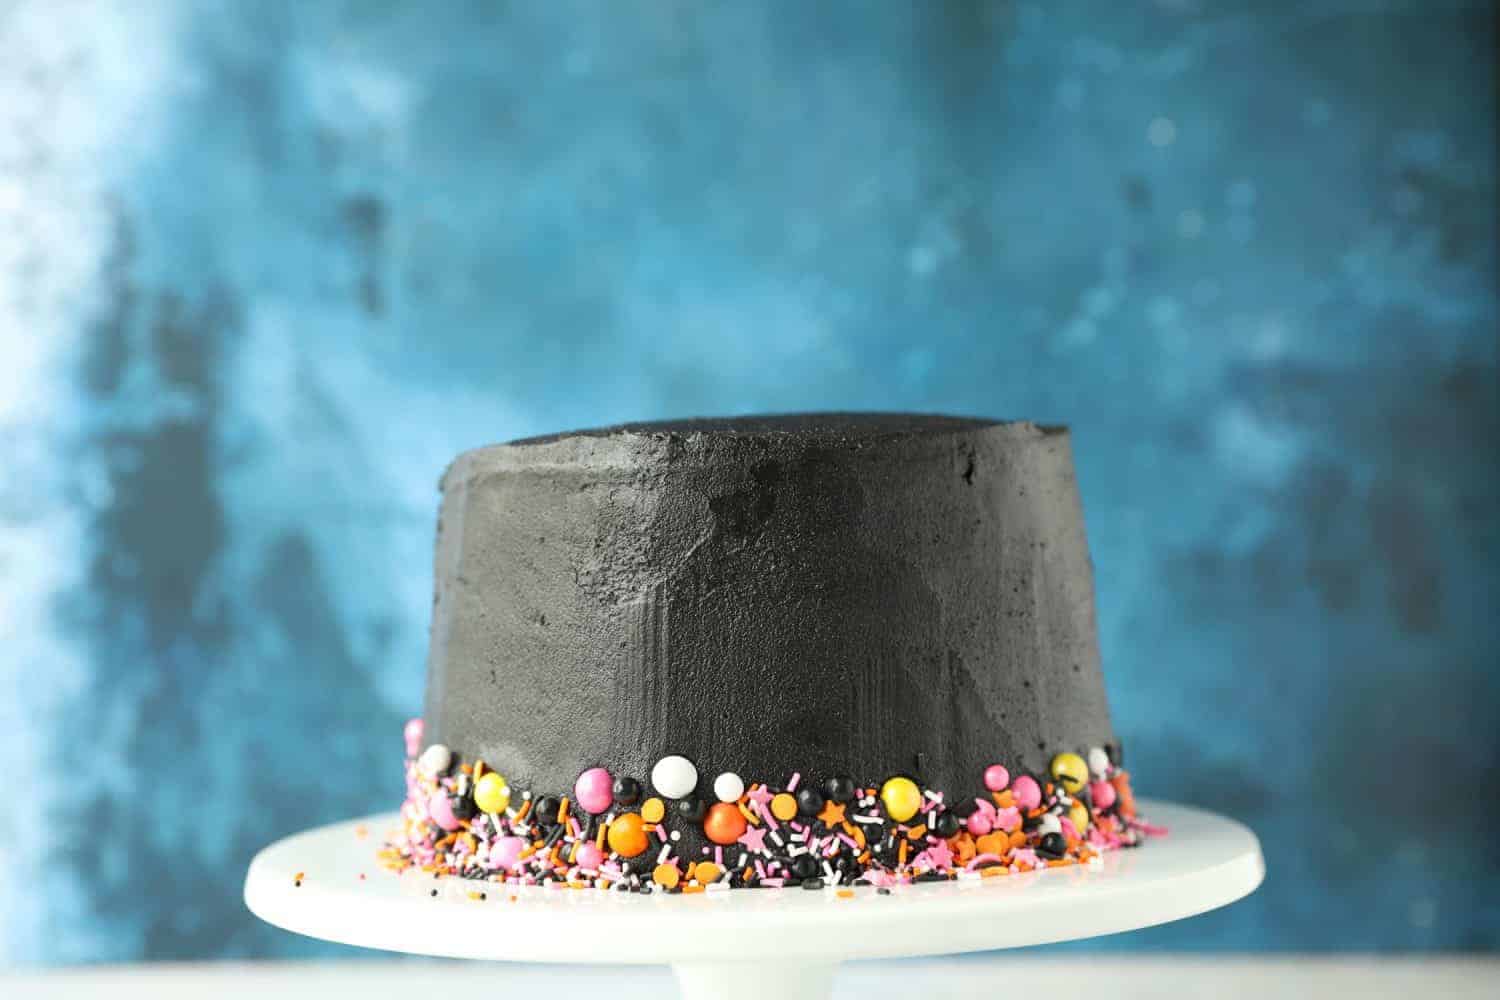
- Even out the buttercream on the sides and top of the cake using a cake scraper.
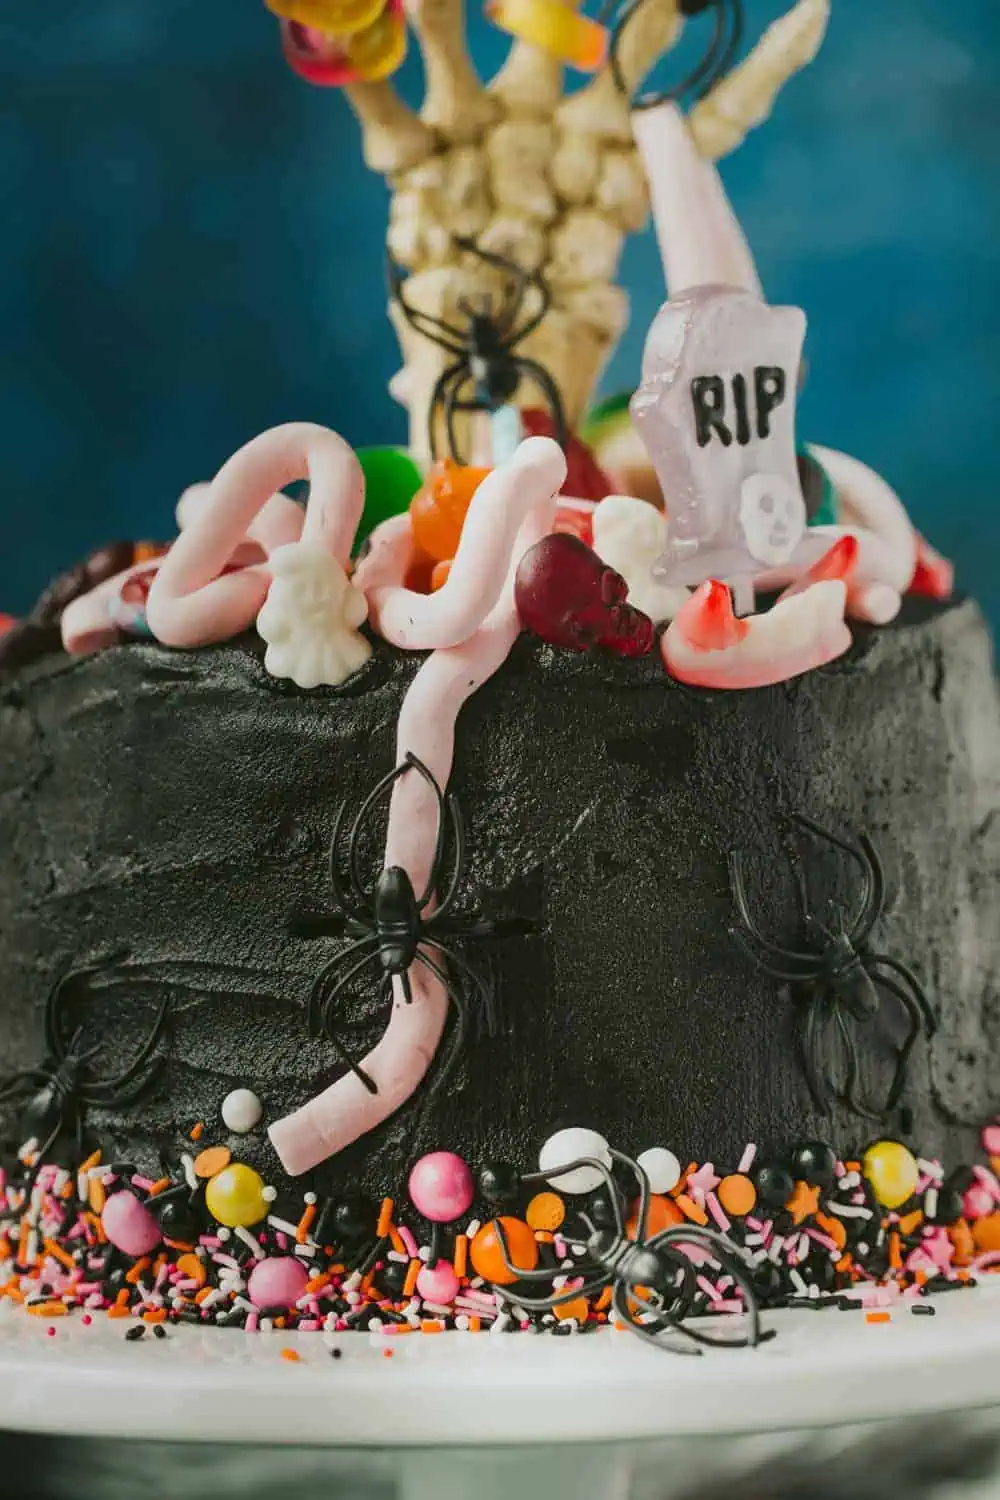
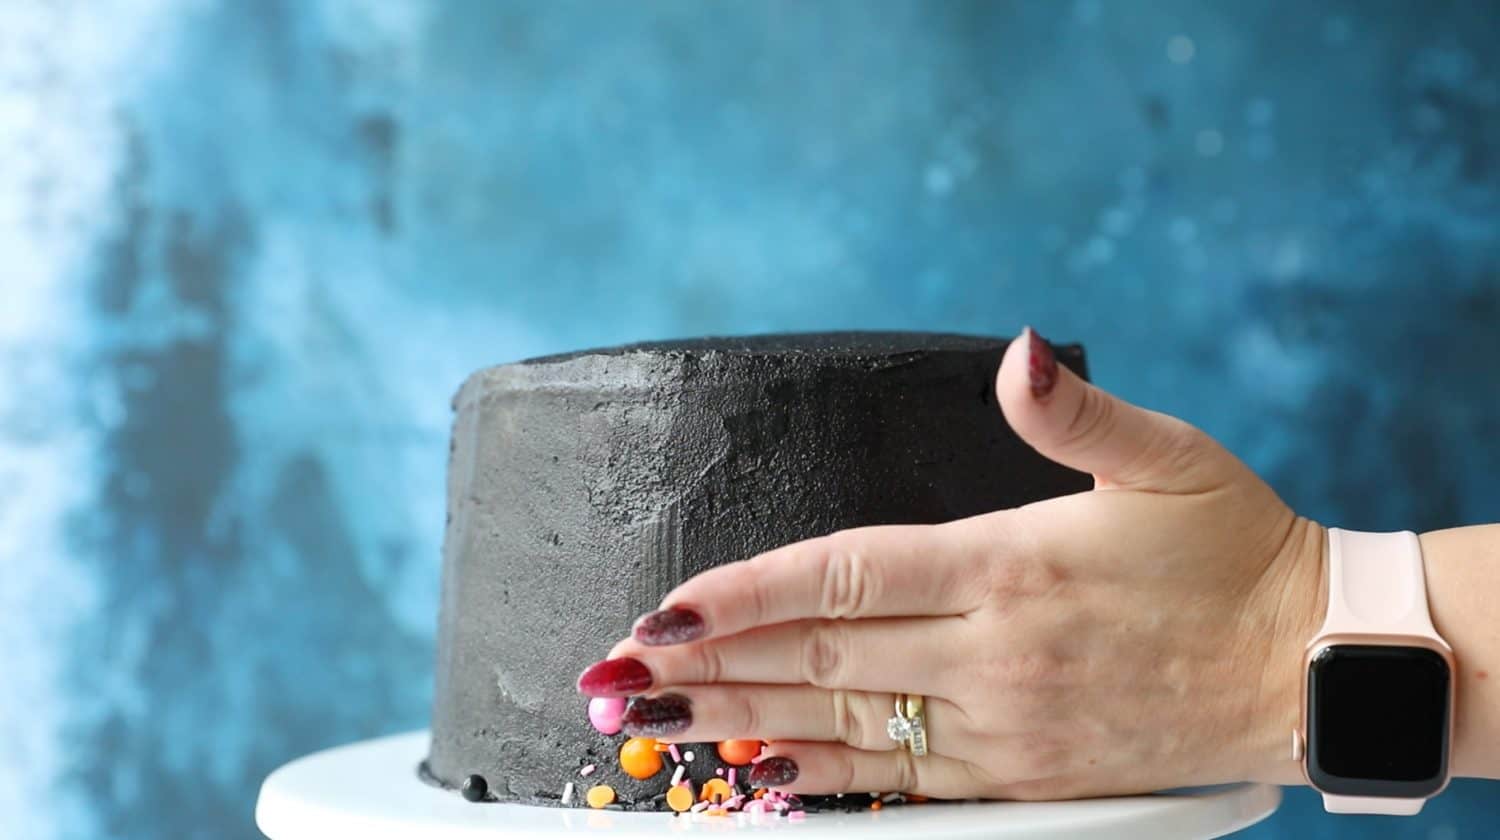
- Press colourful sprinkles along the bottom border of the cake using the palm of your hand.
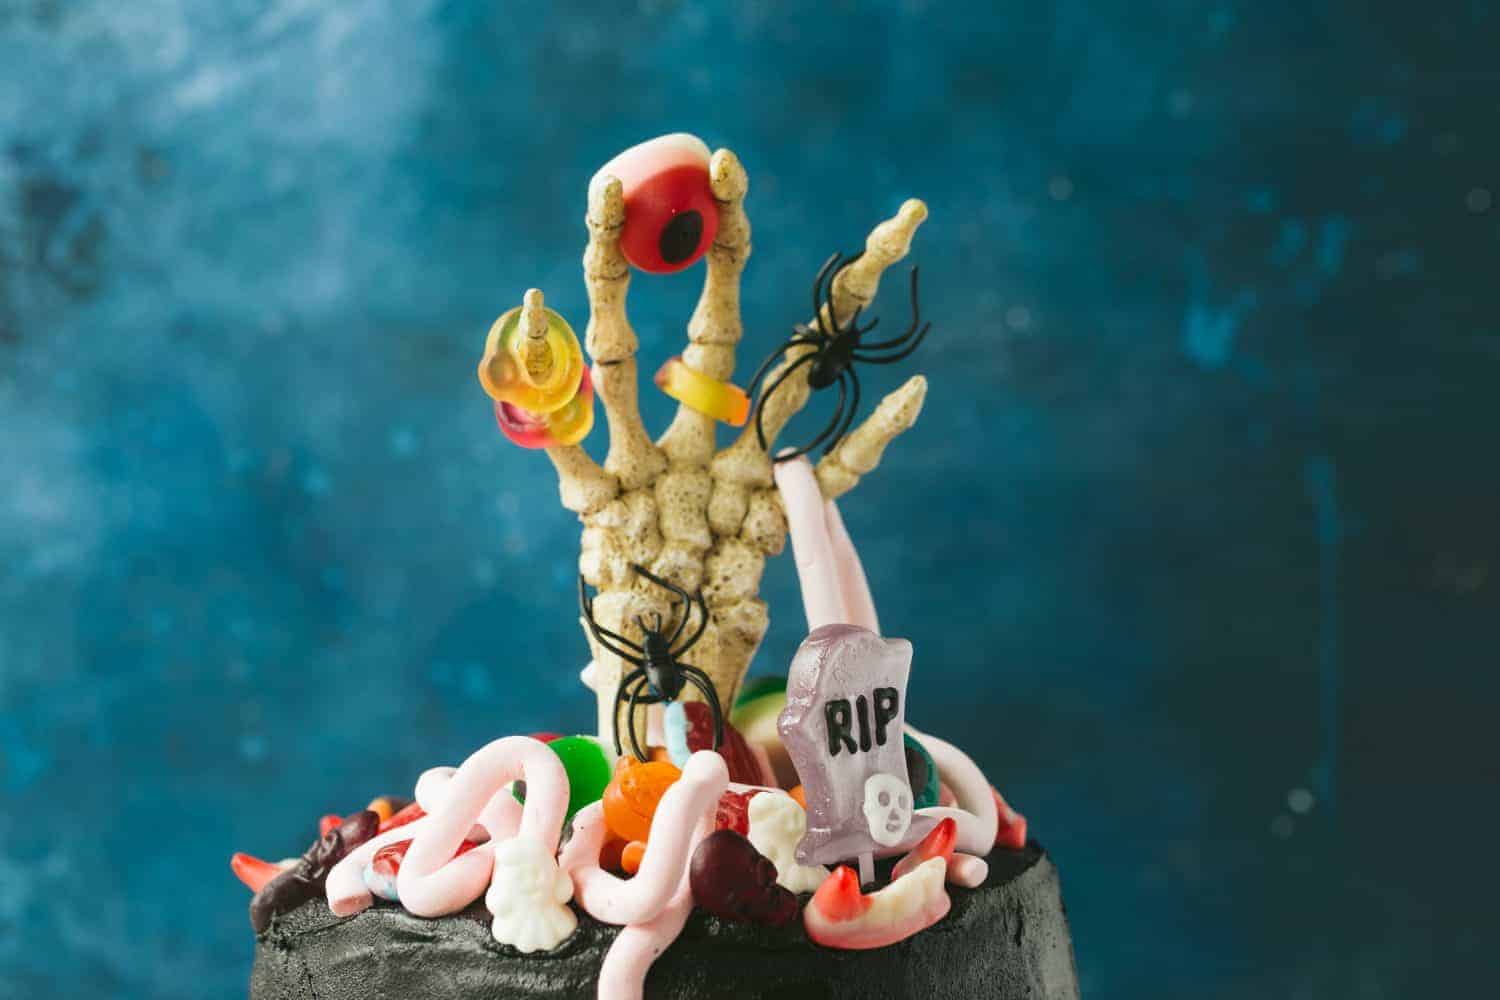
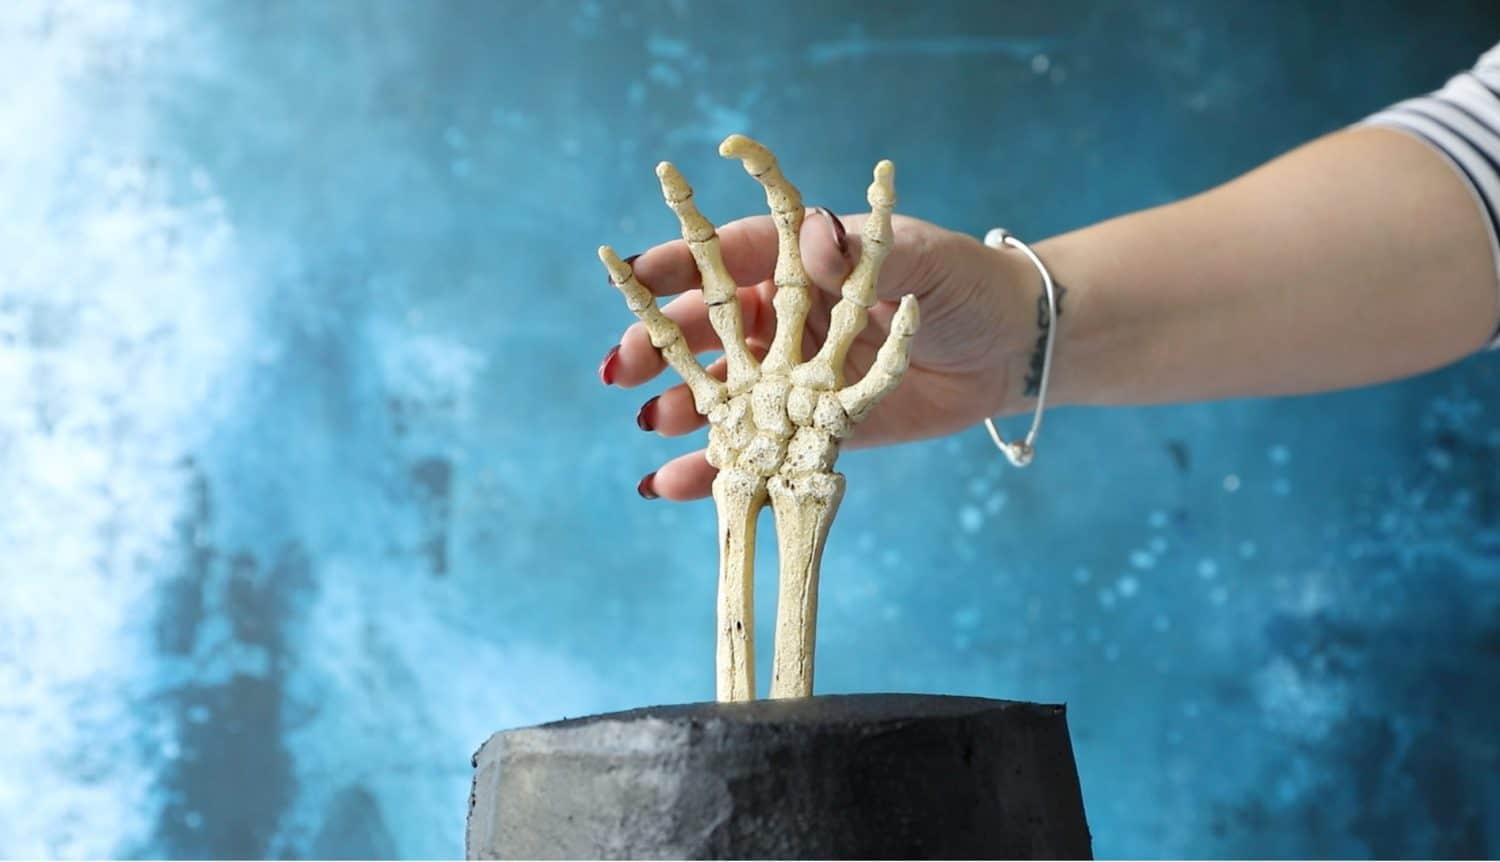
- Push the skeleton hand into the centre of the cake. Drape the sweets between the skeleton's fingers. Add jelly rings and other decorations around the hand. Use lollies as tombstones and add any other sweet decorations you like.
- Push a few plastic spiders into the sides of the cake and dangle them from the skeleton's fingers (just don't eat them!)
Using the palm of your hand, press the sprinkles onto the bottom border of the cake. 
Continue around the entire circumference of the cake. 
Push the skeleton hand gently into the centre of the cake. 
Decorate the hand with jelly rings and other decorations. 
Press plastic spiders into the side of the cake for creepy decorations.


This cake is easy but it does require time and patience! I recommend making the buttercream the day before you make the cakes then all you need to do is bake the sponges and wait for them to cool. You can then decorate the cake with the pre-made buttercream.
It's best to add black food colouring gel to a darker base colour, for this reason, I made chocolate buttercream then added Sugarflair Maximum Concentrated gel food colouring to make it black.
Black food colouring takes a couple of hours to develop. You will begin with a colour similar to grey concrete, the black colour will continue to develop the longer you leave it.
For very black buttercream leave it to develop in the fridge overnight.
I've found B&M stores stock Halloween sweets the earliest from mid-September. Waitrose tends to have stock of Halloween sweets from late September. Tesco and Asda usually have their range of Halloween sweets from 1st October.
You can use any combination of Halloween sweets you like, you could also consider using any leftover black buttercream to add swirls around the outside edge of your cake.
I used a skeleton hand prop for my cake (which I will use again for other Halloween recipes) you could also try using a skeleton skull or even a Halloween mask would look good!
The chocolate sponge layers can be individually wrapped and frozen. The black buttercream can be tightly wrapped and frozen. Both will keep for up to three months. I advise against freezing the cake once it's been decorated.
Cover with clingfilm and store in the fridge for up to 5 days.
The buttercream will keep for as long as the date on the butter you used to make it.
I used the Wham 5 Layer Rainbow Tins
MORE HALLOWEEN RECIPES TO TEMPT YOU
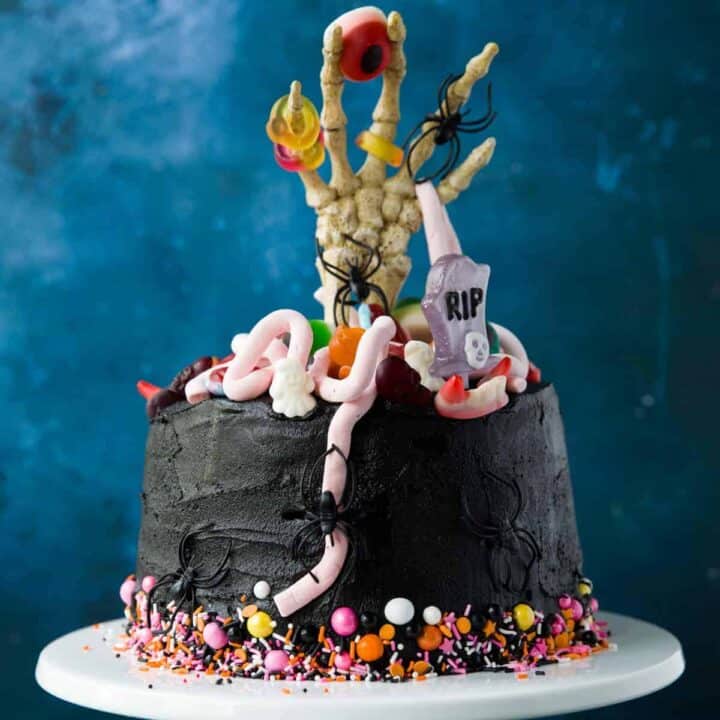
Skeleton Hand Halloween Cake
A creepy 5 layer chocolate Halloween Cake covered with black chocolate buttercream and Halloween sweets. Guaranteed to be a showstopper!
Ingredients
5-Layer Cake
- 250 g plain flour
- 50 g cocoa powder
- 350 g caster sugar, (US- Superfine)
- 3 tablespoon baking powder
- 0.5 teaspoon salt
- 100 g unsalted butter, at room temperature
- 300 ml whole milk
- 3 large eggs
- 1 teaspoon vanilla extract
Black Buttercream
- 300 g unsalted butter, at room temperature
- 560 g icing sugar, sifted
- 60 g cocoa powder
- 4 tablespoon whole milk or cream
- 1 teaspoon vanilla extract
Decoration
- skeleton hand
- Halloween sprinkles
- jelly snakes
- jelly eyes
- jelly vampire teeth
- jelly ghosts
- pink string guts
- jelly brains
- jelly rings
- spooky lollies
- plastic spiders, (not edible)
Instructions
5-layer chocolate cake
- Preheat your oven to 175ºC / 160ºC Fan / 350º F / Gas 4
- Prepare 5 layer tins with a circle of baking parchment on the bottom and give them a quick spray with Wilton Bake Easy this will stop the cakes from sticking.
- Add the flour, cocoa powder, sugar, baking powder, salt and butter to a stand mixer or into a large bowl if using an electric handheld whisk/ whisking by hand. Beat slowly until the ingredients look like damp sand.
- In a jug, whisk the milk, eggs and vanilla together, then slowly pour it into the sandy mixture. Beat on high speed until the mixture is smooth and creamy without any lumps.
- Scrape the sides of the bowl down and beat for a further minute. Take care not to overmix or the cake will lose its fluffiness.
- Spoon the mixture evenly between the 5 layer tins and bake in the pre-heated oven for around 25 minutes or until a skewer inserted into the middle comes out clean. The cakes are properly baked when they spring back when pressed lightly with your finger.
- Leave the cakes to cool in their tins.
Black chocolate buttercream icing
- Add the room temperature butter to a stand mixer with paddle attachment fitted. Beat until very smooth and creamy (at least 3-4 minutes) If you are using a handheld electric whisk this will take longer. It is also possible to make the buttercream by hand but it will take a lot of elbow grease!
- Sift the icing sugar and add it a few tablespoons at a time. Beat until fully incorporated. Add the cocoa powder and beat until there are no streaks of colour and the mixture is an even medium brown shade.
- Slowly add the milk and vanilla and beat until smooth.
- Add a teaspoon of Sugarflair black food colouring and mix thoroughly. The colour will resemble dark concrete and won't look black yet so don't be tempted to add more.
- Cover the bowl and put the buttercream in the fridge to develop in colour for at least two hours but preferably overnight.
- When you're ready to use the buttercream remove it from the fridge and microwave it in 15-second bursts until it's the right consistency.
Assembling and Decorating
- Add the first layer cake to a cake stand or turntable.
- Add buttercream icing on top of the cake - you can do this by using a piping bag without a tip fitted or spoon it on. Use a spatula to even out the buttercream.
- Repeat for the next four layers. Don't worry if any of the buttercream escapes from the layers - you can use this to cover the sides of the cake later.
- When you get to the final layer, pile the remaining buttercream on top of the cake and use a spatula to spread it down the sides.
- Even out the buttercream on the sides and top of the cake using a cake scraper.
- Press colourful sprinkles along the bottom border of the cake using the palm of your hand.
- Push the skeleton hand into the centre of the cake. Drape the sweets between the skeleton's fingers. Add jelly rings and other decorations around the hand. Use lollies as tombstones and add any other sweet decorations you like.
- Push a few plastic spiders into the sides of the cake and dangle them from the skeleton's fingers (don't eat them!)
Notes
- Skeleton hand (meant for a fishtank) bought on Amazon
- All Halloween sweets and plastic spider decorations found in B&M
- White cake stand from M&S
Note: For very black buttercream you will need to leave the colour to develop over a couple of hours or preferably overnight.
Cake and buttercream can be frozen (undecorated for up to three months)
Finished cake will keep in the fridge for 5 days.
Nutrition Information:
Yield: 14 Serving Size: 1 gramsAmount Per Serving: Calories: 572Total Fat: 26gSaturated Fat: 16gUnsaturated Fat: 0gCholesterol: 104mgSodium: 104mgCarbohydrates: 86gFiber: 3gSugar: 66gProtein: 5g


Leave a Reply