


Melt in the mouth Custard Creams perfect with an afternoon cuppa. These delicious homemade biscuits are so simple to bake you'll never want to buy shop-bought ones again!

There is something very satisfying about mastering a classic biscuit recipe like the beloved Custard Cream. Once you know how easy it is to make one of the nation's favourite biscuits at home you can whip up a batch (or two) and keep them stashed in your biscuit tin.
British classic
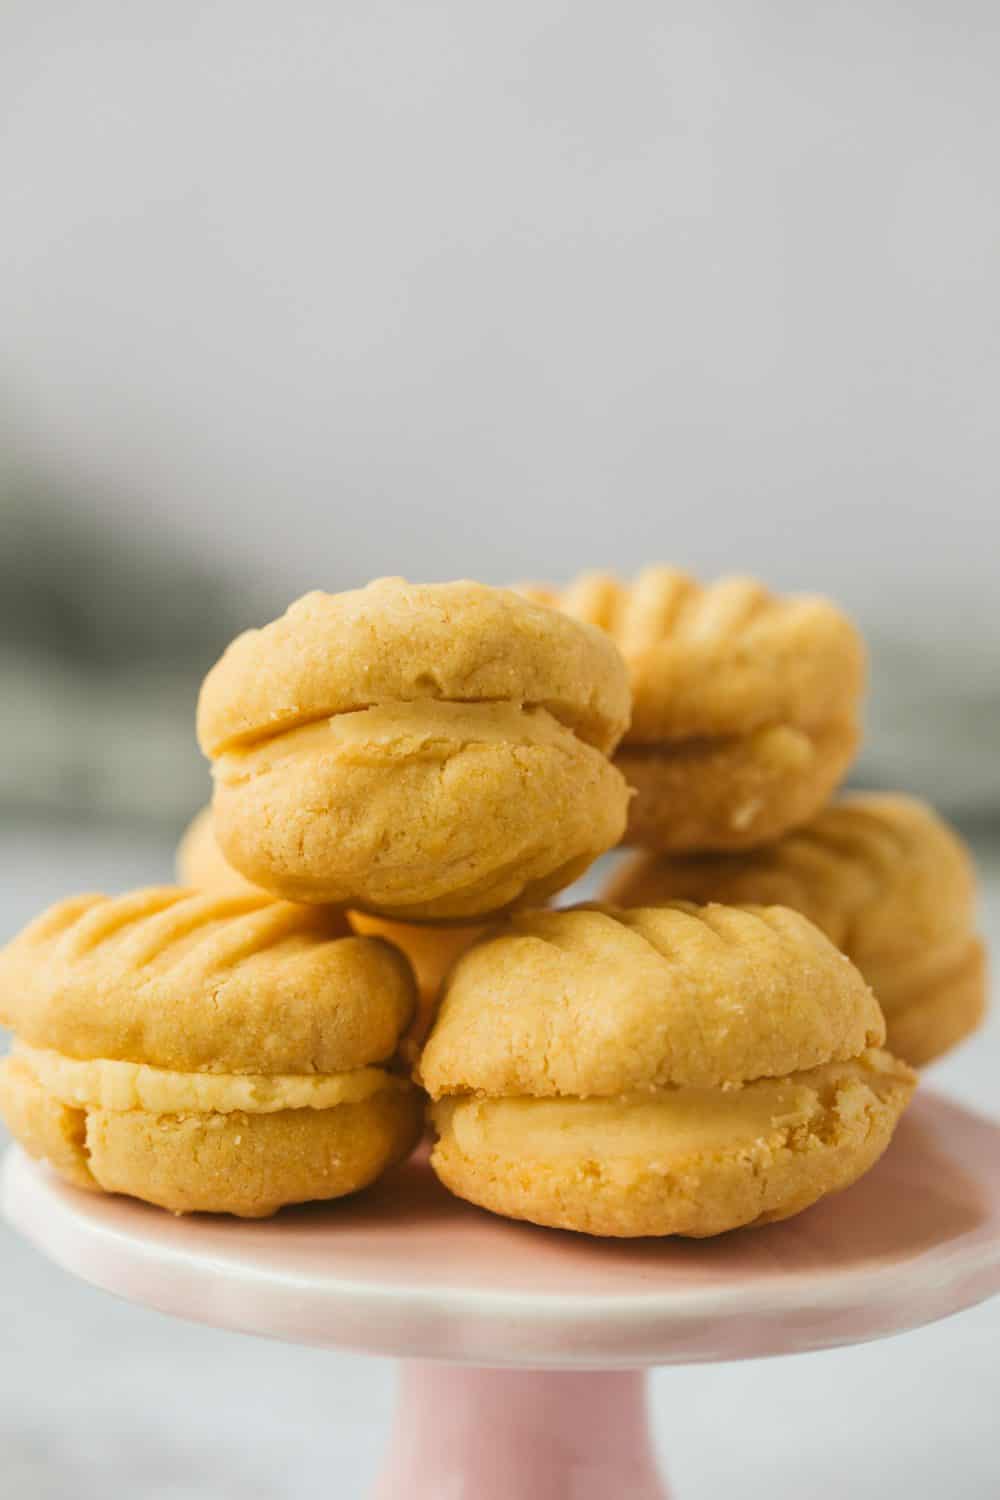
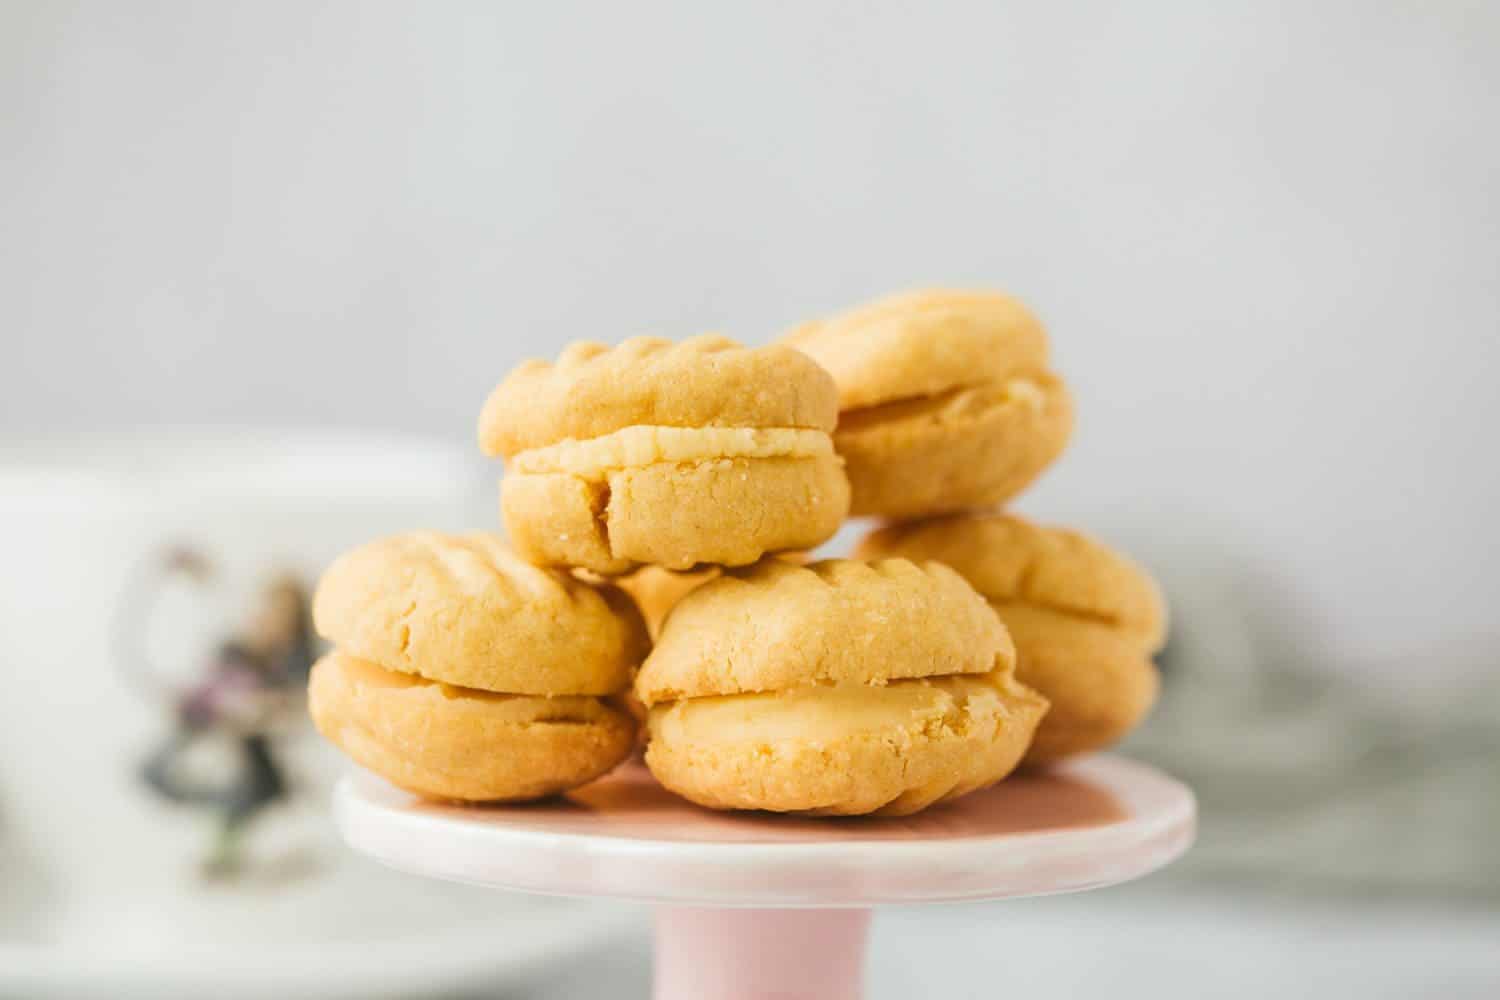
Homemade British classic Custard Creams are a million times better than anything you can buy in the shops. They are so light with an incredible texture that really does melt in your mouth.
Yum.
Learn how to make Custard Creams in two ways!
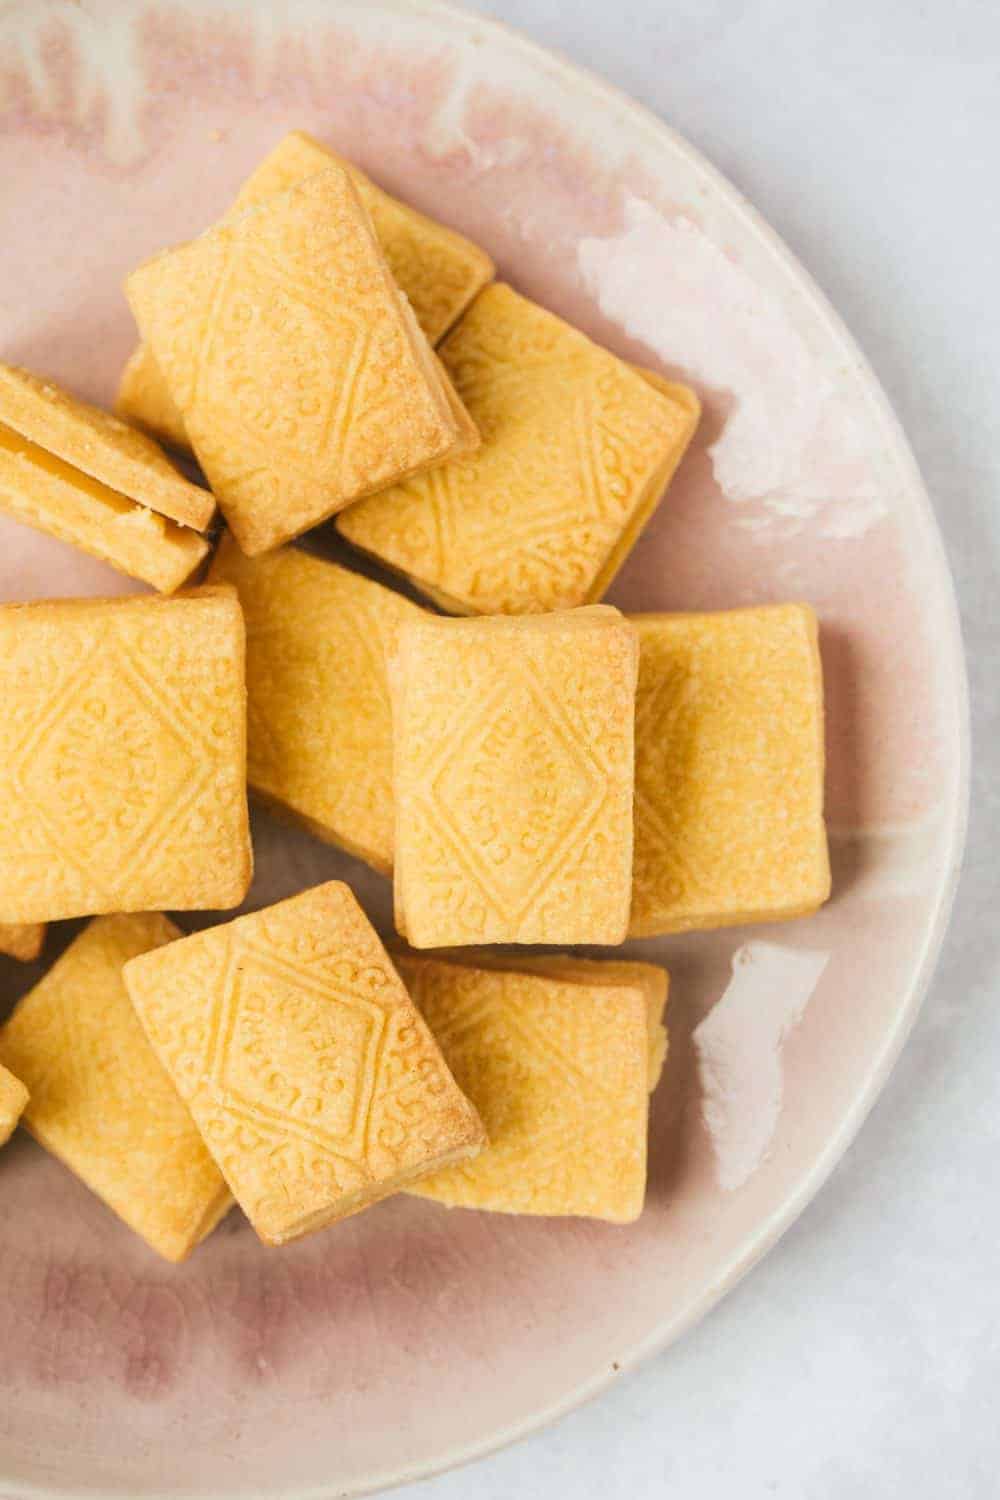
With this classic recipe, I'll show you how to shape the Custard Creams in two ways. You can either roll the biscuit dough into small balls and flatten them with a fork before baking - or, learn how to use a Custard Cream biscuit cutter to shape and print the biscuits with the classic Custard Cream pattern.

You'll love this recipe because:
✔︎ Better than shop-bought
✔︎ Really simple and easy
✔︎ Light melt in the mouth texture
What you need
- Plain Flour: Gives structure to the biscuit.
- Baking Powder: A small quantity of baking powder to produce even shaped biscuits.
- Custard Powder: I used Bird's custard powder which is readily available in supermarkets in the UK. For readers in the US, Bird's is available to buy on Amazon or you may find it in European stores. Or click here for a recipe to make your own custard powder.
- Icing Sugar (Confectioner's Sugar - US): Used for its very fine texture and because it dissolves without leaving any grain.
- Unsalted Butter: Unsalted is my preference over salted for this recipe.
- Milk: Use whole or semi-skimmed milk to help bind the ingredients together.
- Vanilla Extract: To enhance the flavour of the biscuits. Use extract, not essence.
How to make Custard Creams
For printed biscuits
I received a (affiliate link) Dexam Classic British Biscuits Cutter Set for Christmas. It contains cutters to make four different biscuits: Custard Creams, Bourbons, Jammie Dodgers and Party Rings.
My family obviously know how much I love biscuits AND baking so it was the perfect present. I'm impressed with the cutters, they printed really well and made the biscuits look very authentic.
Follow the steps below to learn how to cut and shape the Custard Cream dough, use the step by step photos and video in the recipe card to help you.
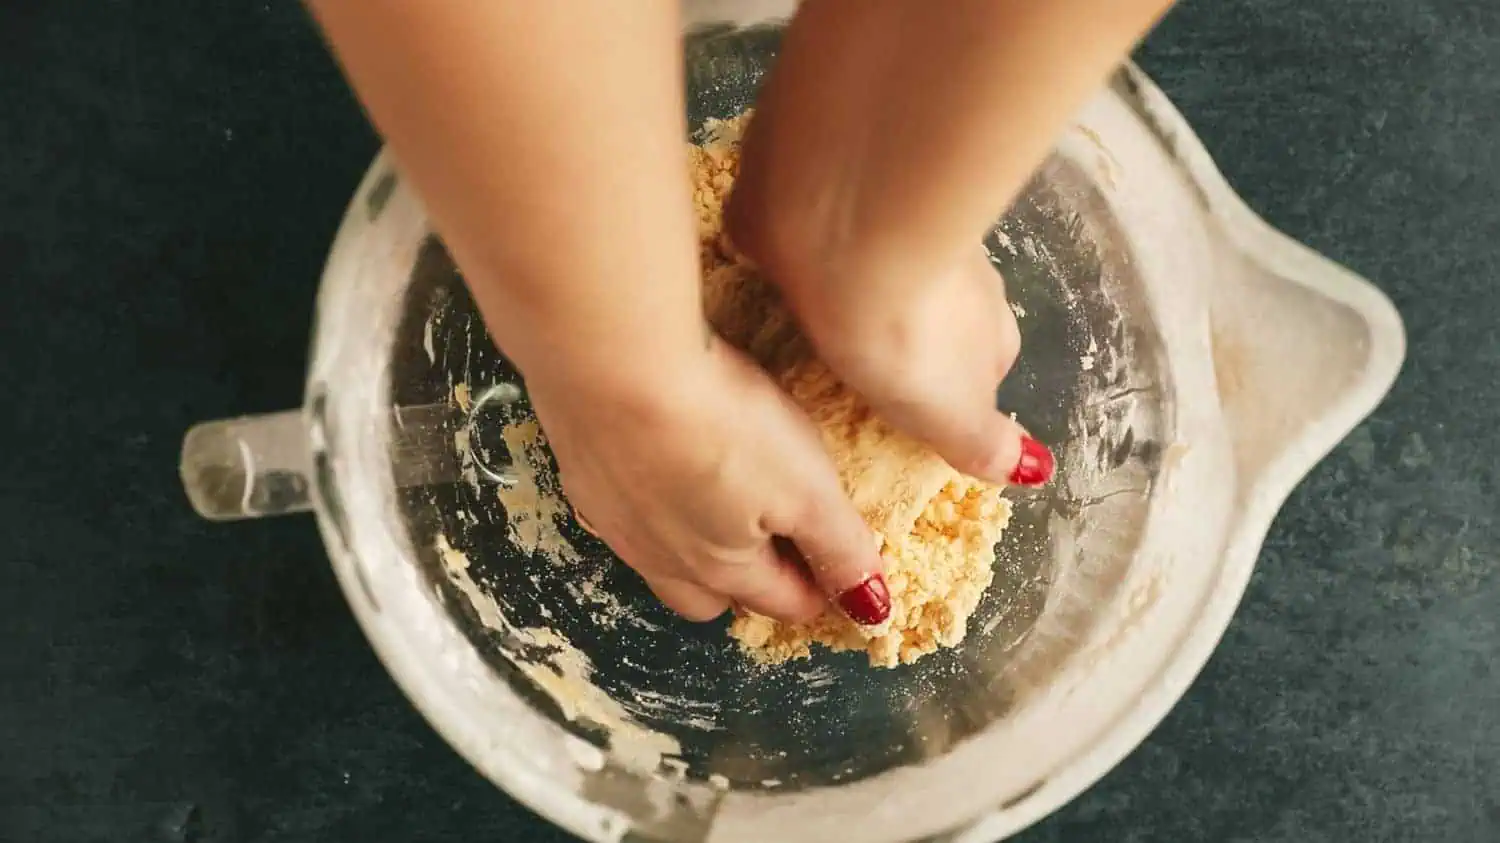
Step One: Fit an electric mixer with the paddle attachment and sift the flour, baking powder, custard powder and icing sugar into the bowl. Mix to combine then add in the cubed butter and mix until the ingredients look like fine sand.
Note: You can easily do this by hand using your fingertips to rub the butter into the flour mixture.
Step Two: Pour in the milk and vanilla and bring together into a dough. Remove the bowl from the mixer and knead the dough gently in the bowl with your hands. Flatten the dough into a disc but take care not to overwork it. Cover the dough with clingfilm and put it in the fridge to chill for one hour.
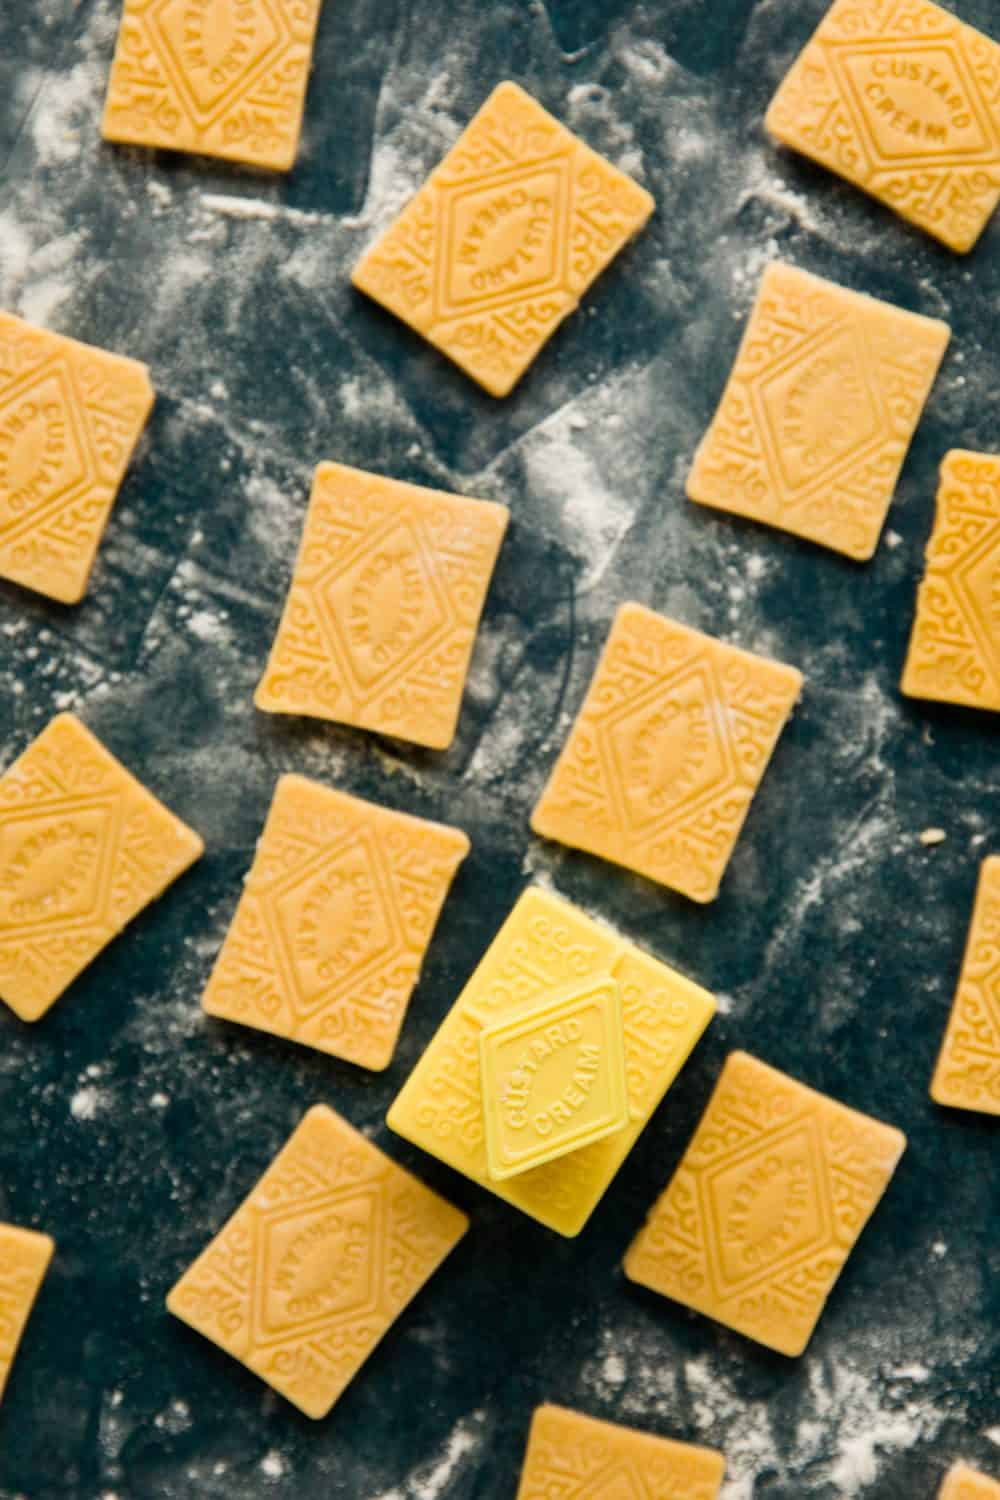
Step Three: Preheat the oven to 180ºC / 160ºC Fan / Gas 4 / 350ºF. Dust a surface with flour and roll the dough out to 3mm thick. Cut out the biscuits by pressing the cutter into the rolled out dough.


Push down on the button to print the biscuits with the Custard Cream pattern.
Step Four: Transfer the biscuits onto a baking tray lined with baking paper or a silicone mat and bake for 10-11 mins until the biscuits are firm and starting to go golden on the edges. Remove from the oven and transfer to a cooling rack until completely cool.
For hand-shaped biscuits
Authentic looking Custard Creams are wonderful but if you don't have the biscuit cutters it doesn't mean you have to miss out!
Custard Creams can be easily shaped by hand. Follow the simple steps below for delicious bite-sized biscuits.
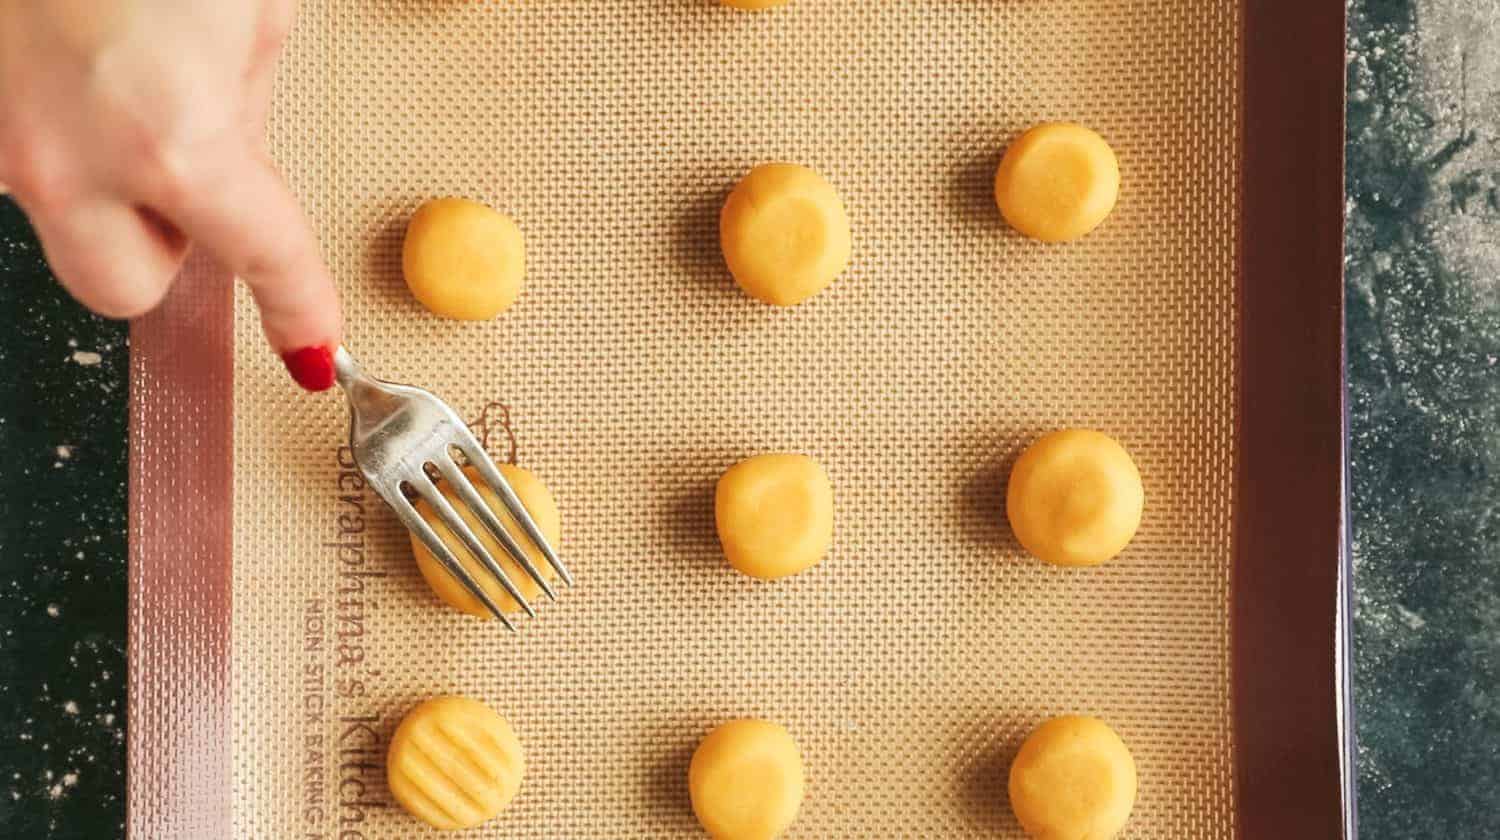
Follow Steps One to Three above: To shape the Custard Creams break off walnut-sized pieces from the dough and roll each piece into a ball.

Step Four: Place the balls on to a baking tray lined with baking paper or a silicone mat. Flatten each ball gently with the back of a fork. Bake for 10-11 mins until the biscuits are firm and starting to go golden on the edges. Remove from the oven and transfer to a cooling rack until completely cool.
For the buttercream filling
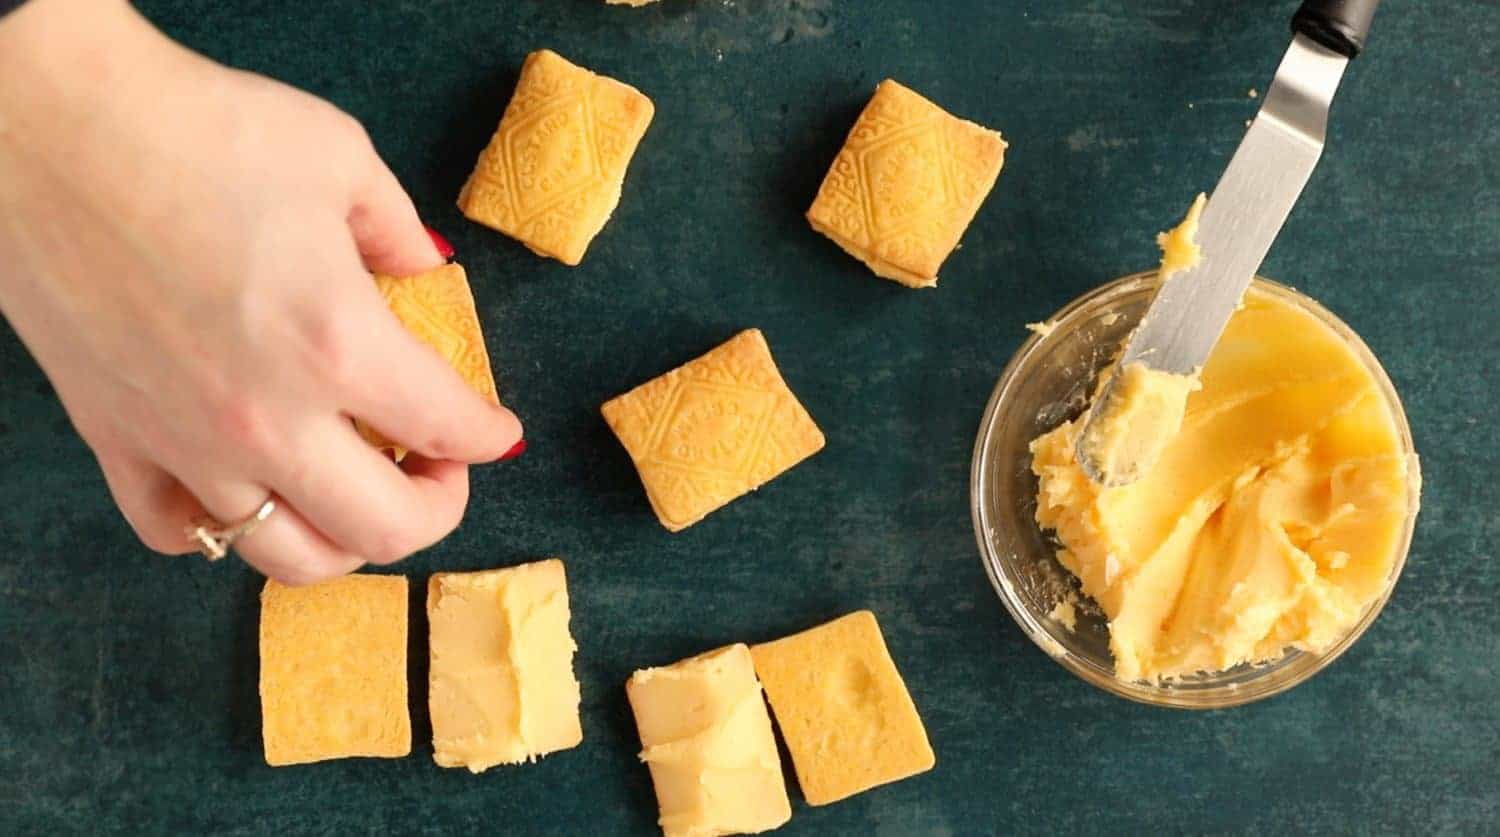
Step One: Make the filling by creaming together the butter, icing sugar, custard powder, vanilla and milk. Beat until smooth and pale - when it's ready it should be the consistency of spreadable butter.
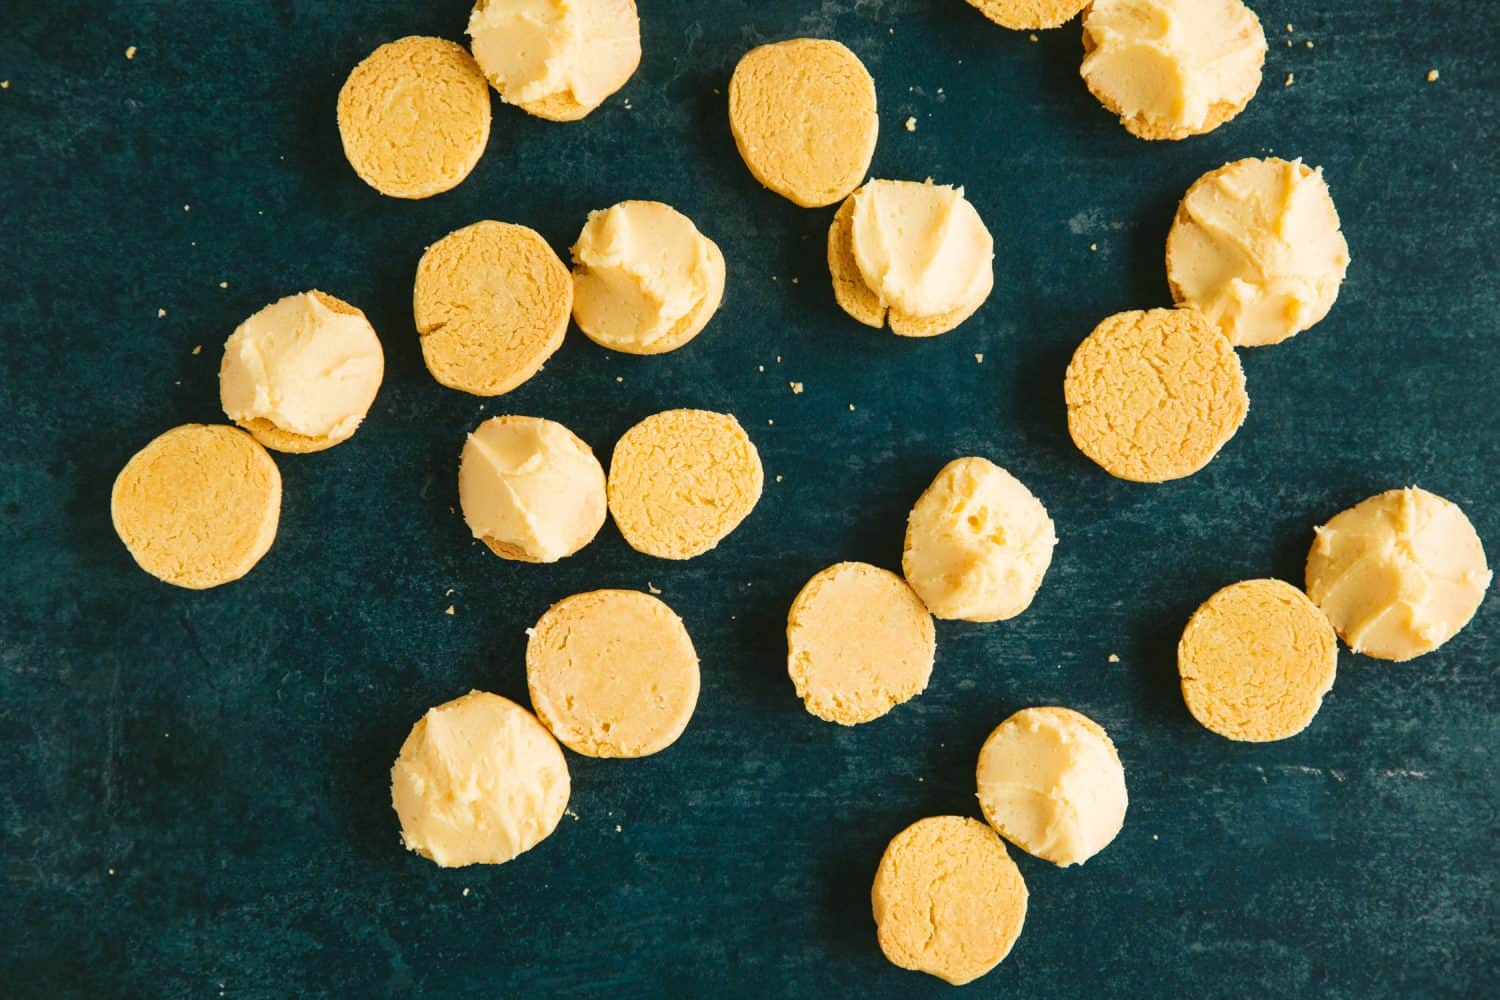
Step Two: Using a palette knife or butter knife spread over a layer of buttercream onto half the biscuits. Next, pair up the biscuits with another half that is roughly the same size and shape (as they will vary slightly). Sandwich the two halves together gently.

Top Tips
- Opt for powdered icing sugar over caster or regular sugar as this will result in a better texture.
- Avoid rolling the dough out too thick or the biscuits will lose their shape and unique melt in the mouth consistency.
- Likewise, if rolling by hand opt for walnut-sized pieces of dough.
- Leave to completely cool before spreading the buttercream and sandwiching the biscuits together otherwise they might break.
- Feel free to double the recipe because these biscuits always disappear quickly from the tin!
- For a flavoured Custard Cream, experiment with adding a tablespoon of fresh orange or lemon zest.
- You can use the biscuits to make a Custard Cream cheesecake, celebration cake or even blondies!
- Storage: The biscuits will keep in an airtight tin for 5 days.

FAQ
It's available to buy on Amazon or check your nearest European supermarket. There are also recipes online to make your own custard powder. Custard powder keeps for a long time so don't be put off investing in buying some :-)
Yes, I have substituted the butter for a dairy-free version and the milk for almond milk and the biscuits turned out brilliantly. Please be cautioned that Bird's custard powder may contain traces of milk.
Yes, it will.
This recipe is not vegan, however, Bird's custard powder is vegan so if you substitute the butter for a dairy-free version and swap the milk for almond milk you can easily make vegan Custard Creams.
More Tempting biscuit recipes

Homemade Custard Creams
Delicious melt in the mouth homemade Custard Creams with a buttercream filling. Once you learn how easy it is to bake these biscuits at home - you'll never want to buy shop-bought again!
Ingredients
- 200 g plain flour
- 0.5 teaspoon baking powder
- 50 g custard powder
- 50 g icing sugar
- 175 g unsalted butter, cubed
- 1 tablespoon whole milk
- 1 teaspoon vanilla extract
For the buttercream filling
- 50 g unsalted butter
- 100 g icing sugar
- 1 tablespoon custard powder
- 0.5 teaspoon vanilla extract
- 2 tablespoon whole milk
Instructions
To make Custard Creams using a biscuit cutter
- Fit an electric mixer with the paddle attachment and sift the flour, baking powder, custard powder and icing sugar into the bowl. Mix to combine then add in the cubed butter and mix until the ingredients look like fine sand.
- Pour in the milk and vanilla and bring together into a dough. Remove the bowl from the mixer and knead the dough gently in the bowl with your hands. Flatten the dough into a disc but take care not to overwork it. Cover the dough with clingfilm and put it in the fridge to chill for one hour.
- Preheat the oven to 180ºC / 160ºC Fan / Gas 4 / 350ºF. Dust a surface with flour and roll the dough out to 3mm thick. Cut out the biscuits by pressing the cutter into the rolled out dough, then push down on the button to print the biscuits with the Custard Cream pattern.
- Transfer the biscuits onto a baking tray lined with baking paper or a silicone mat and bake for 10-11 mins until the biscuits are firm and starting to go golden on the edges. Remove from the oven and transfer to a cooling rack until completely cool.
For hand-shaped biscuits
- Follow Steps One to Three above: To shape the Custard Creams break off walnut-sized pieces from the dough and roll each piece into a ball.
- Place the balls on to a baking tray lined with baking paper or a silicone mat. Flatten each ball gently with the back of a fork. Bake for 10-11 mins until the biscuits are firm and starting to go golden on the edges. Remove from the oven and transfer to a cooling rack until completely cool.
For the buttercream filling
- Cream together the butter, icing sugar, custard powder, vanilla and milk. Beat until smooth, pale and the consistency of spreadable butter.
- Using a palette knife or butter knife spread over a layer of buttercream onto half the biscuits. Next, pair up the biscuits with another half that is roughly the same size and shape (as they will vary slightly). Sandwich the two halves together gently.
Notes
- You don't need a stand mixer to make this recipe as you can use your fingertips to rub the butter into the flour mixture.
- Opt for powdered icing sugar over caster or regular sugar as this will result in a better texture.
- Avoid rolling the dough out too thick or the biscuits will lose their shape and unique melt in the mouth consistency.
- Likewise, if rolling by hand opt for walnut-sized pieces of dough.
- Leave to completely cool before spreading the buttercream and sandwiching the biscuits together otherwise they might break.
- Feel free to double the recipe because these biscuits always disappear quickly from the tin!
- For a flavoured Custard Cream experiment with adding a tablespoon of orange or lemon zest.
- Cusatard powder IS vegan. To make this recipe dairy-free/vegan substitute the butter for a dairy-free version and swap the milk for almond milk.
- Storage: The biscuits will keep in an airtight tin for at least 5 days.
Nutrition Information:
Yield: 25 Serving Size: 1 gramsAmount Per Serving: Calories: 129Total Fat: 8gSaturated Fat: 5gUnsaturated Fat: 0gCholesterol: 26mgSodium: 9mgCarbohydrates: 14gFiber: 1gSugar: 6gProtein: 1g


Leave a Reply