


Chocolate biscuits so easy they take hardly any time to make. Crunchy and with the perfect snap and best of all - really rich and chocolatey!

Remember the last time you took out the biscuit barrel - I'll bet the first variety of biscuit to be gobbled up were the chocolate biscuits, am I right?
A Chocolate Biscuit That Tastes Really Chocolatey
There's something irresistible about a chocolate biscuit but it has to actually taste like chocolate if it has any hopes of satisfying sweet cravings. Too many times I've eaten so-called chocolate biscuits that don't even taste chocolatey.
What's the point of that?! This recipe is for proper British chocolate biscuits that are undeniably delicious.
I will say, some of my favourite chocolate biscuits are a good old milk chocolate digestive or chocolate chip but when I want something truly homemade you can't beat a plain chocolate biscuit enriched with the very best cocoa powder.
Eat them just as they are or cover with white fondant icing for an extra special treat.
Christmas Gift Box
This year I did a bumper biscuit bake for my Christmas Cookie Gift Box. The homemade selection in the box includes meringue cookies, gingerbread, vanilla and of course, everyone's favourite - chocolate flavoured biscuits.

Christmas aside, this chocolate biscuit recipe can be used at any time of year, the biscuits are especially lovely with afternoon tea.
Why Use This Simple Biscuit Recipe?
✔︎ Made from easy to find everyday ingredients
✔︎ Don't spread and keep their shape
✔︎ Full of chocolate flavour
This chocolate biscuit recipe is a cross between shortbread and a biscuit. They have a fine melt in the mouth crumbly texture and are not at all soft or chewy.
The biscuit dough forms an excellent structure and adapts to any size or shape biscuit. You can really go to town cutting the robust dough into any shape and because it's such a hardy dough it won't spread during baking.
What You Need To Make Chocolate Biscuits
- Caster Sugar (Superfine - US): Caster sugar is finer than granulated sugar so it dissolves well without leaving a grainy texture.
- Salted Butter: I don't often use salted butter when baking but I opt to use it in biscuits to cut through and balance the sweetness of the sugar and syrup. You can substitute for unsalted butter if that is your preference.
- Golden Syrup: This recipe is for a softer biscuit so golden syrup is added to aid the texture. If you prefer a crisper biscuit you can substitute the syrup for sugar or reduce the amount weight for weight.
- Egg: To bring the dough together more easily, use large and preferably free-range.
- Plain Flour: Provides more 'bite'. No baking powder is needed and I wouldn't recommend substituting for self-raising flour.
- Cocoa Powder: Choose the highest-quality cocoa powder you can afford, it really does make a difference. I recommend Dr Oetker Fine Dark Cocoa powder. The acidity of the powder has been reduced so it won’t interfere with the rise on your bakes.
How To Make Chocolate Biscuits
- Preheat oven to 180ºC / 160ºC Fan / 350ºF / Gas 4
- Cream the sugar, butter, golden syrup and egg in a large bowl. This can be done in an electric mixer using the paddle attachment or by hand with a wooden spoon.
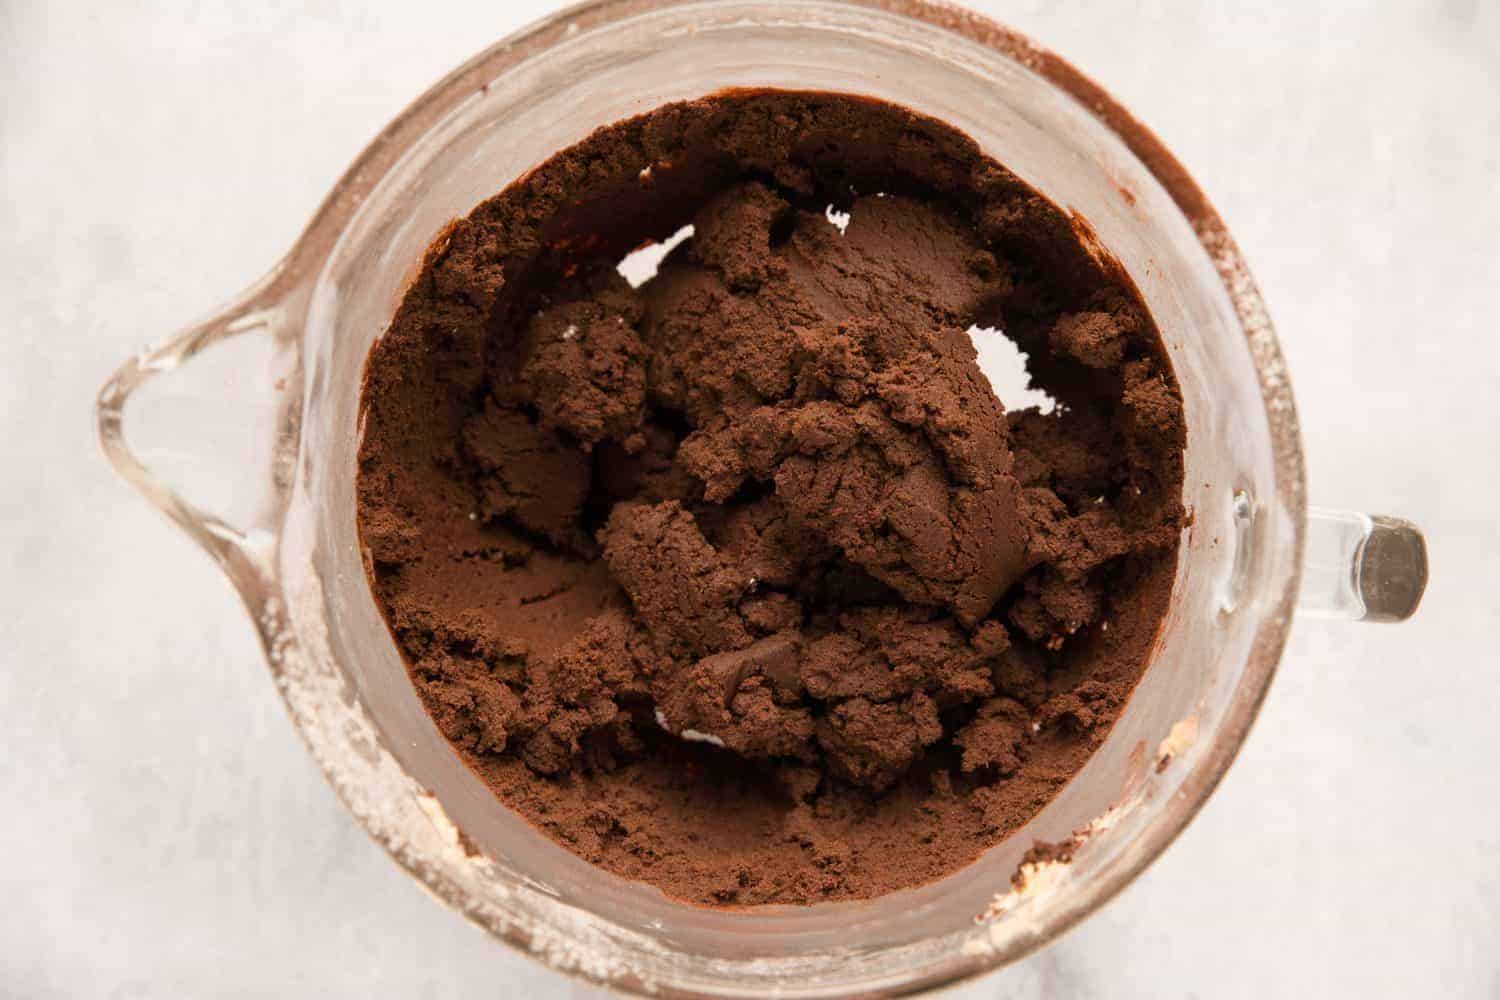
- Sift the flour and cocoa powder into the bowl and slowly mix to begin with then increase the speed to medium or mix vigorously by hand for 30 seconds.
- The dough is ready when it clings together and the sides of the bowl are clean.
- Transfer the dough to a lightly floured board and knead it until it forms a smooth ball. Take care not to overwork the dough.
- Wrap the dough in clingfilm and chill it in the fridge for 30 minutes.
- Once the dough has chilled, roll it out to a thickness of 4-5mm. I find it easier to work in batches as opposed to rolling the dough out all in one go.
- Cut into your desired biscuit shapes and transfer to a baking sheet leaving a 2cm space between each biscuit.
- Bake in the preheated oven for 20 minutes. Bear in mind that smaller biscuits will bake quicker than larger ones.
- The biscuits are cooked when they are browning at the edges and underneath.
- Remove from the oven and transfer to a wire rack. Leave to completely cool and firm up before you attempt to decorate.

Fondant Icing
I added fondant icing to some of my biscuits. I totally cheat and would never make my own fondant icing. It's much easier to buy it in blocks, roll it out and then use cookie cutters to make shapes.
If you do want to try making your own you could try this recipe from the Queen of baking Delia Smith.
Just make sure you wrap any unused fondant icing tightly and store it in a cool dark place and it'll last for ages.

Chocolate Biscuit Decorations
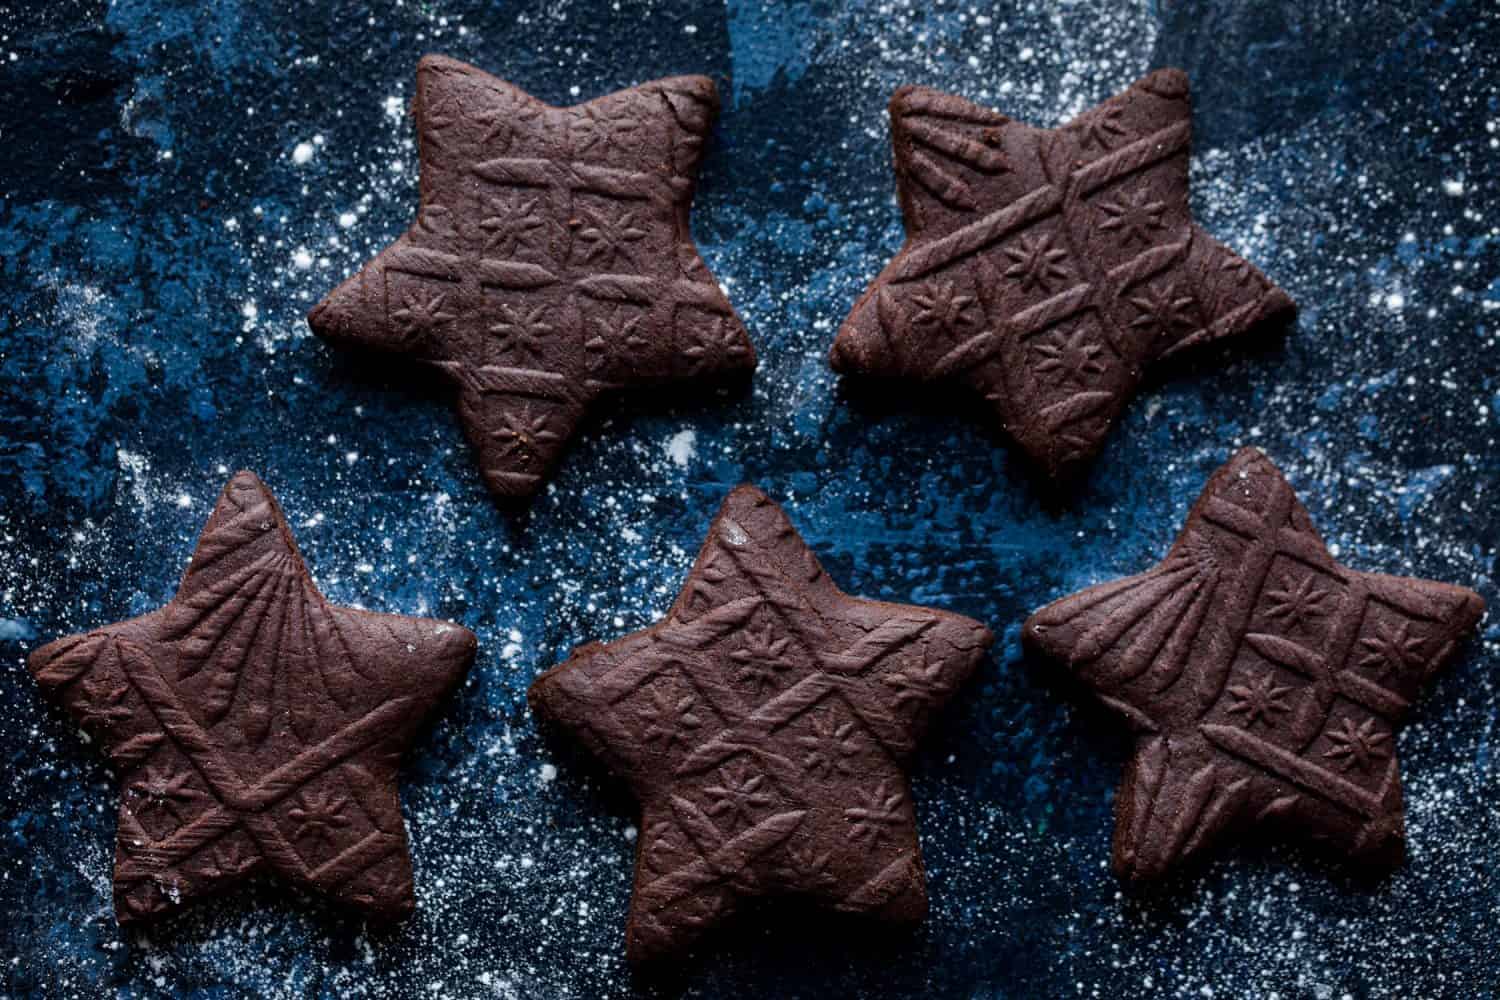
I used my patterned rolling pin on some of the biscuits which looked really effective.
Don't fancy plain chocolate biscuits? Smear them with melted dark chocolate, top them with chocolate ganache or even use a simple water icing.
As these biscuits are so robust you can poke holes in them before they are baked then thread festive string through to make a chocolate biscuit garland.
The possibilities are endless!
MORE TEMPTING BISCUIT RECIPES

Easy Chocolate Biscuits
A delicious chocolate biscuit that is a cross between shortbread and biscuit. Robust enough to be made into any shape, it's perfect undecorated or white fondant can be added for an extra special treat.
Ingredients
- 150 g caster sugar, superfine - US
- 150 g salted butter
- 150 g golden syrup, corn syrup - US
- 1 large egg
- 400 g plain flour
- 125 g cocoa powder
Instructions
- Preheat oven to 180ºC / 160ºC Fan / 350ºF / Gas 4
- Cream the sugar, butter, golden syrup and egg in a large bowl. This can be done in an electric mixer using the paddle attachment or by hand with a wooden spoon.
- Sift the flour and cocoa powder into the bowl and slowly mix to begin with then increase the speed to medium or mix vigorously by hand for 30 seconds. The dough is ready when it clings together and the sides of the bowl are clean.
- Transfer the dough to a lightly floured board and knead it until it forms a smooth ball. Take care not to overwork the dough.
- Wrap the dough in clingfilm and chill it in the fridge for 30 minutes.
- Once the dough has chilled, roll it out to a thickness of 4-5mm. I find it easier to work in batches as opposed to rolling the dough out all in one go.
- Cut into your desired biscuit shapes and transfer to a baking sheet leaving a 2cm space between each biscuit.
- Bake in the preheated oven for 20 minutes. Bear in mind that smaller biscuits will bake quicker than larger ones.
- The biscuits are cooked when they are browning at the edges and underneath.
- Remove from the oven and transfer to a wire rack. Leave to completely cool and firm up before you attempt to decorate.
Notes
- Chilled dough is easier to roll and shape so don’t be tempted to skip this step
- It's easier to work in batches as opposed to rolling the dough out all in one go
- Smaller biscuits will bake quicker than larger ones
- Allow biscuits to completely cool before you attempt to decorate them
- Biscuits will keep in an airtight container for 2 weeks.
- Uncooked dough freezes well for up to six months.
Nutrition Information:
Yield: 24 Serving Size: 1 gramsAmount Per Serving: Calories: 164.92Total Fat: 6.17gSaturated Fat: 3.73gUnsaturated Fat: 0gCholesterol: 22.23mgSodium: 49.47mgCarbohydrates: 26.95gFiber: 2.18gSugar: 11.34gProtein: 3.09g


Leave a Reply