


Jam and Coconut Cake with Pink Custard exactly like you had at school! This traditional sponge traybake is so easy to make, everyone will love it as a teatime treat.

Jump to:
You know I'm crazy about the nostalgia and comfort that comes from enjoying Old School Puddings. I'm rather partial to Chocolate Concrete and Cornflake Tart.
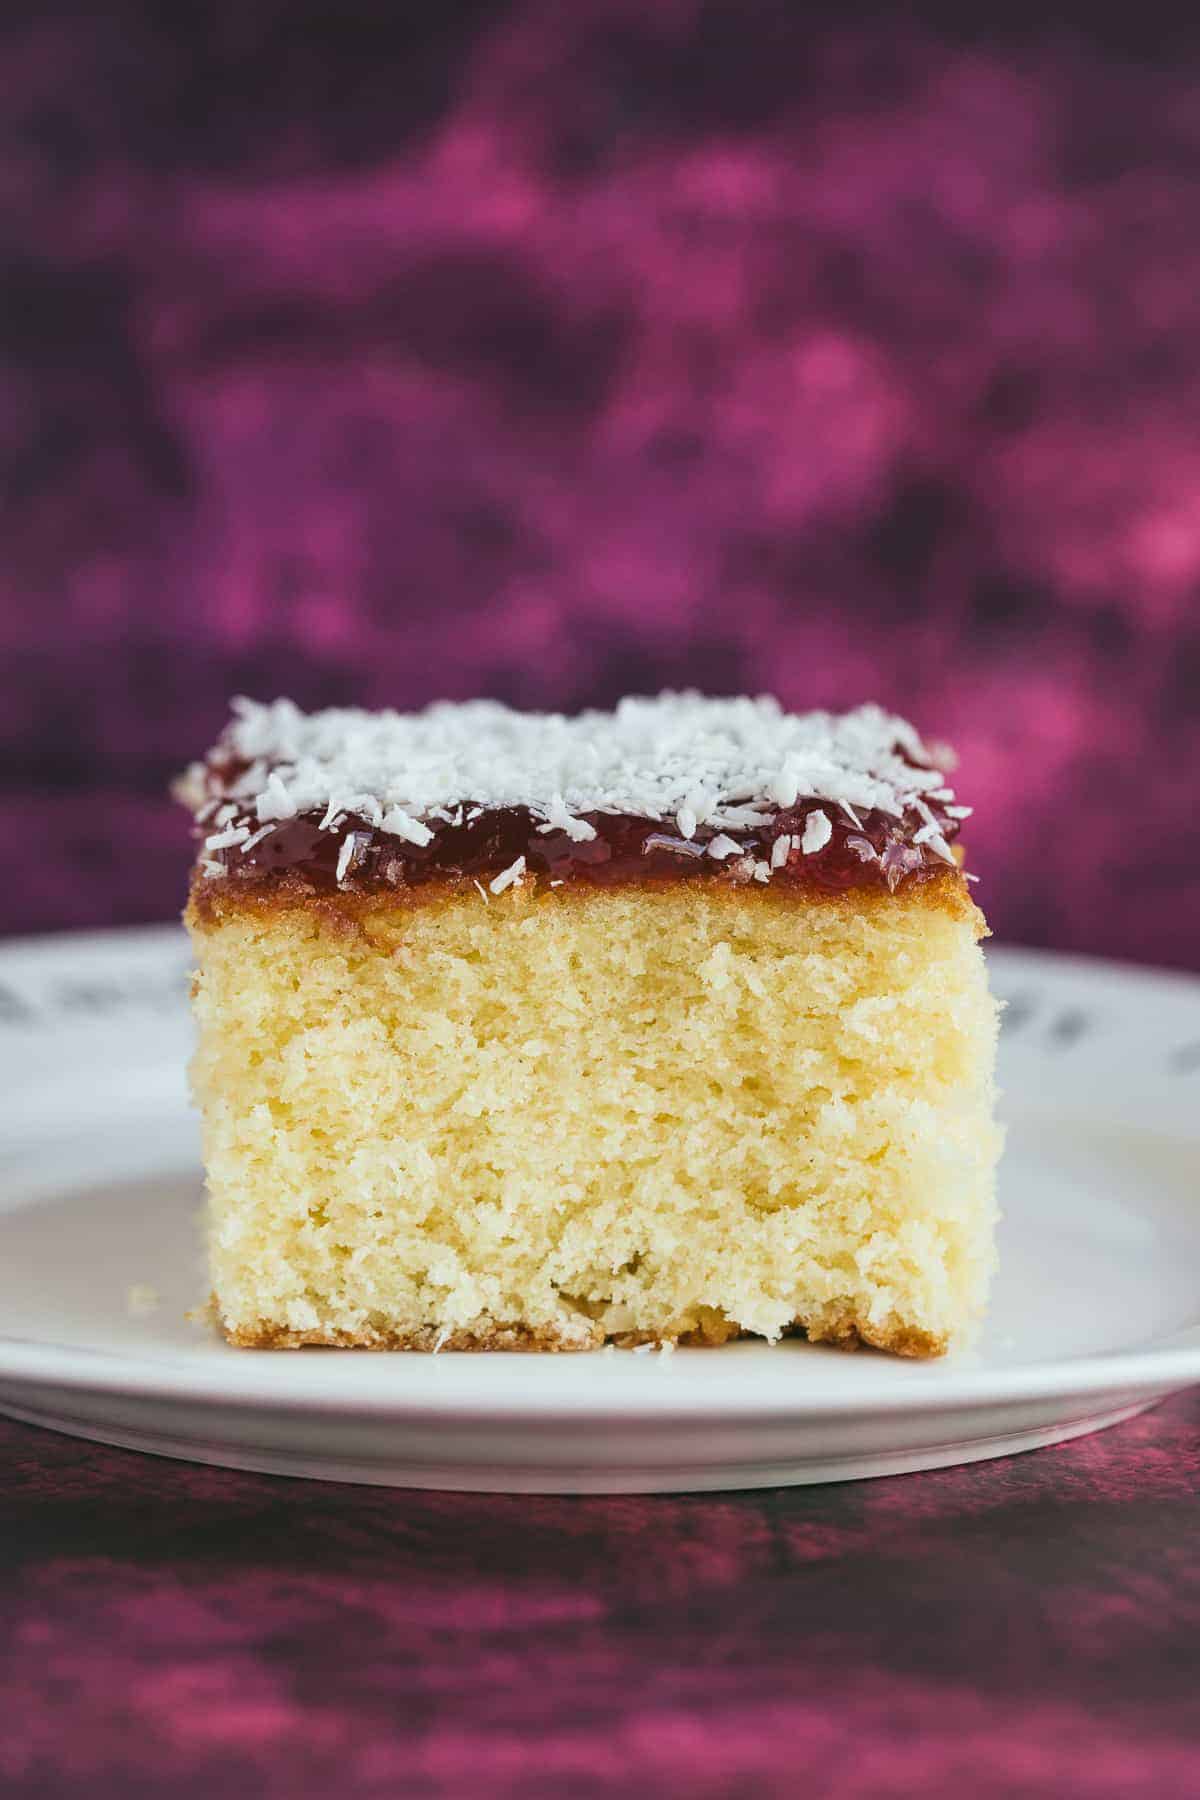
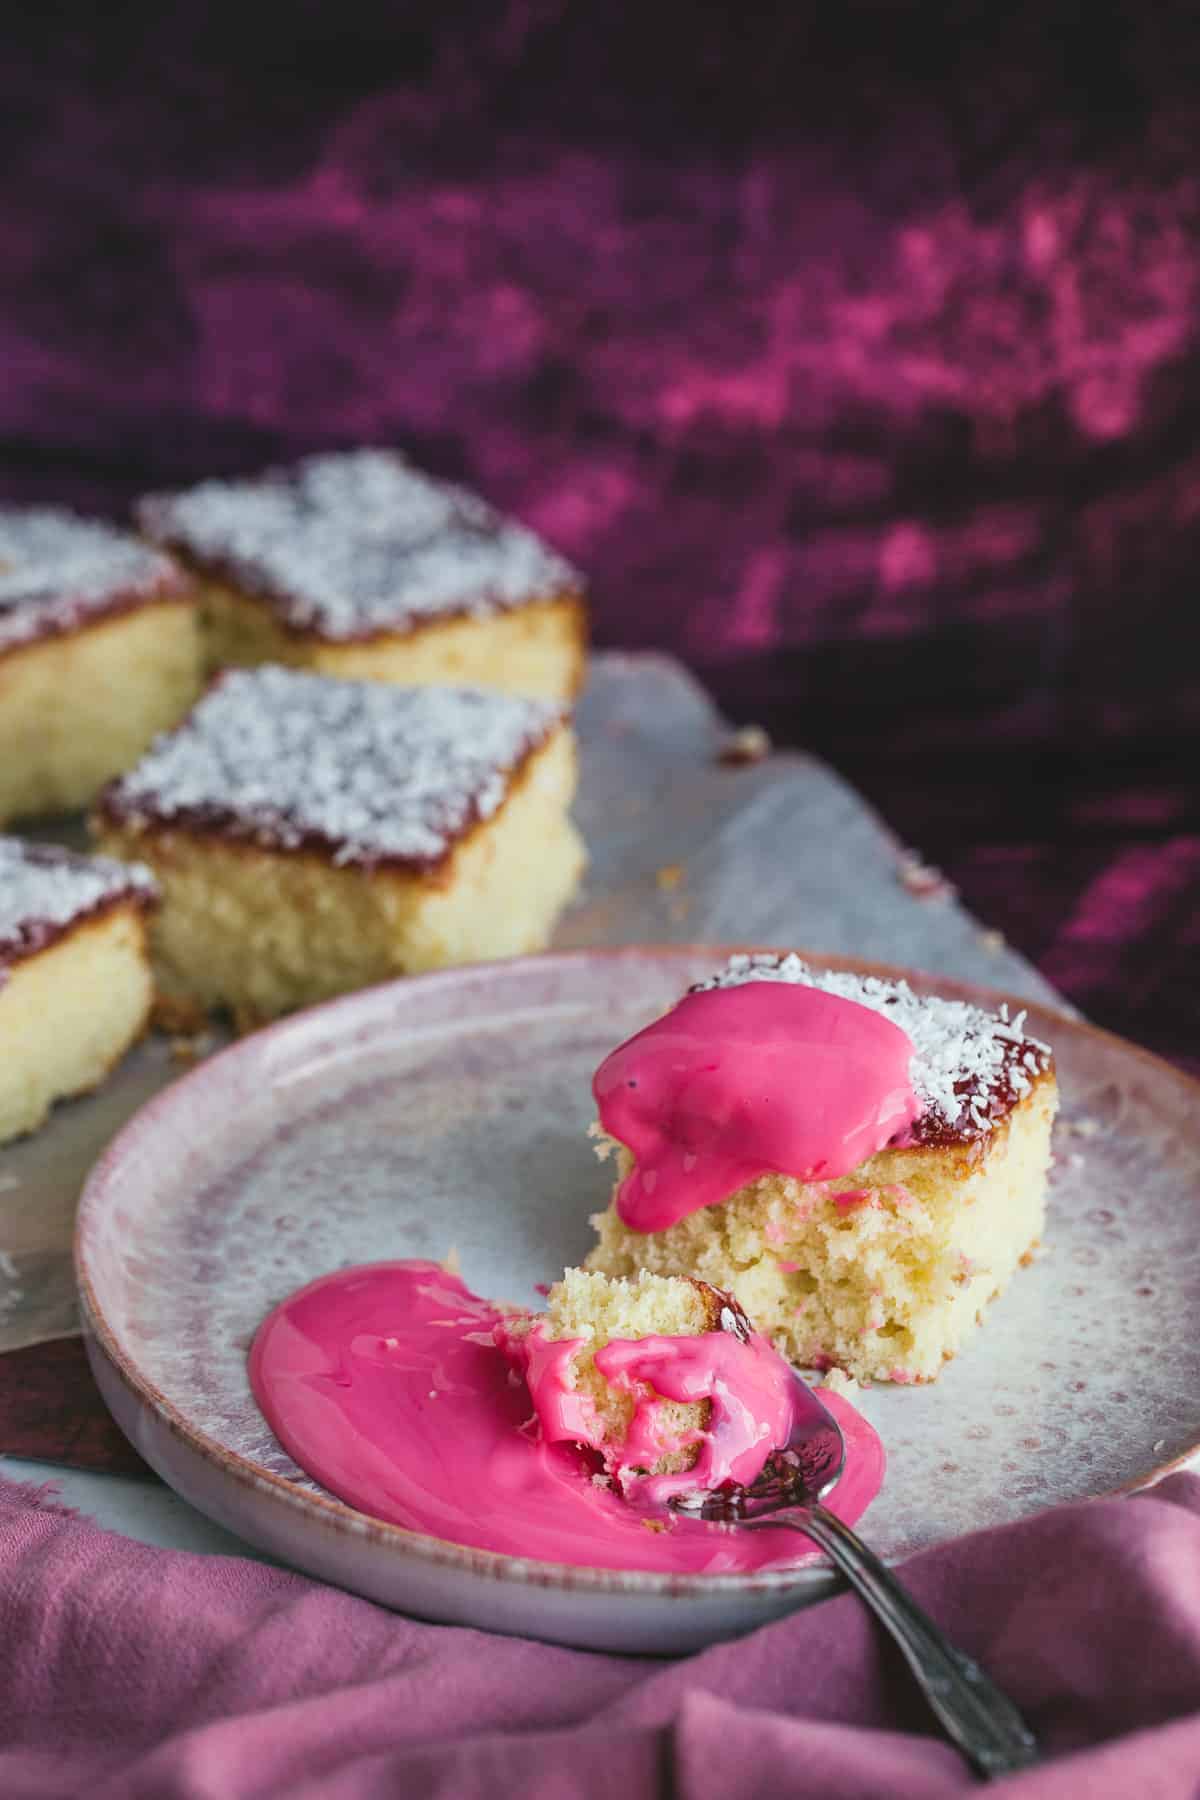
This lovely jam and coconut cake is a classic retro school dinner cake example.
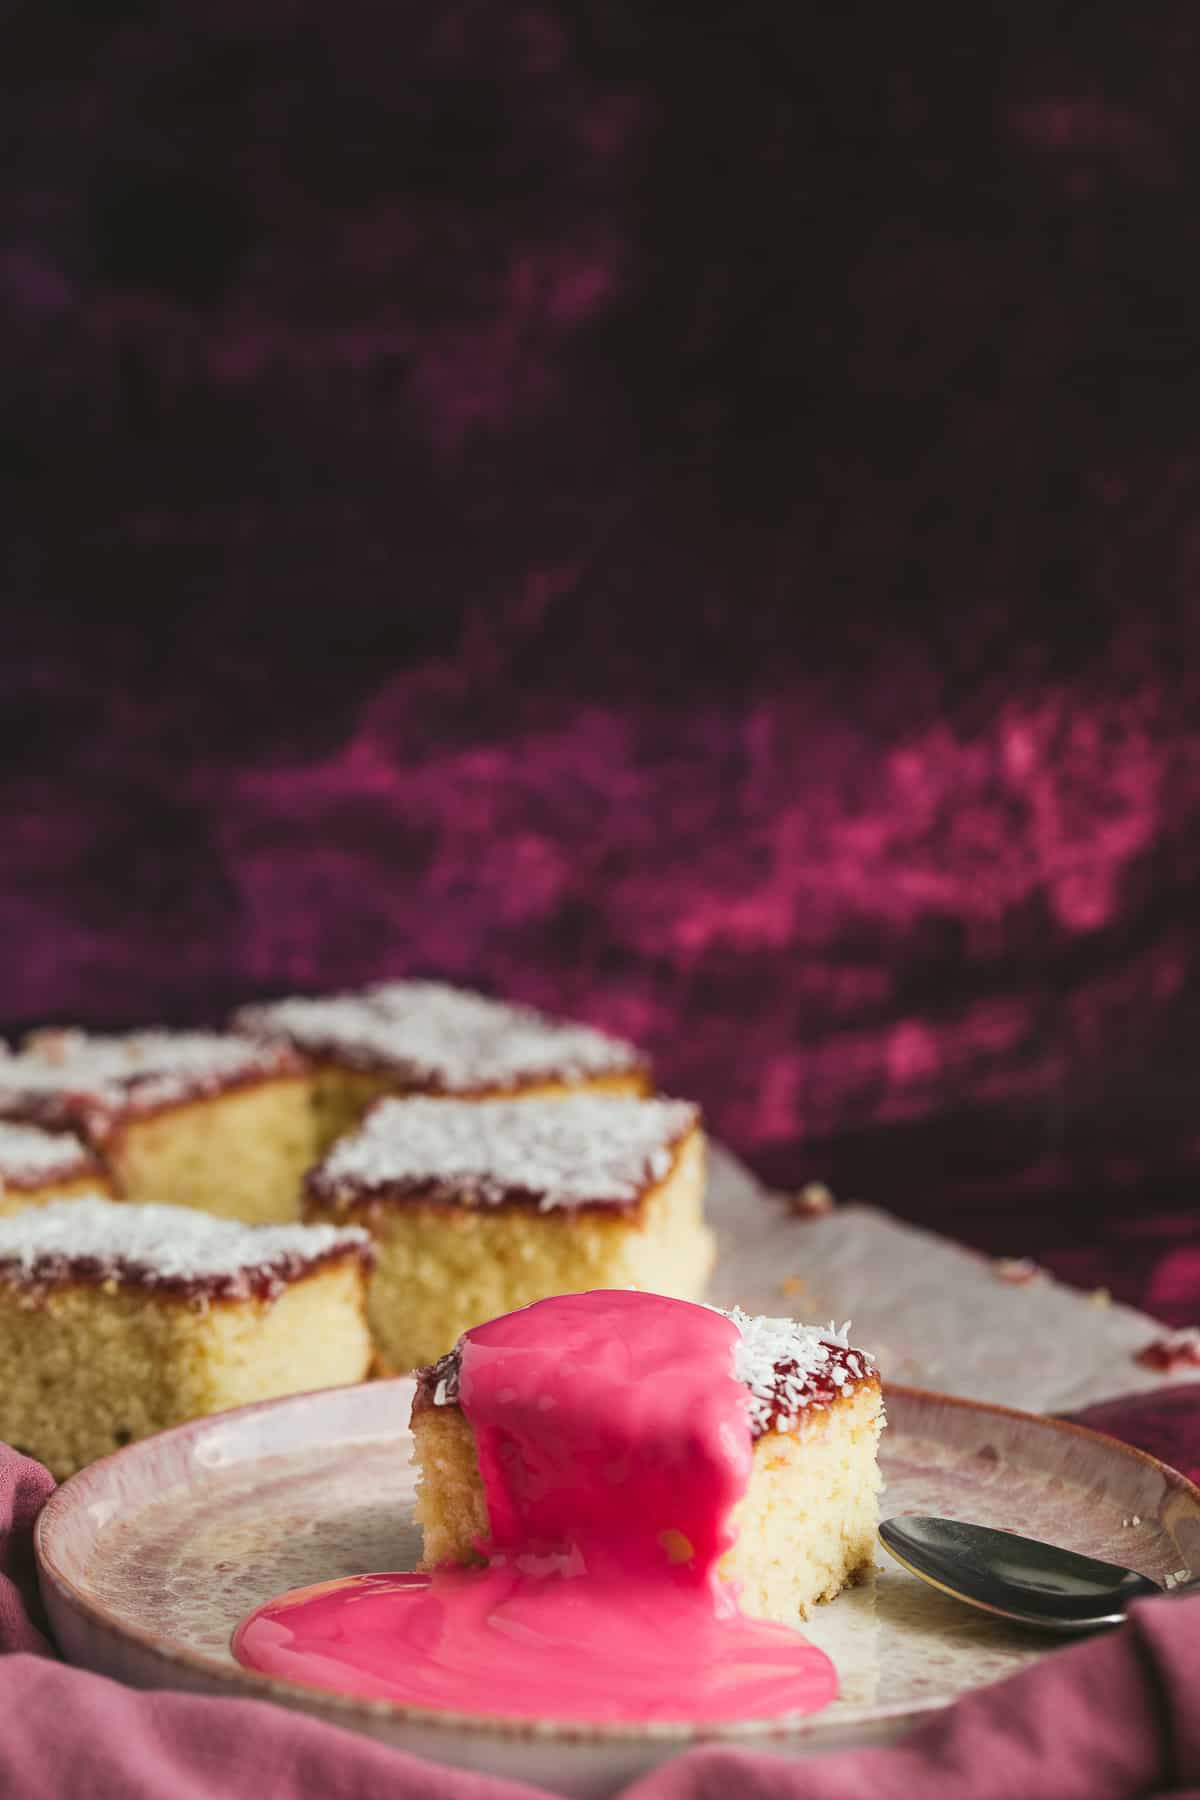
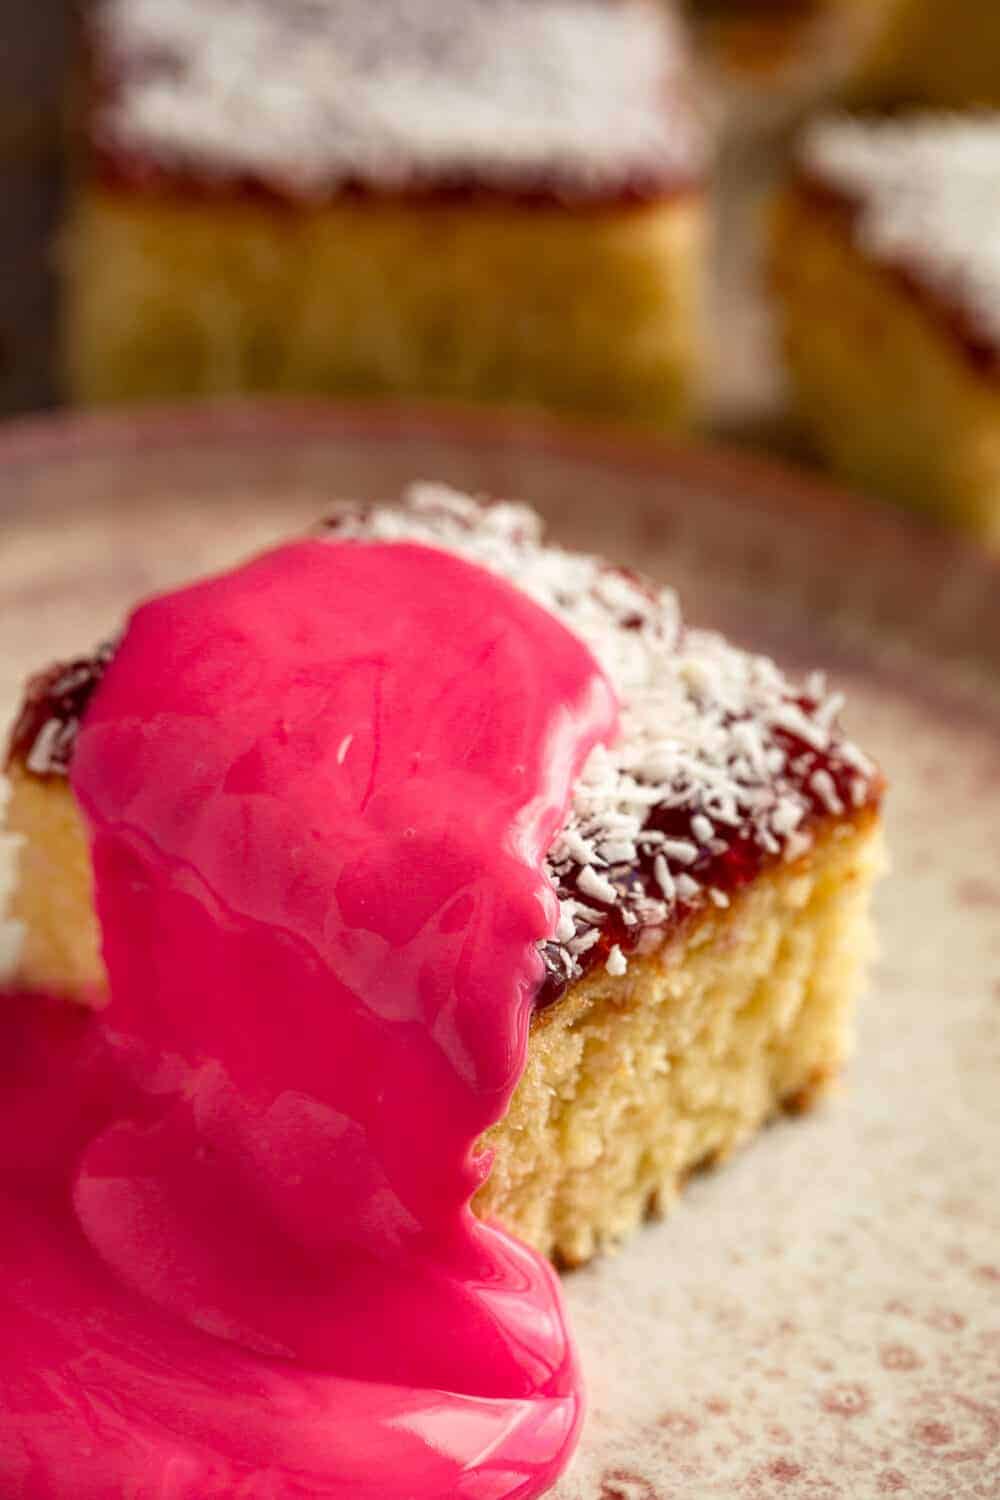
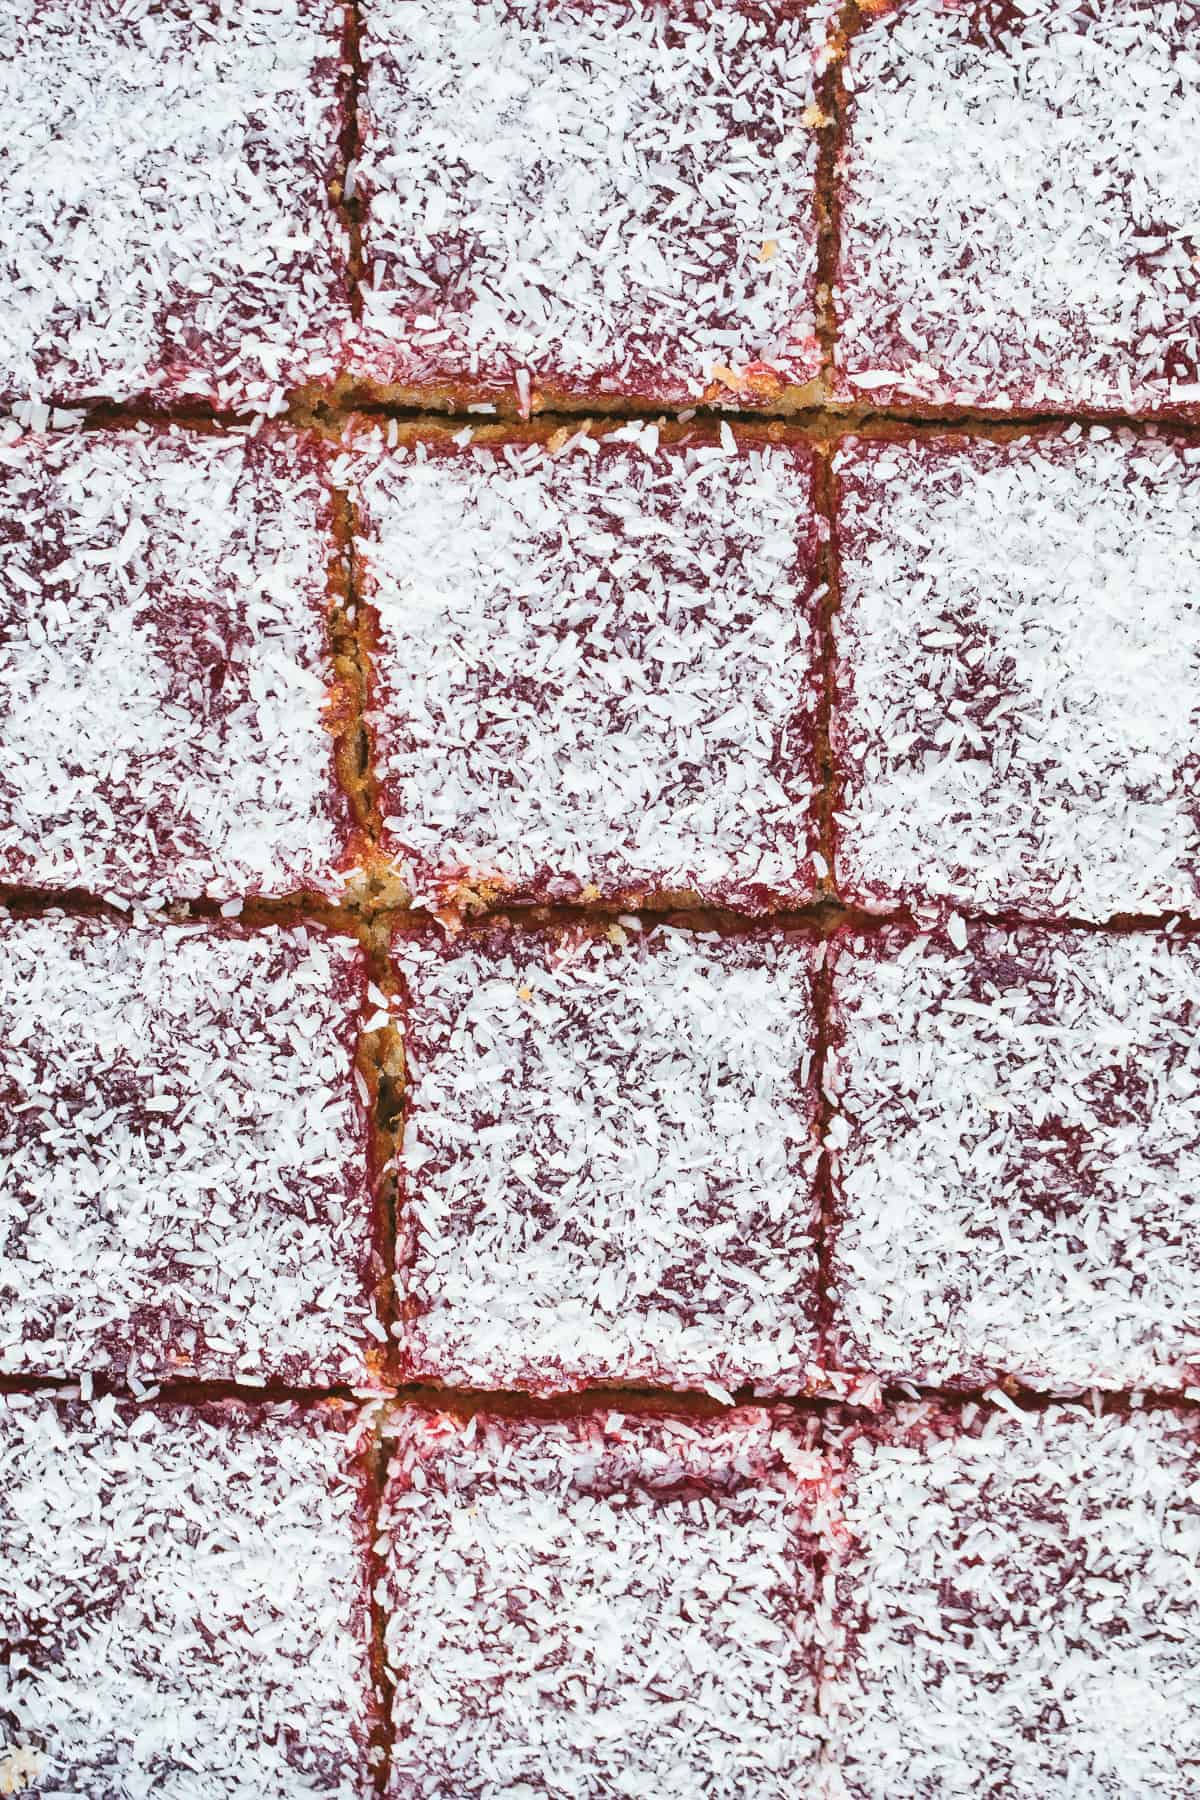
Lovely soft and springy sponge, topped with raspberry jam and a liberal sprinkling of desiccated coconut.
Oh and it HAS to be served with pink custard. It's the rules!
Jam and coconut cake would have been a staple back in the 60s, 70s and 80s and would also have been in your mum and gran's repertoire.
This recipe is based on my Tottenham Cake which is practically identical to School Sprinkle Cake.
It's essentially a simple sponge cake recipe with desiccated coconut added to the batter. The cake is baked in the oven then spread with raspberry jam and sprinkled all over with coconut.
It's very easy and the sort of cake anyone can bake with perfect results every time.
This post contains affiliate links.
What size tray is best?
To make the jam and coconut sponge I used a Wilton 33 x 22.8 x 5 cm (9 x 13in) baking tray. This is the perfect sized tray for making traybakes and you can always cut lovely even slices from the finished cakes.
I also like using it because it comes with a tightly fitting lid, which is just so handy and keeps cakes nice and fresh.
If you don't have a baking tin of this size or very similar then have a read of this article which explains how to adapt a recipe for different sized tins.

What jam should I use?
Traditionally this cake would have been made with seedless raspberry jam, so that's what I've opted for. You could use any jam you fancy though. Homemade would be nice!
Despite using an entire 300g jar of jam to top this cake it still leaves you with quite a thin layer. I think you could get away with using two jars of jam if you want to make it thicker, but that's up to you.
How do I make the best sponge?
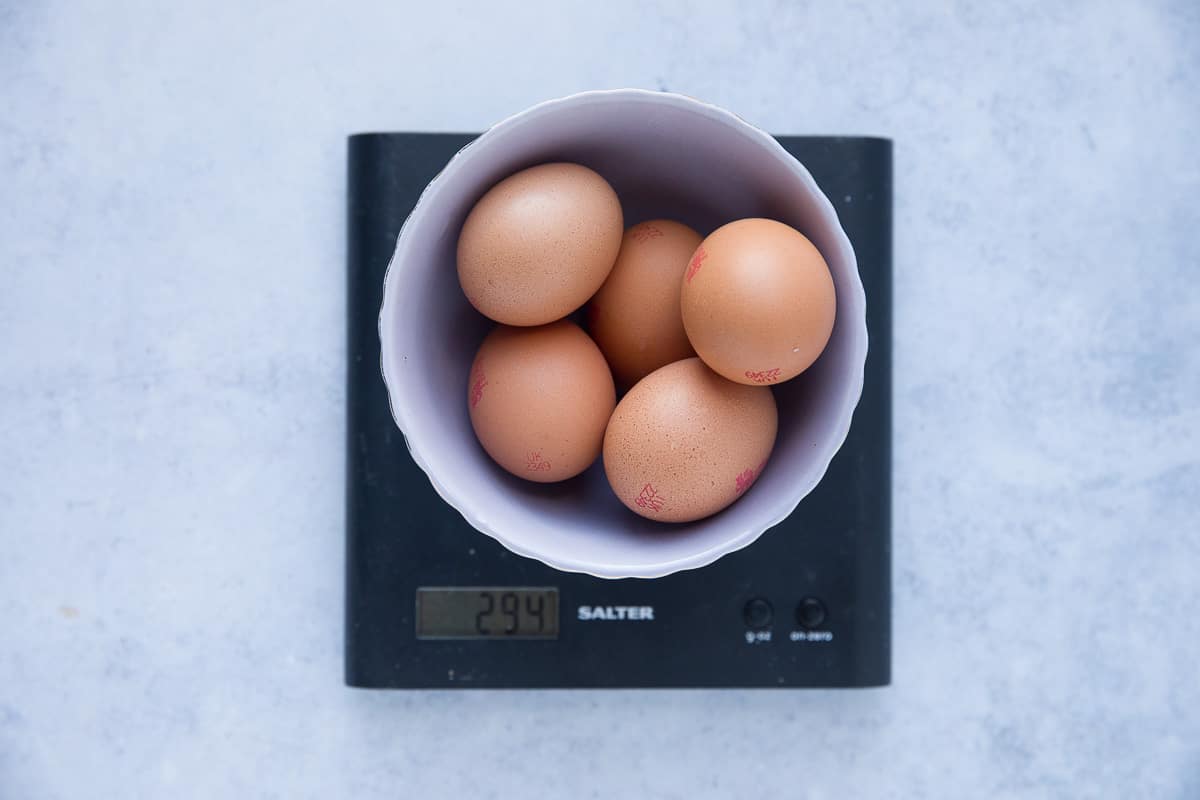
As I explain in my Victoria Sponge recipe, the secret to making the perfect sponge cake every time, is to weigh your eggs in their shells. You then match the butter, sugar and flour to be the same weight as your eggs.
This method works like a charm and results in a beautifully light and springy sponge.
The way you mix the ingredients to make a sponge cake also makes a massive difference. I don't like adding all the ingredients to one bowl and mixing them together at the same time (all in one method). This can result in a tough and chewy texture.

I recommend thoroughly creaming the butter and sugar, then adding the eggs one at a time and gently folding in the dry ingredients.
Weighing your eggs and using the creaming method will give you the best results.
How to make it
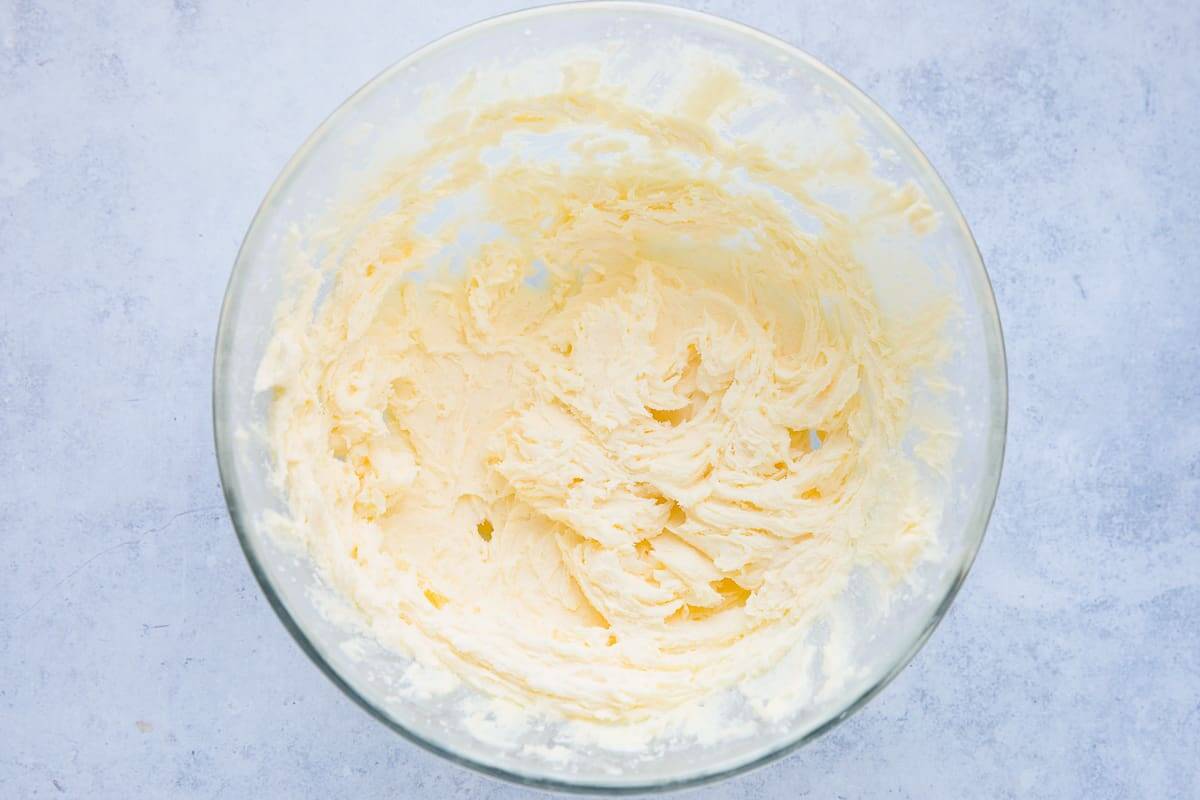
Step One: Add the softened butter and caster sugar to a mixing bowl and cream together. This will take 2-3 minutes using a handheld electric mixer at a medium speed. Use a spatula to scrape down the sides of the bowl a couple of times during mixing.
Properly creamed butter and sugar will be pale yellow, light and creamy.
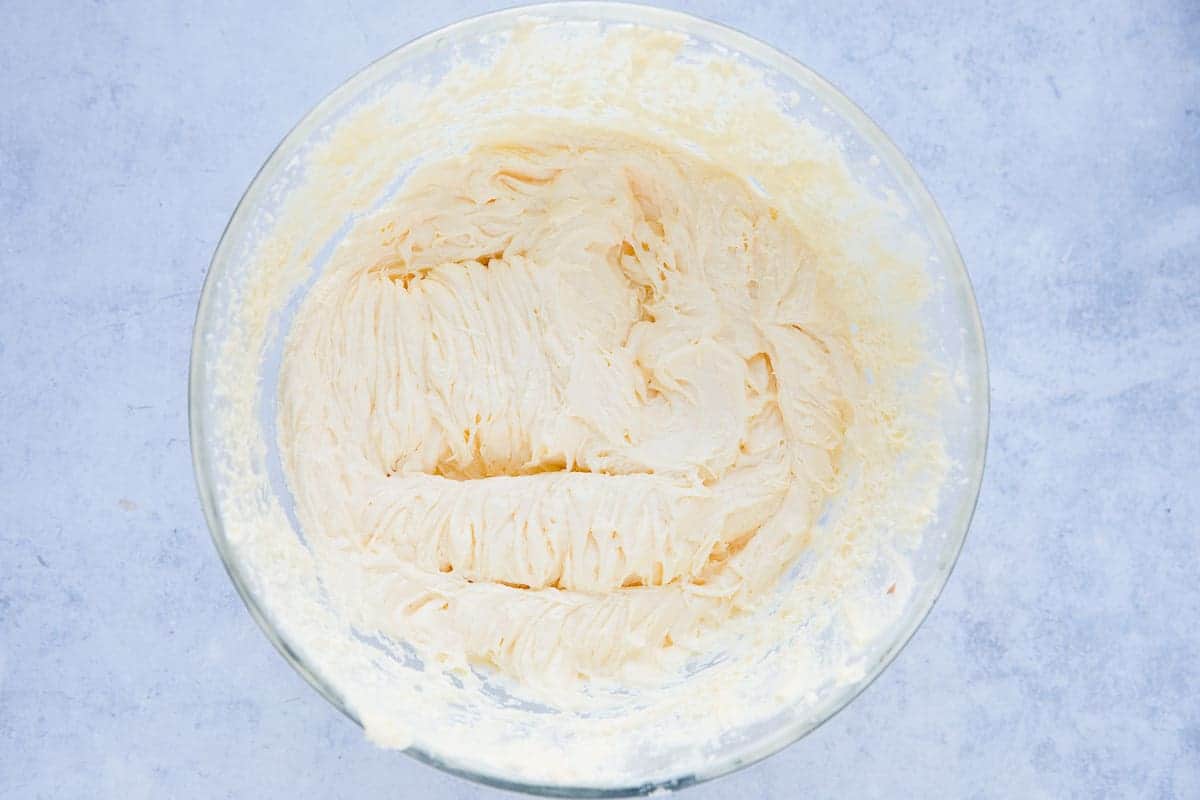
Step Two: Add the eggs to the mixing bowl, one at a time, beating well between each addition. Add the vanilla extract and mix to combine.
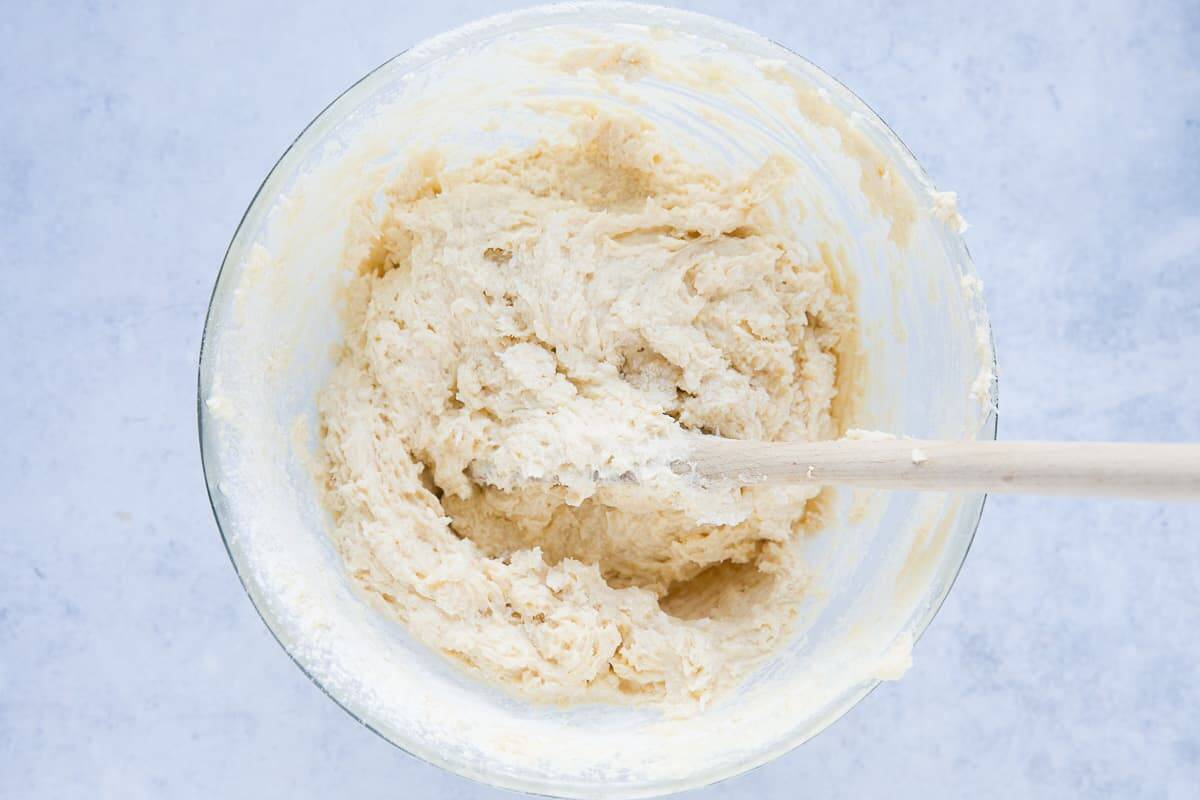
Step Three: Sieve the self-raising flour and baking powder into the mixing bowl, then add the desiccated coconut. Add the milk and fold the mixture together using a wooden spoon or large metal spoon. Take care not to overmix.
Amy's tip: baking powder is added to give the sponge cake extra lift and a really light texture. You can read more about the reasons for adding baking powder to self-raising flour in this Lemon Cake recipe.
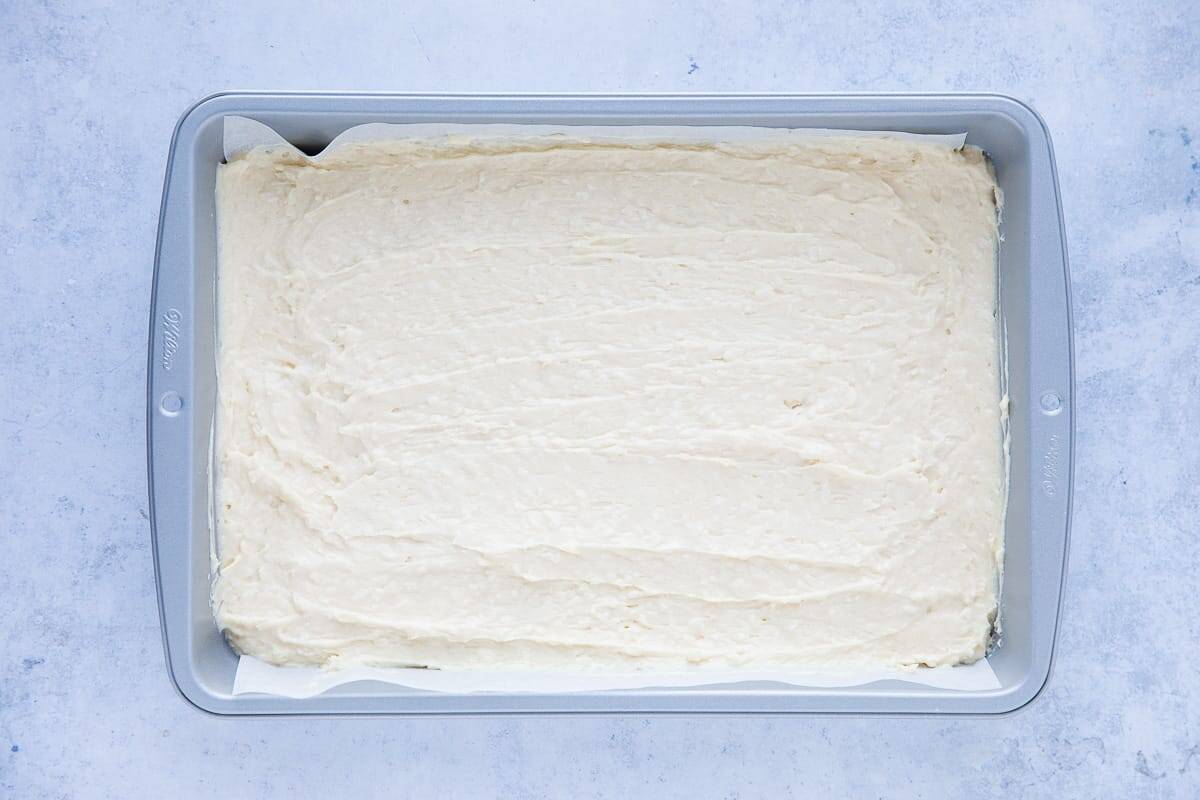
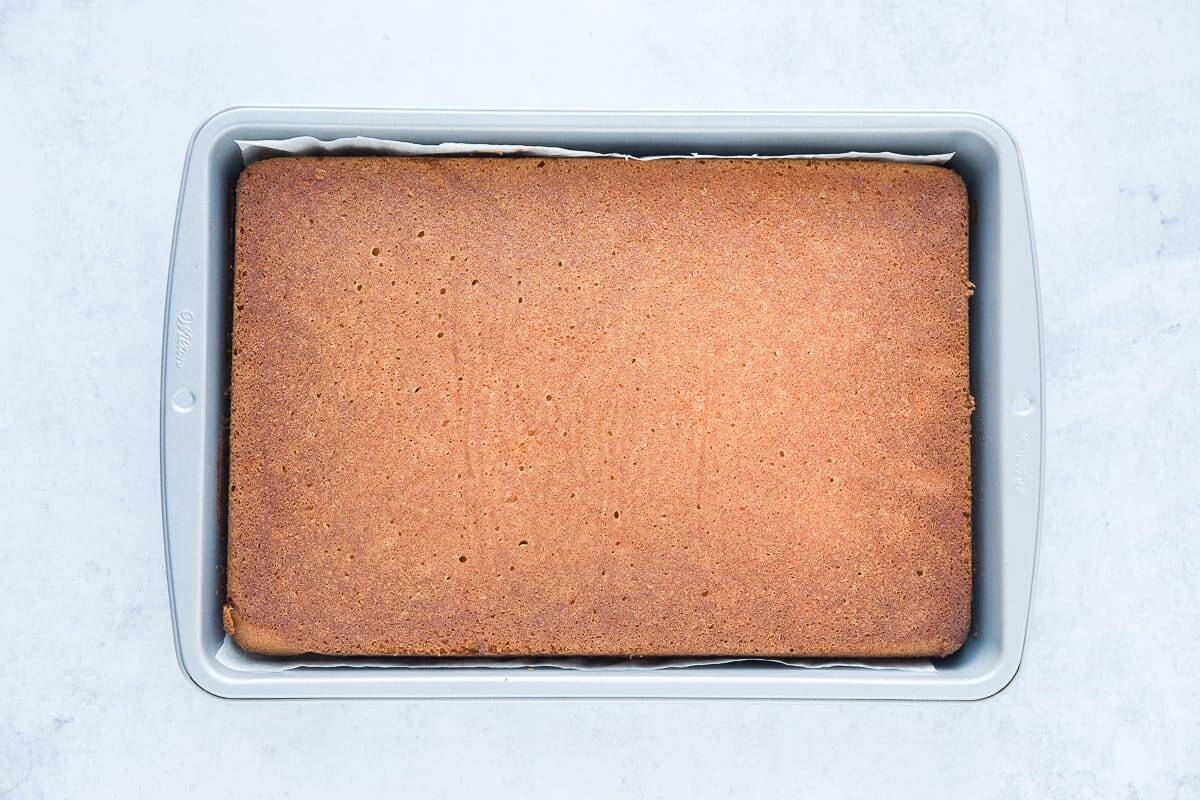
Step Four: Transfer the cake batter into the baking tin, use the back of a spoon to level the top. Bake for 30-35 minutes or until the cake feels springy to the touch and a skewer inserted into the centre comes out clean.
Step Five: Allow the cake to cool in the tin until you can handle it without burning yourself. At this point, I very carefully flip my cake over so that the side I'm decorating is really flat.
Amy's tip: The flipping of the cake is optional, and please make sure the cake has cooled sufficiently or it might crack!
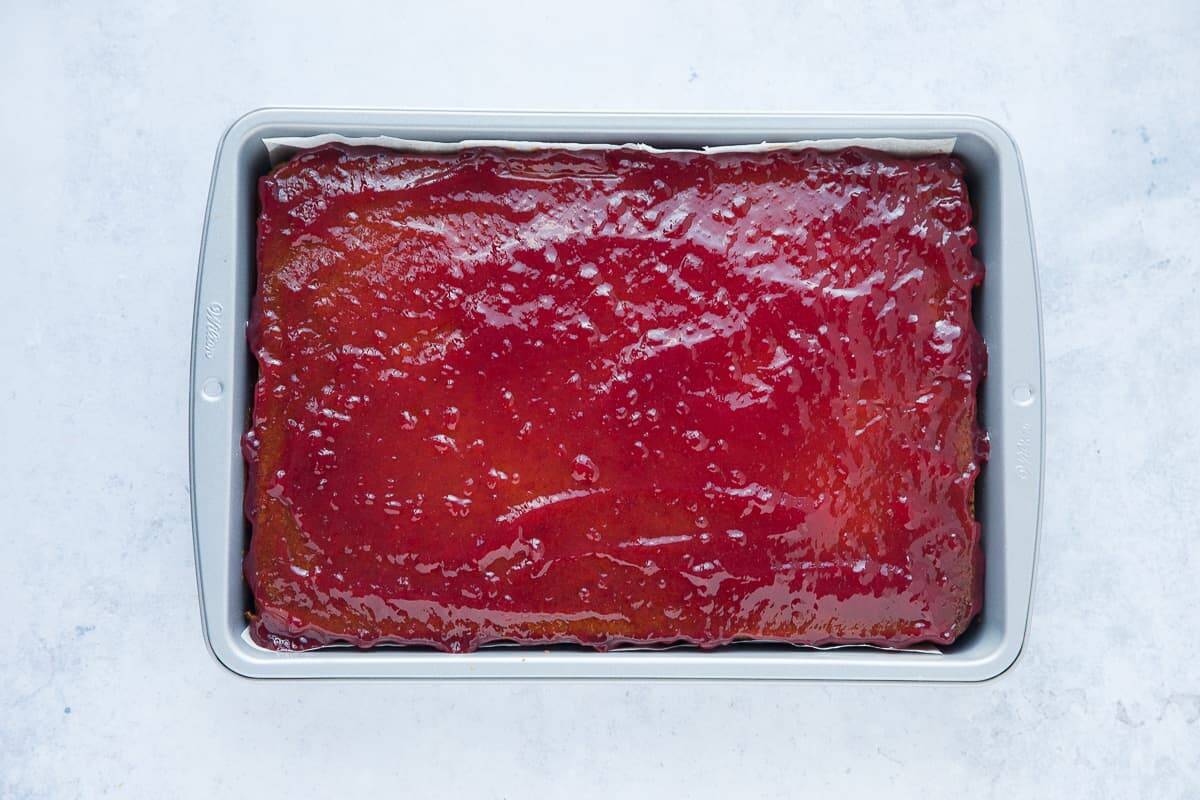
Step Six: Give the jam a good mix to loosen it and make it easier to spread. Tip the jam on top of the cake and use a palette knife or similar to spread it over the entire surface of the cake.
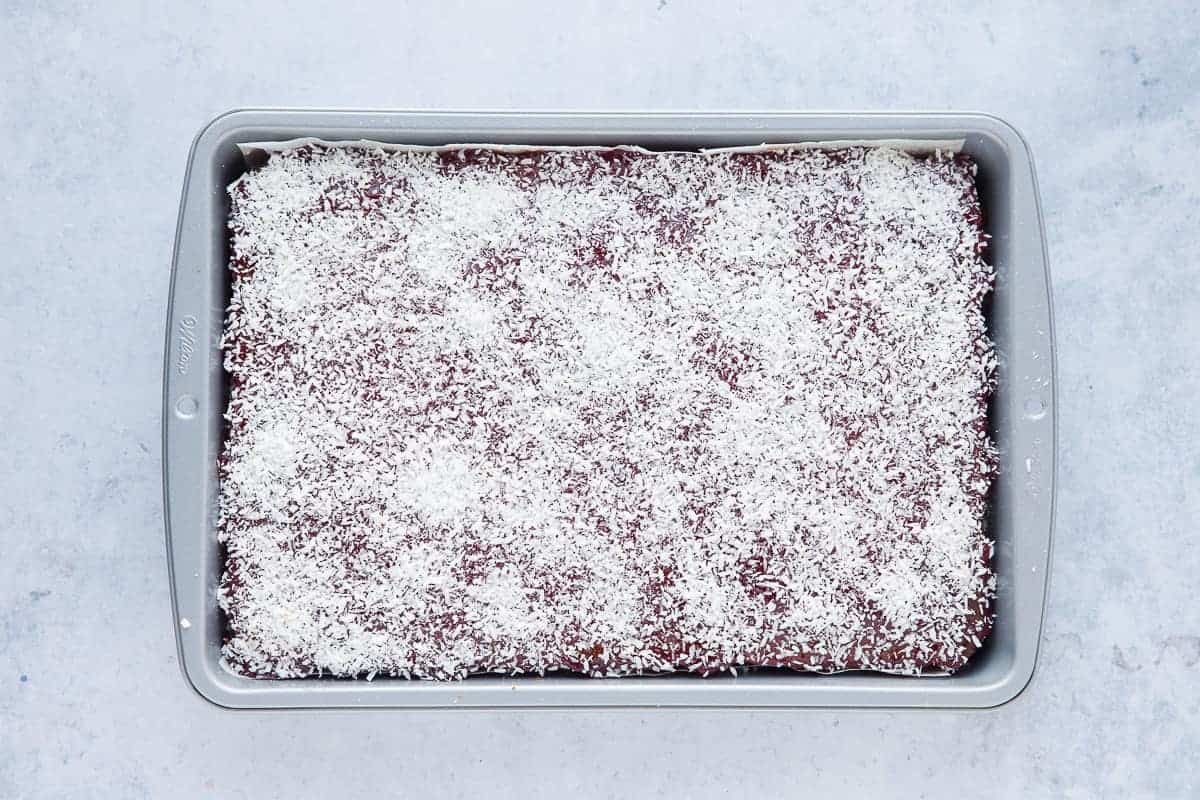
Sprinkle over the desiccated coconut and now you have a perfect jam and coconut sponge cake!
Pink custard
Ah pink custard takes me right back to my childhood! The stuff you can buy in tins nowadays is not the same pink custard we had at school.
Back in the day, pink custard would have actually been made from pink raspberry flavoured blancmange. So if you want to be truly authentic pick up a sachet of blancmange and mix it up with some milk and sugar.
Otherwise, you can use a tin of Ambrosia strawberry flavoured pink custard or add a drop of food colouring to regular custard.
I used a tin of pink custard and added pink food colouring which turned it really REALLY pink! My kids loved it.
More Old School Puddings

School Jam and Coconut Cake with Pink Custard
Jam and Coconut Cake with Pink Custard exactly like you had at school! This traditional sponge traybake is so easy to make, everyone will love it as a teatime treat.
Ingredients
- 300 g unsalted butter, softened
- 300 g caster sugar
- 5 medium eggs, (weighing approximately 300g)
- 1 teaspoon vanilla extract
- 300 g self-raising flour
- 1 teaspoon baking powder
- 100 g desiccated coconut
- 3 tablespoon milk, whole or semi-skimmed is fine
Topping
- 300 g raspberry jam
- 50 g desiccated coconut
- 1 tin pink custard, or pink blancmange (see notes)
Instructions
- Preheat the oven to 180ºC/160ºC Fan/Gas 4/350ºF Line a 33cm x 22cm (9 x 13 inch) baking tin with baking paper.
- In a large mixing bowl, cream the butter and sugar until pale yellow, light and fluffy. Scrape the bowl down a couple of times as you mix. This will take 2-3 minutes using a handheld electric whisk.
- Add the eggs to the mixing bowl, one at a time, beating well and scraping the bowl down after each addition. Add the vanilla extract and mix well to combine.
- Sieve the self-raising flour and baking powder into the bowl then add the desiccated coconut. Add the milk and fold the mixture together using a wooden spoon or large metal spoon. Take care not to overmix.
- Transfer the cake batter into the prepared baking tin. Use the back of a spoon to smooth the top until it's level. Bake in the centre of the preheated oven for 30-35 minutes, or until the cake is lightly golden and springy to the touch. A skewer inserted into the centre of the cake should come out clean.
- Leave the cake to cool in the tin until you are able to handle it. Flip the cake so that you can decorate the flat side.
- Stir the jam to loosen it then spread it over the entire surface of the cake using a palette knife, or similar. Sprinkle over the desiccated coconut then use a sharp knife to cut into squares. Serve with hot or cold custard. Enjoy!
Notes
- This cake uses a lot of eggs therefore, you might find you can smell eggs as it's cooking. The egg smell will disappear as the baking time nears the end. The baked cake will not taste strongly of eggs (unless your eggs are bad!)
- You can substitute the vanilla extract in the recipe for the same amount of coconut extract if you wish.
- Don't attempt to flip the cake until it's cooled otherwise it will break. Flipping the cake is for presentation purposes only and not an essential part of the recipe. Please only flip the cake if you feel confident in doing so.
- My slices were cut into 3 x 3-inch squares. If you use the same size tin as me (9x13 inch) you will have a couple of inches spare to scoff while no one is looking - chef's prerogative!
- Traditionally, school pink custard would have been made with pink raspberry flavoured blancmange. You can buy sachets in the supermarket that you make up with milk and sugar. Be warned that blancmange sets like jelly as it cools or if it is refrigerated.
- Any leftover jam and coconut cake can be warmed up in the microwave for 30 secs-1 minute.
- Storage: Store at room temperature in an airtight container for 3-4 days. This cake freezes well for up to 3 months it should be thoroughly defrosted before eating.
Nutrition Information:
Yield: 12 Serving Size: 1 gramsAmount Per Serving: Calories: 546Total Fat: 31gSaturated Fat: 21gTrans Fat: 1gUnsaturated Fat: 0gCholesterol: 136mgSodium: 22mgCarbohydrates: 64gFiber: 3gSugar: 38gProtein: 5g


Lucy
Love this cake, been making it for ages for now, my brother loves it, so do my mum n dad, and there is plenty of it so it makes enough for everyone.
Great recipe and I love the school dessert recipes thing on your site Amy.
I was one of those kids who loved school dinners back in the 70s/80s so I find it all very nostalgic and now and then have to cook something like this cake and sit with it drowned in custard whilst watching an old movie.