


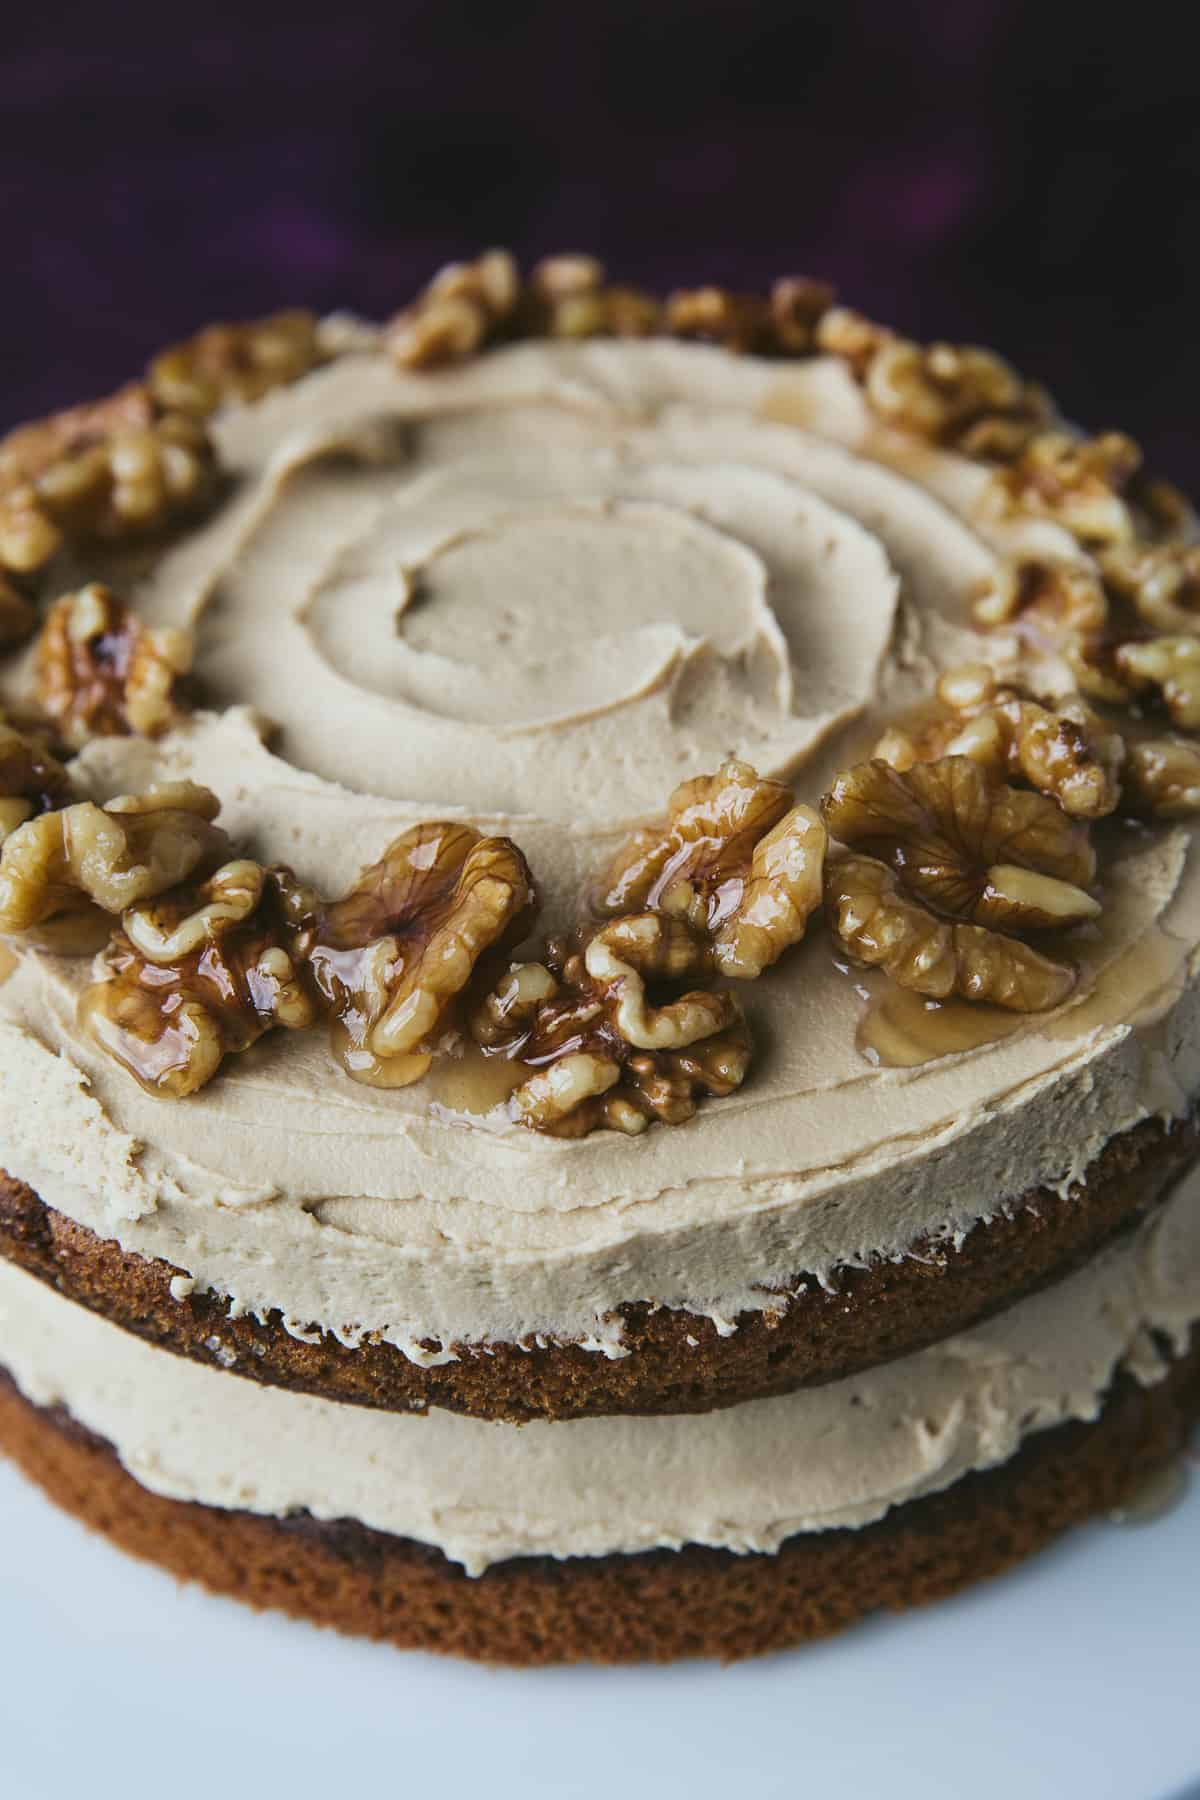
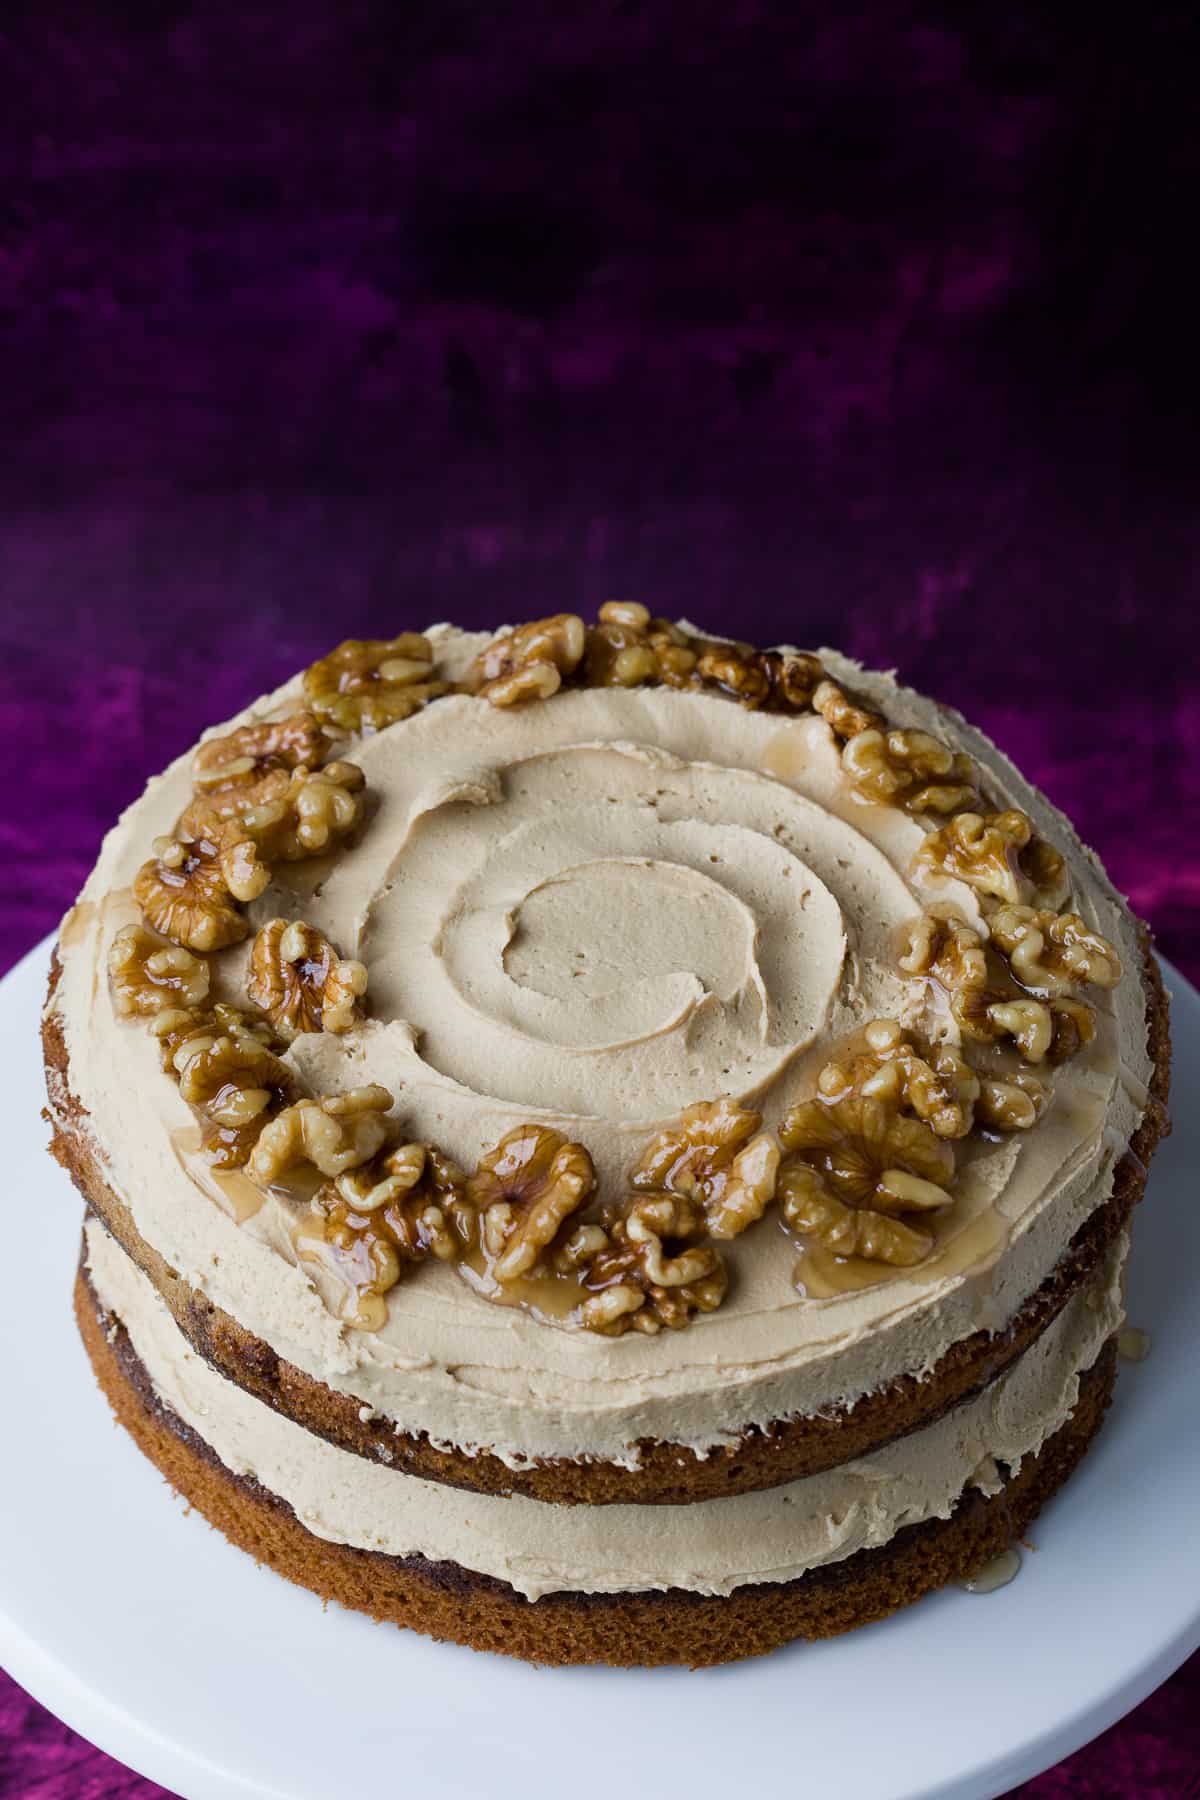
An exceptionally good Coffee Cake sandwiched and topped with a delicious smooth and creamy Coffee Buttercream. I'll share my secrets for baking the best coffee cake you've ever made with some very special tricks and ingredients.
The resulting cake is better than any you've ever tasted before!
Love cakes with nuts? Try my Date and Walnut Loaf.
You've probably already tried a very average tasting coffee flavoured sponge. After all, there are thousands of recipes out there.
While most of the recipes you'll find online are incredibly simple and easy to replicate there's nothing really special about adding coffee to a sponge. Anyone can do that.
I have two tricks up my sleeve for turning an ordinary coffee cake into something extraordinary.
This is the type of cake you'd find in a posh coffee shop or in a National Trust Café. Or you might come across it in cupcake form somewhere nice like Hummingbird Bakery.
It's the coffee cake and buttercream that you remember as tasting exceptional.
Now you can make your own...only better. And EVERYONE will be asking you for the recipe!
What's the secret?
- A simple Coffee Sugar Syrup is brushed over the baked cake. The coffee syrup adds a wonderful depth of flavour and helps to keep the cake moist and light. It only takes two minutes to make the syrup (put the ingredients into a jug and mix - that's it!) and it will do wonders for the overall flavour and texture of the cake.
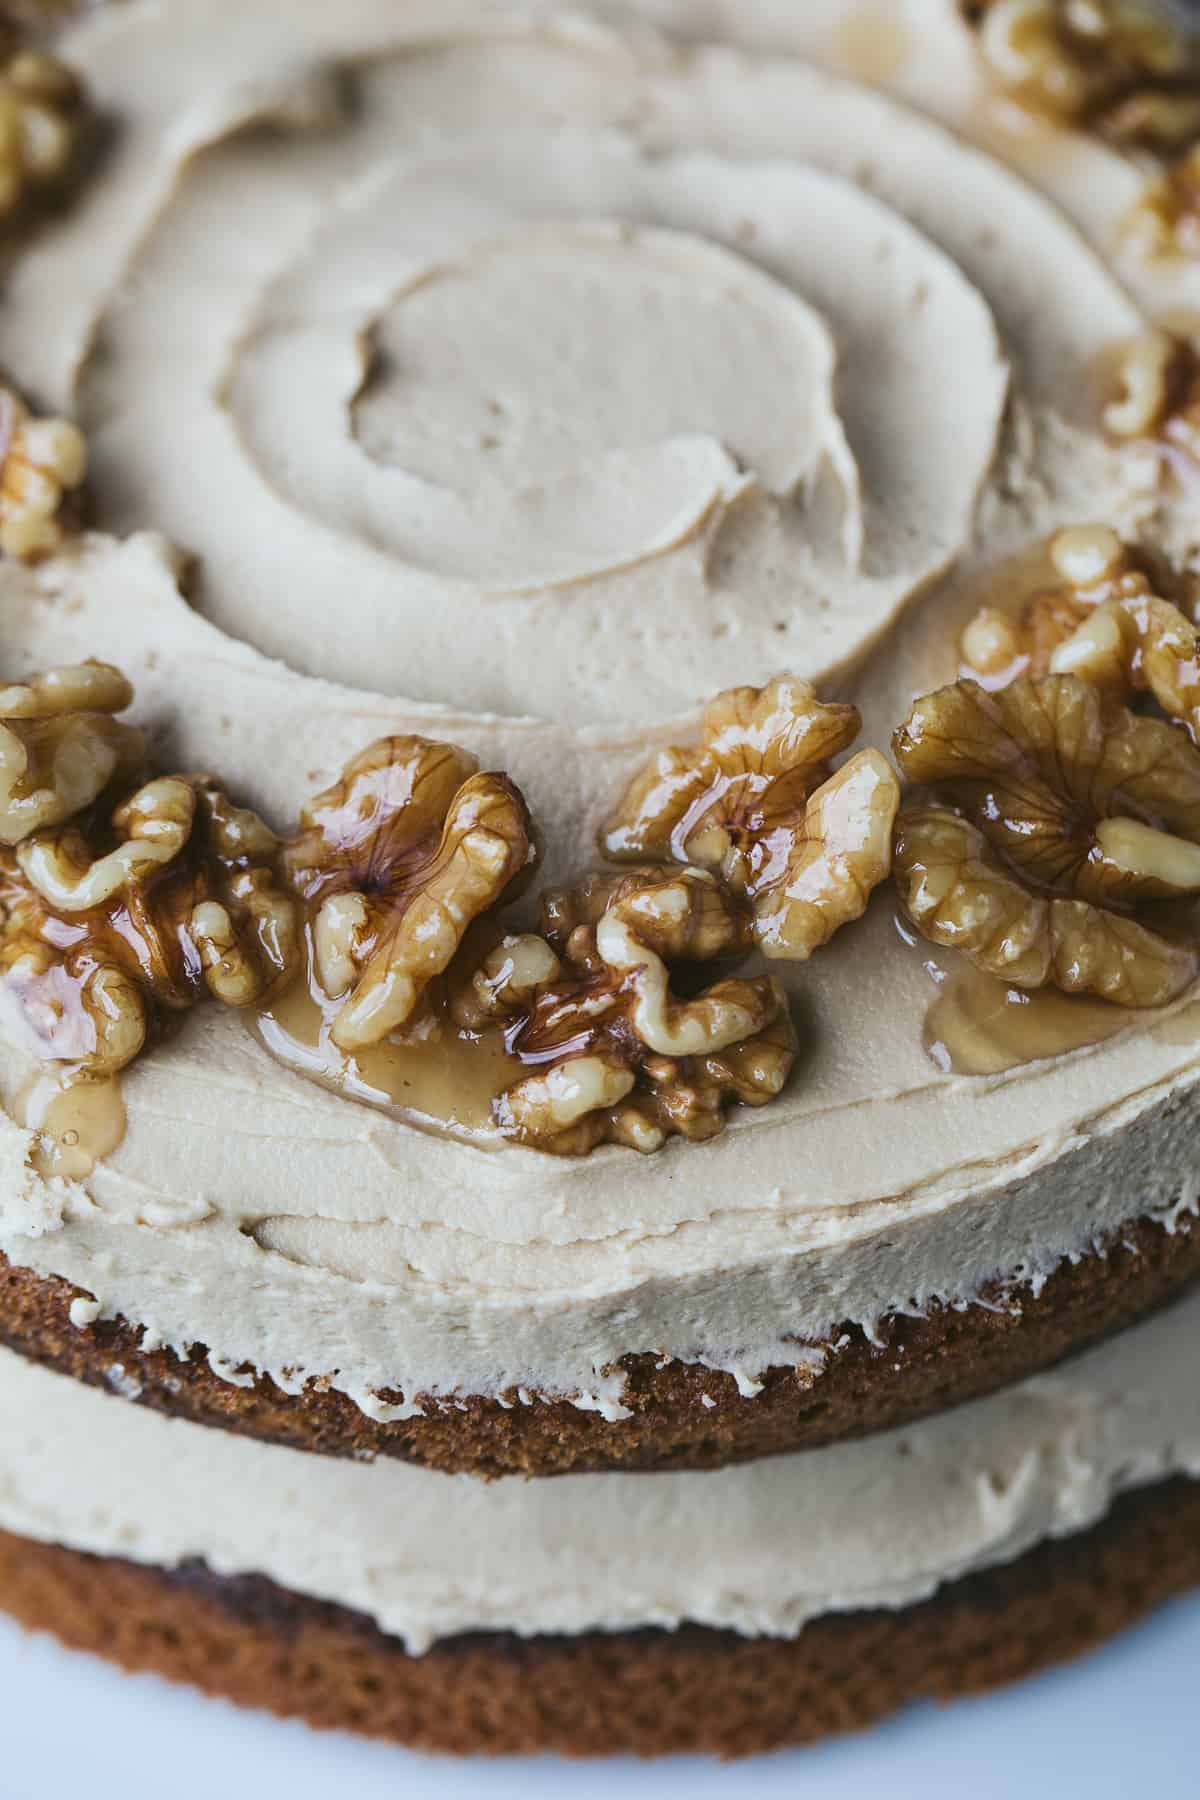
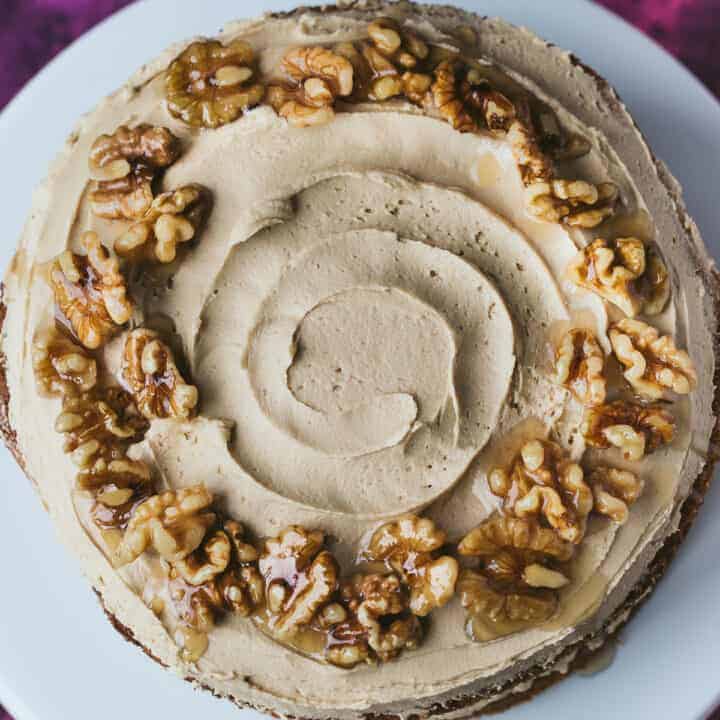
- Walnut Praline is added to top of the cake. Not only does it look beautiful but the flavour is out of this world. The crunchy nutty shards are the perfect partner to the light and soft coffee cake and this finishing touch makes it really extra special.
If you want to take your baking to the next level, I highly recommend using the coffee sugar syrup and making a batch of walnut praline to decorate the cake with.
Both the syrup and praline take only minutes to prepare and I'll walk you through the method, step-by-step in the recipe at the bottom of this page.
Easy Coffee Cake
This coffee cake is just as easy to make as my other classic cake recipes: Victoria Sponge and Lemon Cake. The ingredients are very similar although we are obviously adding coffee to the cake to flavour it.
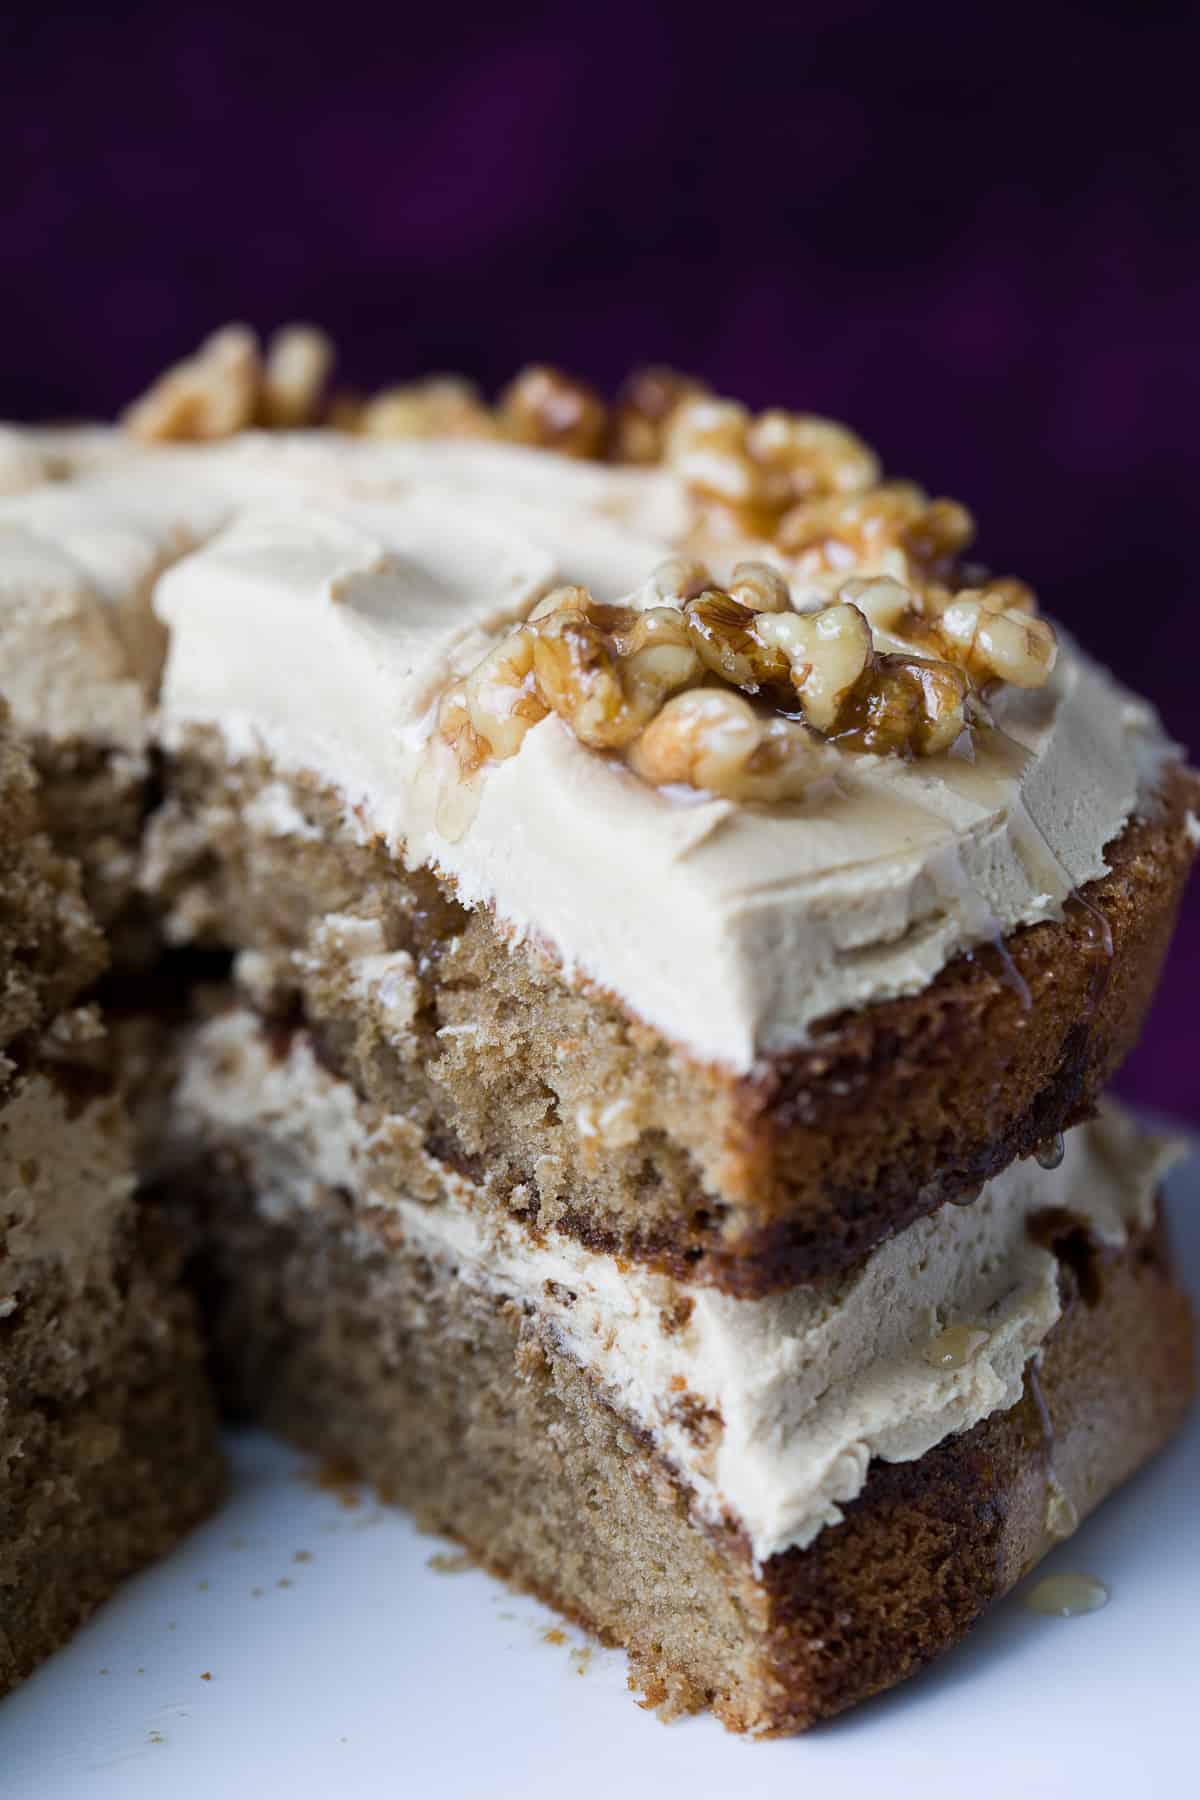
The sponge is really light and moist and packed full of flavour and the coffee buttercream is so delicious.
The thing that makes this cake easier than most is that it uses the all-in-one method. This literally means put all the cake ingredients into a large bowl then beat them together.
So quick and simple!
Once the ingredients have all been mixed together, all you need to do is divide the cake batter between two tins and bake.
Weigh your mixture
As this is a two-layer cake, we want to make the two sponges as evenly sized as possible. You can just eyeball it but it's better to weigh the ingredients into the tins to ensure both sponges are exactly the same size.
I weighed out my cake batter after mixing. Divided evenly, each tin contained 420g of cake batter.
Both my baked sponges were the same size and height which made them much easier to stack and decorate.
Substitutions and variations
Coffee sponge
- Swap golden caster sugar for soft light brown sugar or white caster sugar.
- Instead of self-raising flour use plain flour with 2 teaspoons of baking powder.
- Add 100g chopped walnuts, pecans or brazil nuts if you prefer a nutty sponge.
Coffee sugar syrup
- Swap demerara sugar for light brown sugar, golden caster sugar, caster sugar or granulated sugar.
Coffee buttercream
- You can use double cream instead of milk.
Walnut praline
- Swap golden caster sugar for caster sugar or granulated sugar.
What type of coffee should I use?
You can use instant coffee granules or espresso powder to flavour this recipe. The coffee is dissolved in a little hot water so it disperses evenly throughout the sponge without leaving any grains behind.
You can use decaf coffee or regular coffee and the cake will be the same.
Can I use fresh coffee?
If you have a bean to cup coffee machine and are confident that you can make a well-extracted very strong single espresso, yes you can.
Please note: I have a Sage barista coffee machine and prefer to use instant coffee granules for this recipe because I'm confident what the exact outcome will be.
I know from experience how different coffee beans, grind size and tamping pressure can affect the overall coffee and its flavour. So I find in this case, instant coffee is more reliable in a recipe like this.
Can this recipe be made into cupcakes?
Yes, it can. Reducing the ingredients by one-third will yield 12 cupcakes. To work out the measurements divide each ingredient by 3 then multiply it by two.
Example: 225g unsalted butter becomes 150g unsalted butter.
225/3=75X2=150
Can this cake be made into a different size?
Yes, it can. Here's a Sponge Cake Calculator that will calculate the ingredients for you and scale the recipe up or down depending on the size of your tin.
Storage
Coffee Cake does not have to be refrigerated. Store in an airtight container in a cool place where it will last for 3-4 days. If stored in the fridge it will last 4-5 days.
Coffee Cake can be frozen (with or without the buttercream) for up to 3 months. Slice the cake and wrap individual pieces in cling film then wrap in tin foil and place in the freezer.
Defrost by transferring to the fridge overnight then bring to room temperature before eating. Do not heat this cake to thaw it.
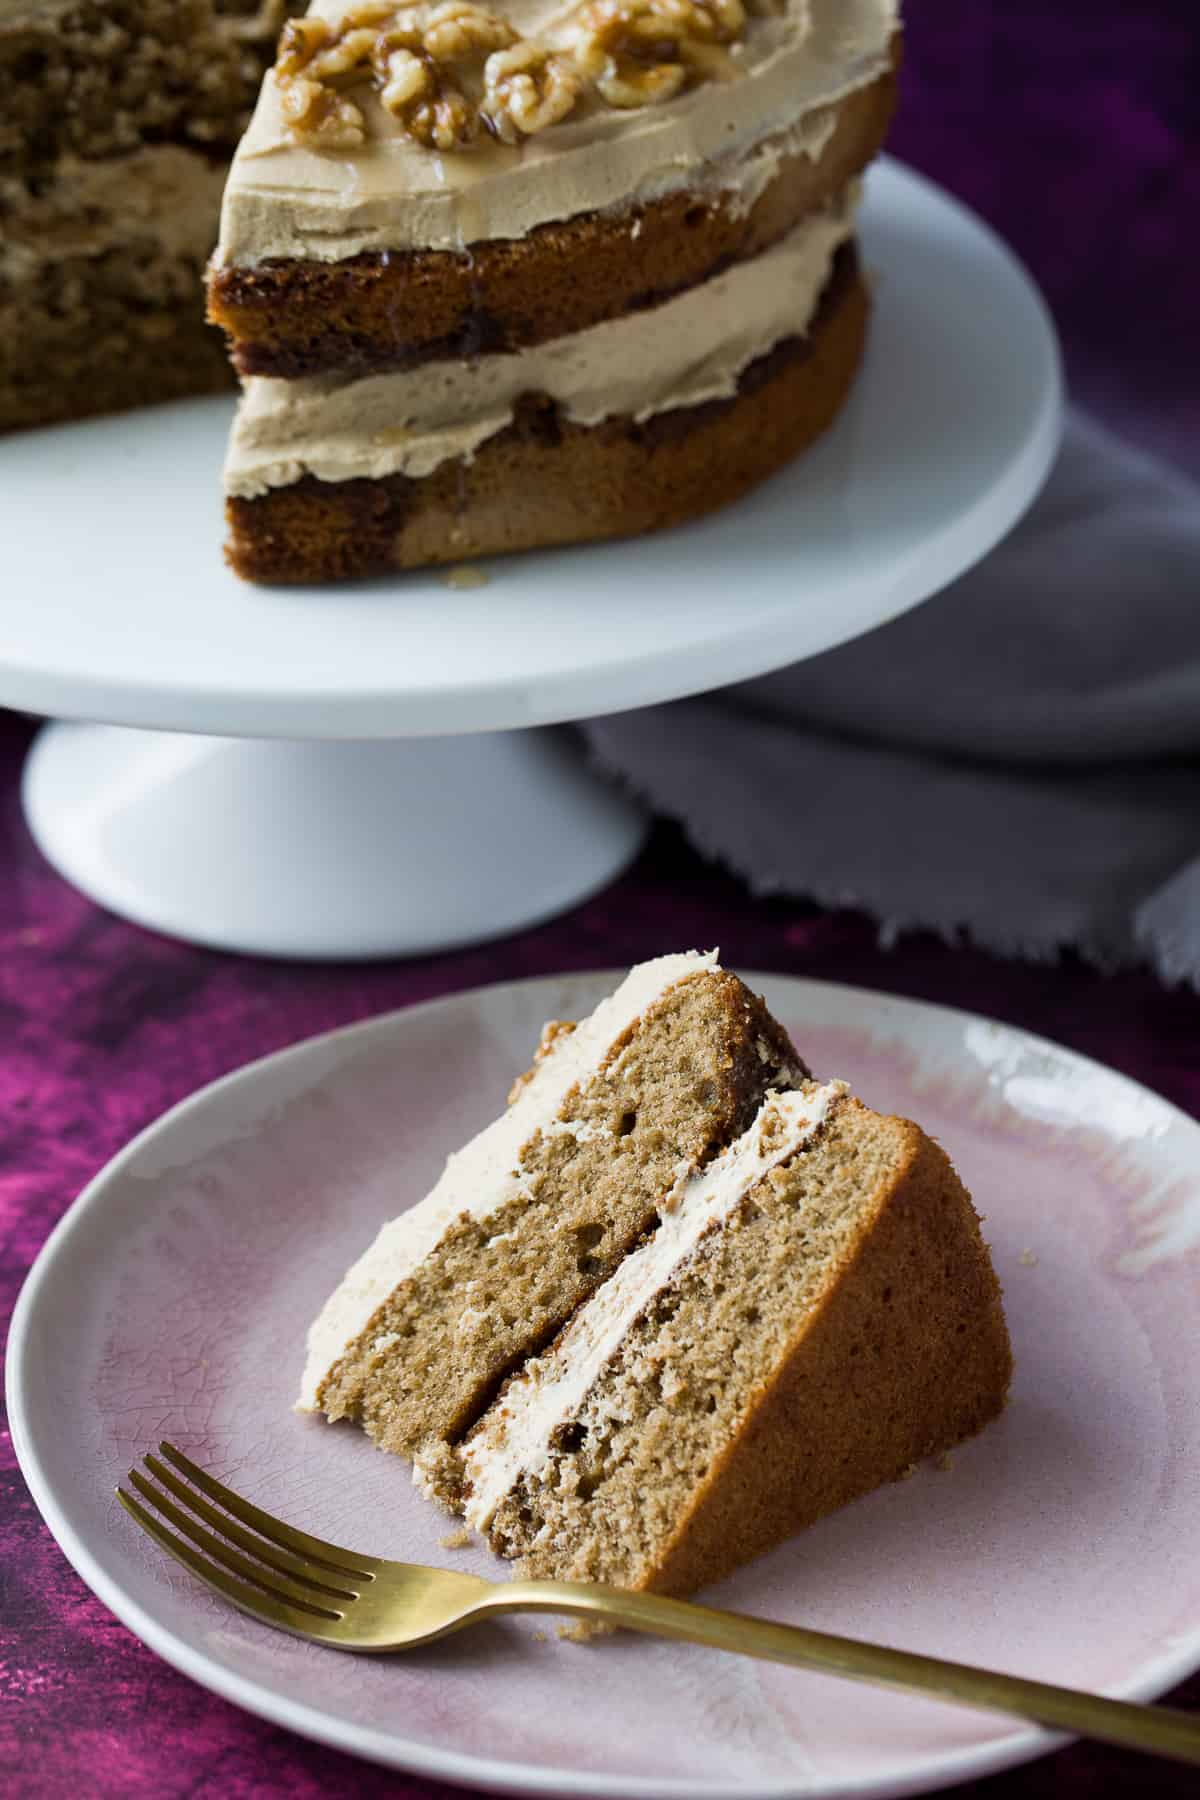
I hope you love this coffee cake as much as I did. This is one for the true coffee connoisseurs and such a wonderful layer cake to present at afternoon tea or as a birthday surprise.
Please let me know how you got on in the comments below and I'd really appreciate it if you could leave me a star rating if you make this recipe.
More Cake Recipes you'll enjoy
- Courgette Cake
- Red Velvet Loaf Cake
- Carrot Cake Loaf
- Kinder Cake
- Jam and Coconut Cake
- Chocolate Sprinkle Cake
- School Cake
- Nutella Loaf Cake
Coffee Cake
An exceptionally good Coffee Cake sandwiched and topped with a delicious smooth and creamy Coffee Buttercream. I'll share my secrets for baking the best coffee cake you've ever made with some very special tricks and ingredients.
Ingredients
For the coffee sponge
- 225g (1 cup) unsalted butter, at room temperature
- 225g (1 cup) golden caster sugar
- 4 large eggs
- 225g (1.25 cups) self raising flour
- 1 teaspoon baking powder
- 1.5 tablespoons instant coffee dissolved in 1.5 tablespoons boiling water
For the coffee sugar syrup
- 50g demerara sugar
- 1 tablespoon instant coffee
- 3 tabslespoons boiling water
For the coffee buttercream
- 225g (1 cup) unsalted butter, at room temperature
- 1.5 tablespoons milk
- 3 teaspoons instant coffee dissolved in 1 tablespoon boiling water
- 525g (3.5 cups) icing sugar (powdered sugar)
For the walnut praline
- 2 tablespoons water
- 50g golden caster sugar
- 50g walnuts
Instructions
- Preheat the oven to 160ºC/140ºFan/Gas 3/320ºF Line two 8 inch (20cm) baking tins with lightly greased baking paper.
- Add the butter, golden caster sugar, eggs, self-raising flour, baking powder and dissolved coffee into a large mixing bowl. Beat all the ingredients together until well mixed.
- Divide the cake batter between the two prepared baking tins. This will be approx. 420g of batter into each tin. Bake in the centre of the preheated oven for 28 minutes or until a skewer inserted into the centre of the cakes comes out clean. Properly baked cakes will shrink away from the sides of the tin slightly and feel springy when touched with your finger. Remove from the oven and leave in the tins while you make the coffee sugar syrup.
- To make the coffee sugar syrup add the demerara sugar, instant coffee and boiling water to a jug and whisk vigorously until the coffee and sugar have dissolved. Leaving the sponges in their tins, prick them all over with a fork then brush the coffee sugar syrup on top. Set aside while you make the coffee buttercream.
- To make the coffee buttercream add the butter, milk, dissolved coffee and icing sugar to a large bowl and beat for several minutes until smooth. You can use a handheld electric whisk for this or a stand mixer fitted with the whisk attachment. When the cakes are completely cool, turn them out of their tins, place one cake on a cake stand or plate and spread it with half of the buttercream. Place the other cake on top and spread over the remaining buttercream.
- To make the walnut praline add the water and golden caster sugar to a small saucepan set over a very low heat. Let the mixture come to the boil for a minute or two, swirl the pan to keep the sugar from catching on the bottom but don't stir it. Take it off the heat, add the walnuts and stir them through the hot sugar mixture. Pour the nuts onto a piece of baking paper and leave to cool. When they are cool enough to handle transfer them one by one and use them to decorate around the edge of the cake.
Notes
This recipe is for a two-layer 8-inch sponge however it can be easily adapted to fit different size tins. Reduce the recipe by one-third to make coffee cupcakes.
For a quick and easy version of this coffee cake, you can skip the coffee sugar syrup step although I do recommend it for extra flavour and you will benefit from a lighter moister sponge when using the syrup.
Likewise, you can skip the walnut praline and just use plain walnuts or no decoration at all.
You don't have to wait for the walnut praline to set before adding it to the cake. If you let the praline cool until you can handle it then transfer the nuts one by one it looks more presentable than if you were to break it up. Please note, if you add the walnut praline to the cake before it's set the sugar will drip down the edges of the cake which I think is delicious but may not be to your taste!
See the recipe post above for all my tips, variations and substitutions
This recipe was inspired by Mary Berry's Hokey Pokey Coffee Cake
Nutrition Information:
Yield: 10 Serving Size: 1Amount Per Serving: Calories: 471Total Fat: 8gSaturated Fat: 2gTrans Fat: 0gUnsaturated Fat: 5gCholesterol: 81mgSodium: 100mgCarbohydrates: 21gFiber: 1gSugar: 11gProtein: 5g
Nutrition is an estimate only.


Lorraine
Have made this twice now and really pleased with how it turned out. Very easy with great results