


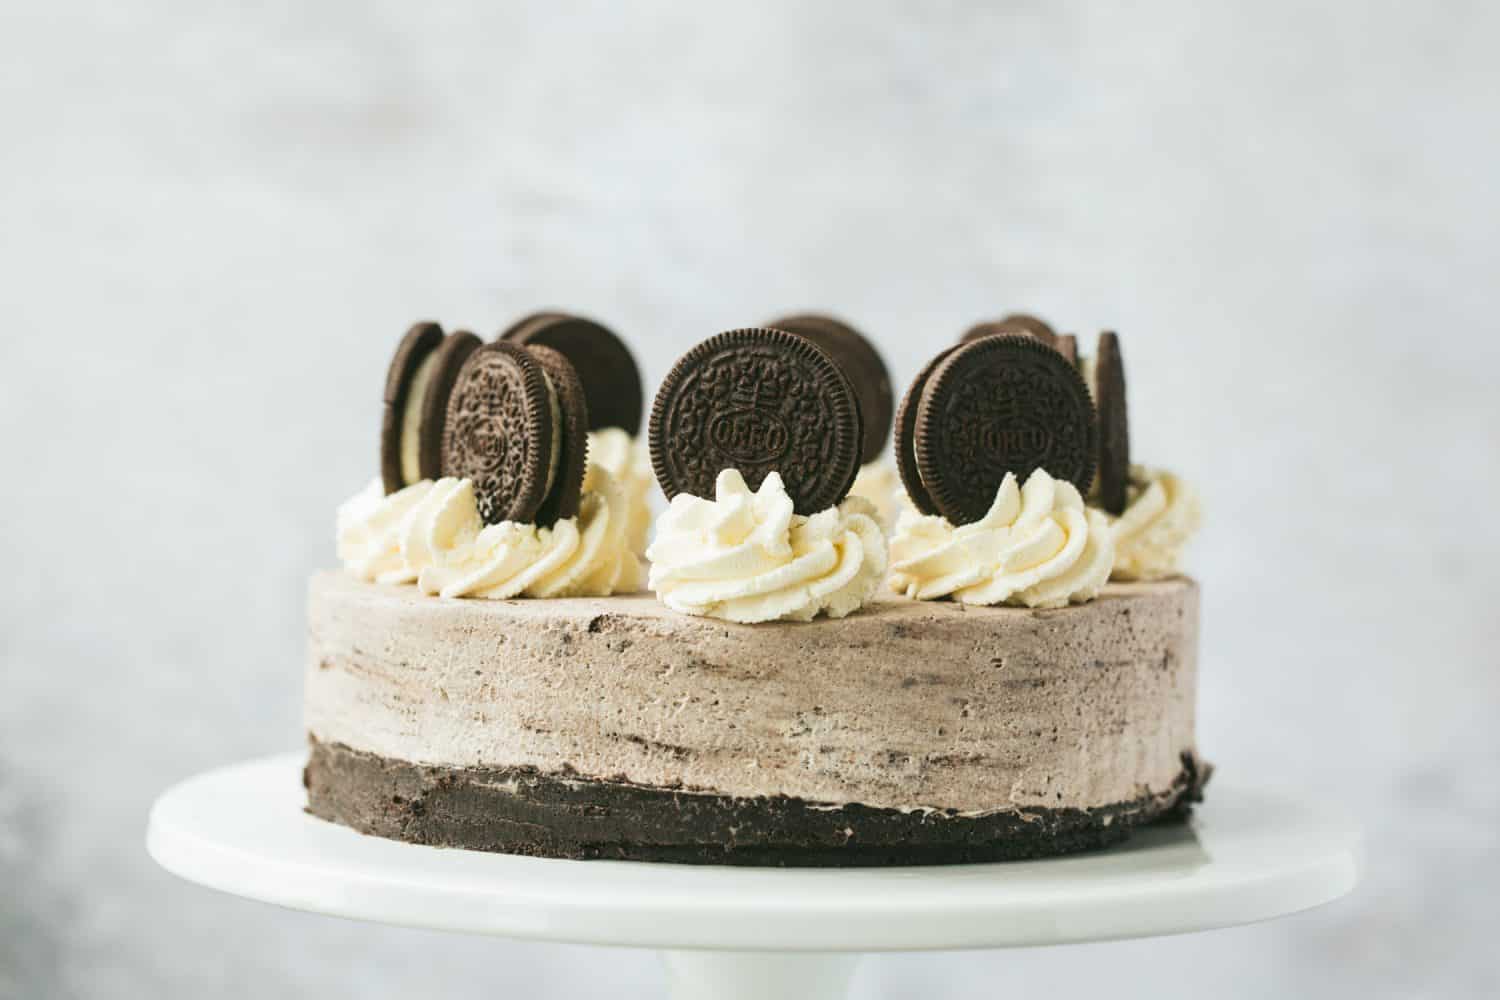
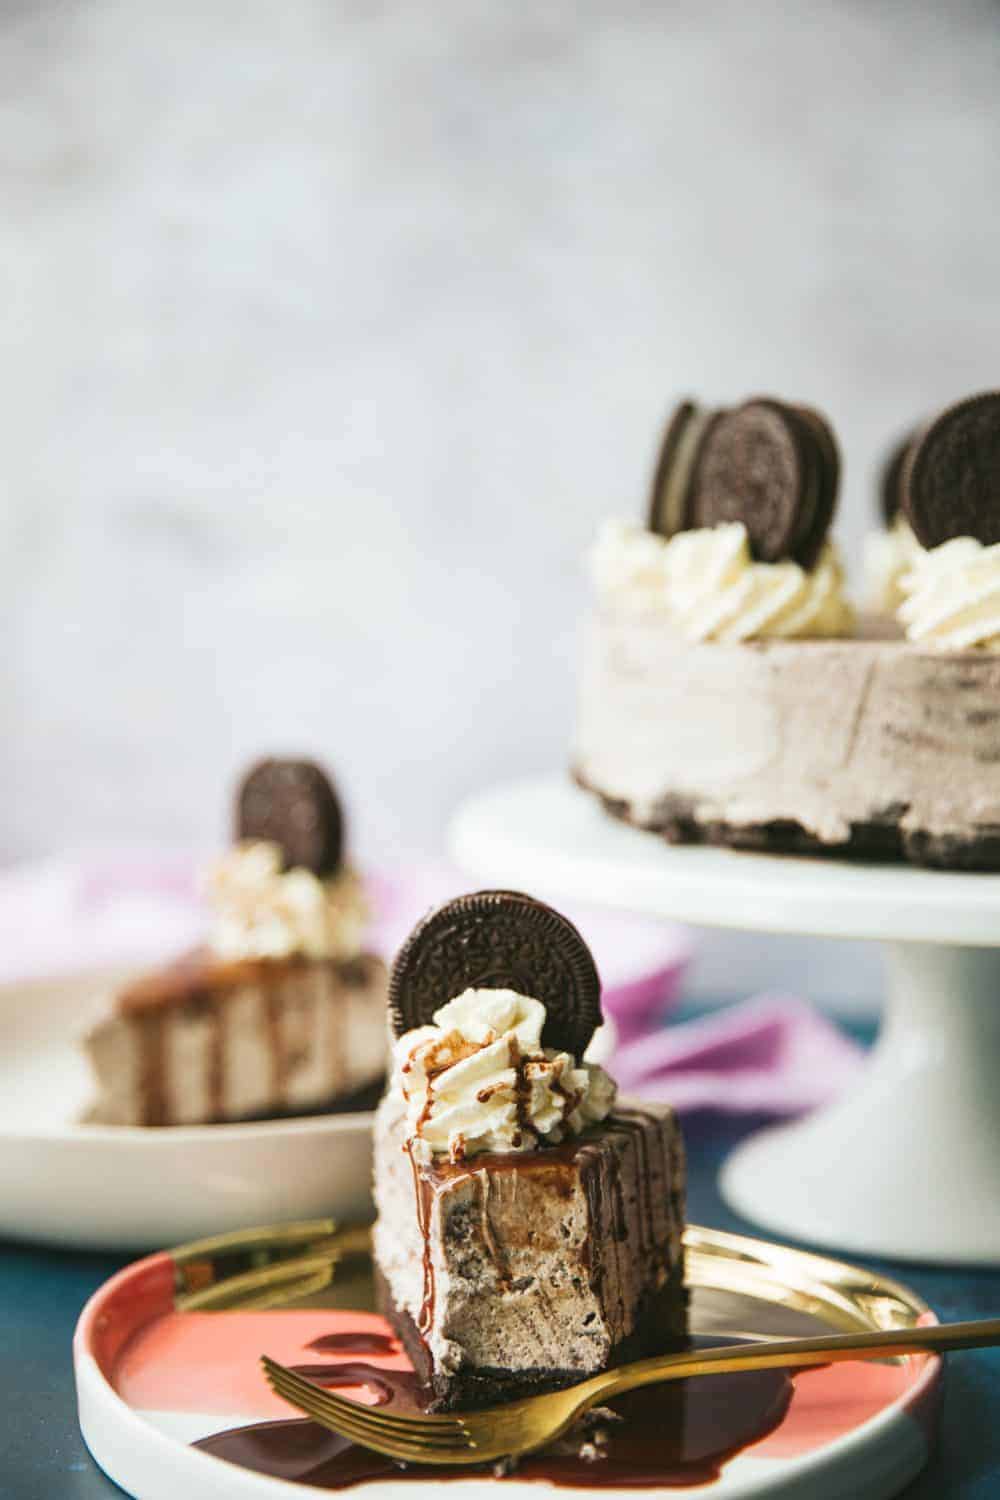
Incredible No-Bake Oreo Cheesecake with an Oreo crust and silky smooth Philadelphia, double cream and crushed Oreo filling.
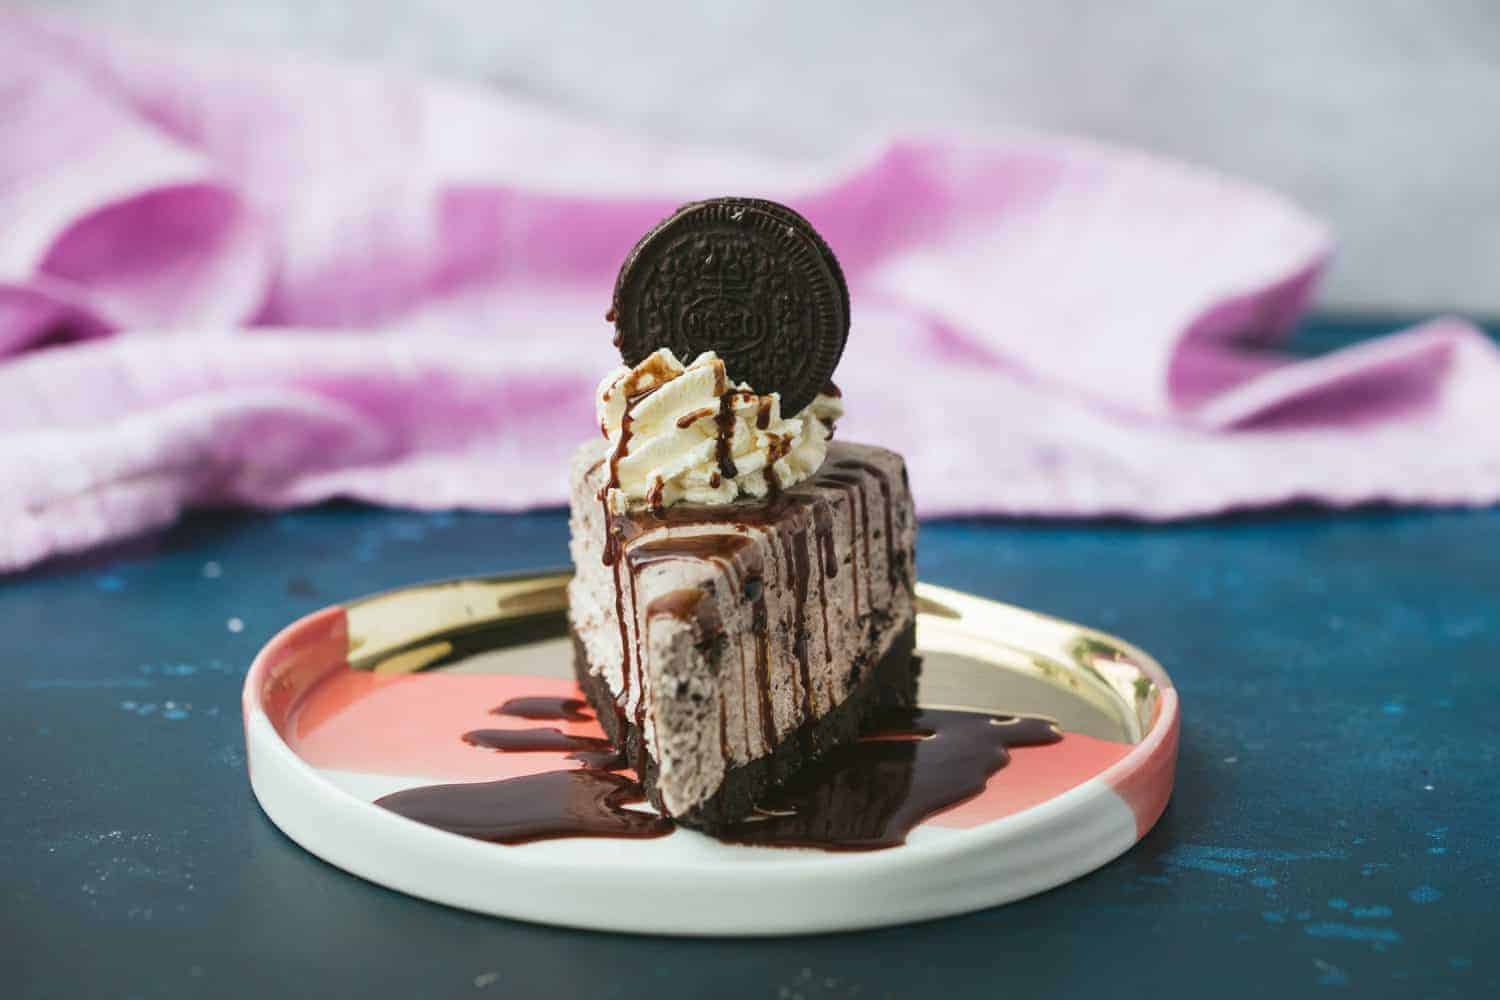
Topped with sweetened whipped cream swirls, double stuffed Oreos and a drizzle of hot chocolate sauce. This is the ultimate indulgent dessert guaranteed to WOW your guests.

If you love Oreos and you've never tasted them in cheesecake form you are in for one heck of a treat.
I really enjoy using Oreos for sweet treats as you can tell from my previous recipes. These Oreo Cupcakes with Oreo buttercream have a hidden Oreo in the base, they are so much fun to bake. Also, my Bakery Style Oreo Muffins always hit the spot.

There's just something about the cute little sandwich cookie with its sweet creamy filling that makes Oreos impossible to resist.
Put them into a homemade cheesecake and WHAM you've got a seriously impressive cookies 'n' cream dessert that your guests will go crazy for.
You will love this Oreo Cheesecake because:
- Easy no-bake recipe
- Excellent make-ahead dessert
- Crisp base, creamy filling
- Guaranteed to WOW your guests!
No-Bake Cheesecake
As I mentioned, this homemade Oreo Cheesecake recipe is for a no-bake cheesecake which happens to be my personal favourite to make. It's so unbelievably easy and if you follow my recipe I promise you can't go wrong.
The resulting Oreo Cheesecake is very large and deep so please note you can safely halve the filling ingredients for a "normal" sized cheesecake. If you're making this for entertaining I'd stick with the same proportions though.
This is the same basic cheesecake recipe I used for my Mini Egg Cheesecake and Lemon Cheesecake plus loads more of my no-bake cheesecake recipes. They always prove popular because the recipes are so simple to recreate.
Once you have a basic cheesecake recipe and method nailed, the flavour combinations are endless. It's a cinch to adapt the recipe and incorporate ingredients you love.
Best Tin/Pan for Cheesecake
My favourite tin for making cheesecake is the (affiliate link) Paul Hollywood 20cm (8 inch) loose bottomed tin.
I like to use a loose bottom tin because the sides are higher, this means you can make really deep cheesecakes with lots of filling. Using a springform tin usually gives a larger diameter but flatter cheesecake If all you have is a springform this recipe will still work.
Overall I prefer a loose bottom tin over springform for deep filled no-bake cheesecakes...bigger the better haha!
How to make Oreo cheesecake crust
As this is an Oreo Cheesecake recipe I naturally went with an Oreo biscuit crust. The crust is a very simple mixture of crushed Oreos and melted butter.
The Oreos work really well as a cheesecake crust. You don't need to worry about the cream in the centre of the cookies because once you've bashed or whizzed the Oreos to crumbs the cream mixes in with the dark cookie outer part.
I recommend that when you push the Oreo and butter mixture into the pan you don't press too hard otherwise, it will set very solid. If the base is too hard it will be a pain to release from the bottom of the pan.
I use a measuring cup to even out the Oreo mixture across the bottom of the baking pan, then a teaspoon to smooth it out. You could use your hands to press the crust into place if you wanted to but remember the golden rule of not pushing too hard.

So, how do you achieve the perfect cheesecake filling?
To ensure the best texture for a no-bake cheesecake, don't skip these essential ingredients:
- Full Fat Cream Cheese: If you don't use full fat your cheesecake will not set. I use Philadephia because I find it works best. Make sure it's at room temperature before you beat it.
- Lemon Juice: The acid in the lemon juice helps the cheesecake set firmer. You can't taste any lemon but it does a great job of enhancing the flavour of the cream cheese.
- Double Cream: You must make sure you whip the double cream to stiff peaks before folding it into the cream cheese mixture. This is my number one tip for achieving a perfectly set cheesecake. (check the FAQ below if you can't get hold of double cream)
How to make Oreo Cheesecake
Note: You can mix the ingredients with an electric handheld mixer, a free-standing mixer or you can mix by hand. The most important thing is to get the double cream to stiff peaks before you fold it into the cream cheese mix.
Step One: Crush the Oreos into fine crumbs in a food processor or put them into a ziplock bag and bash them up with a rolling pin.
Step Two: Melt the butter in the microwave and pour it onto the Oreo crumbs mixing well until fully combined.

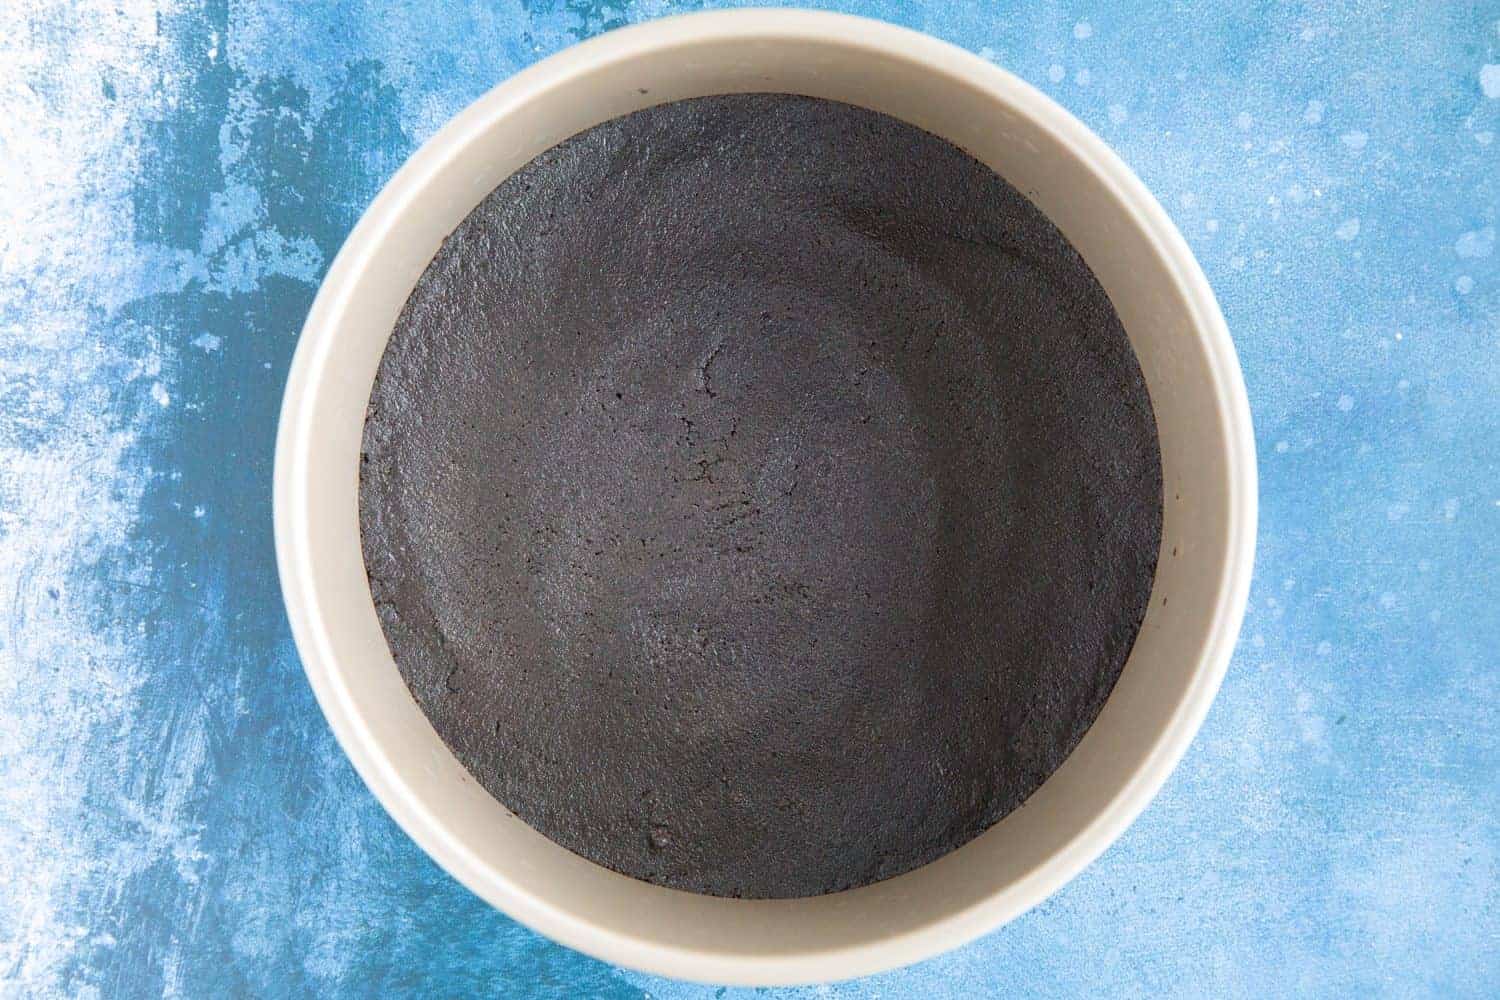
Step Three: Tip the Oreo mixture into a 20cm 8-inch loose-bottomed tin. Press the crumbs down with a measuring cup, the back of a spoon or use your fingers.
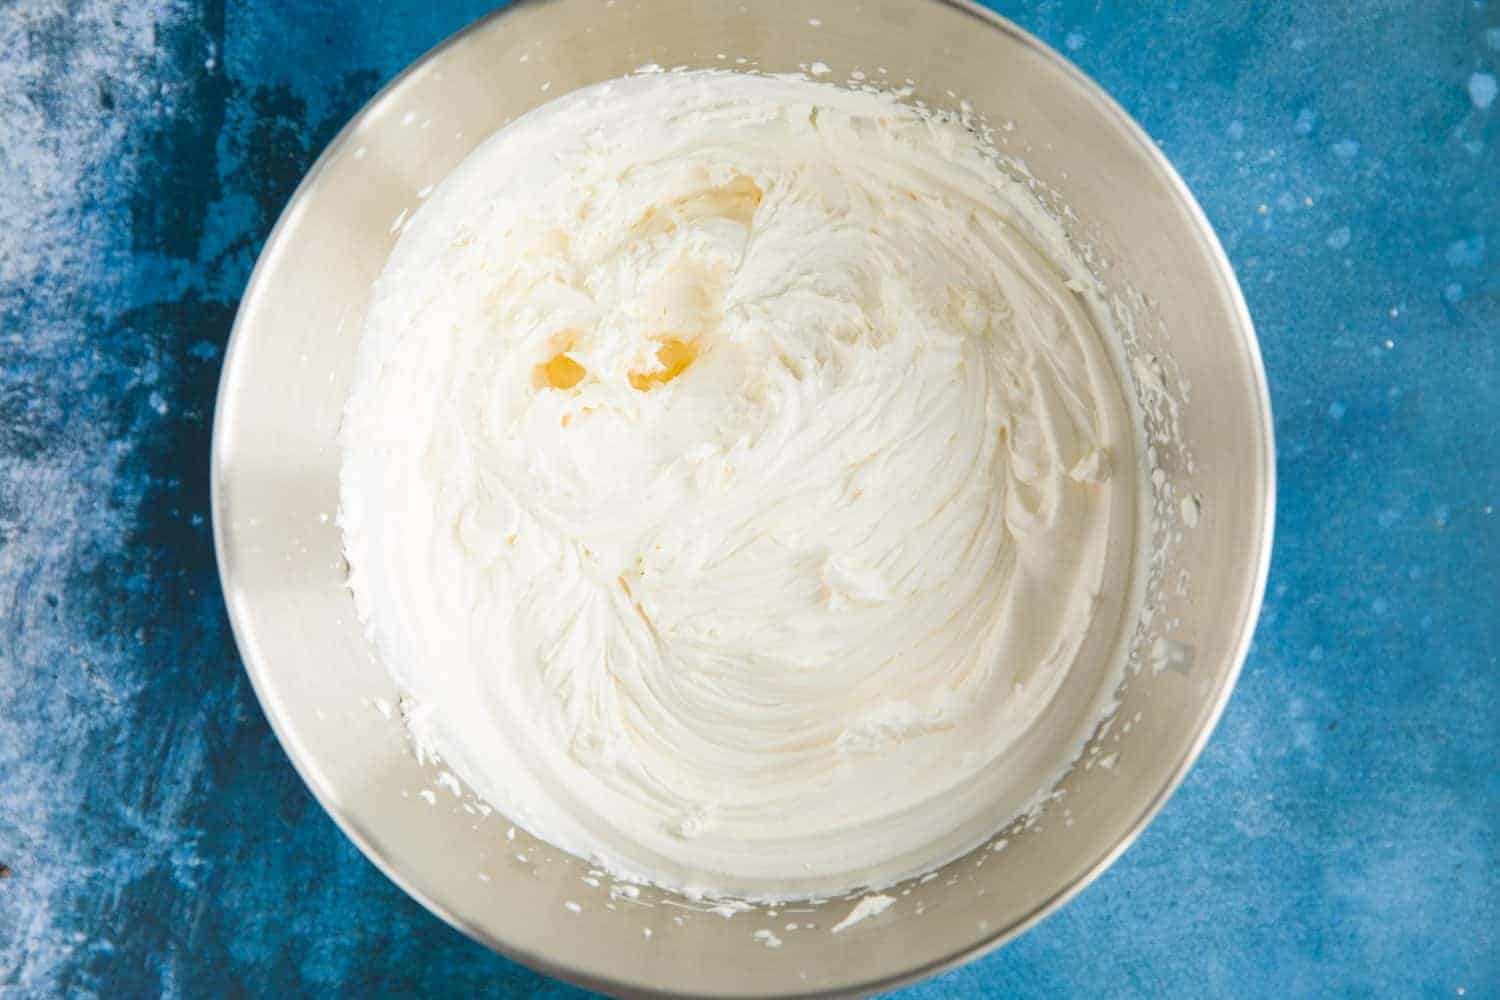
Step Four: To make the Oreo cheesecake filling, add room temperature cream cheese and caster sugar into a large mixing bowl and beat until combined. Add the lemon juice and vanilla extract and beat again for 30 seconds or so.
Step Five: Crush the Oreos in a food processor or in a ziplock bag then tip them into the cream cheese mixture and mix thoroughly.
Step Six: In a separate bowl whisk the double cream to stiff peaks.
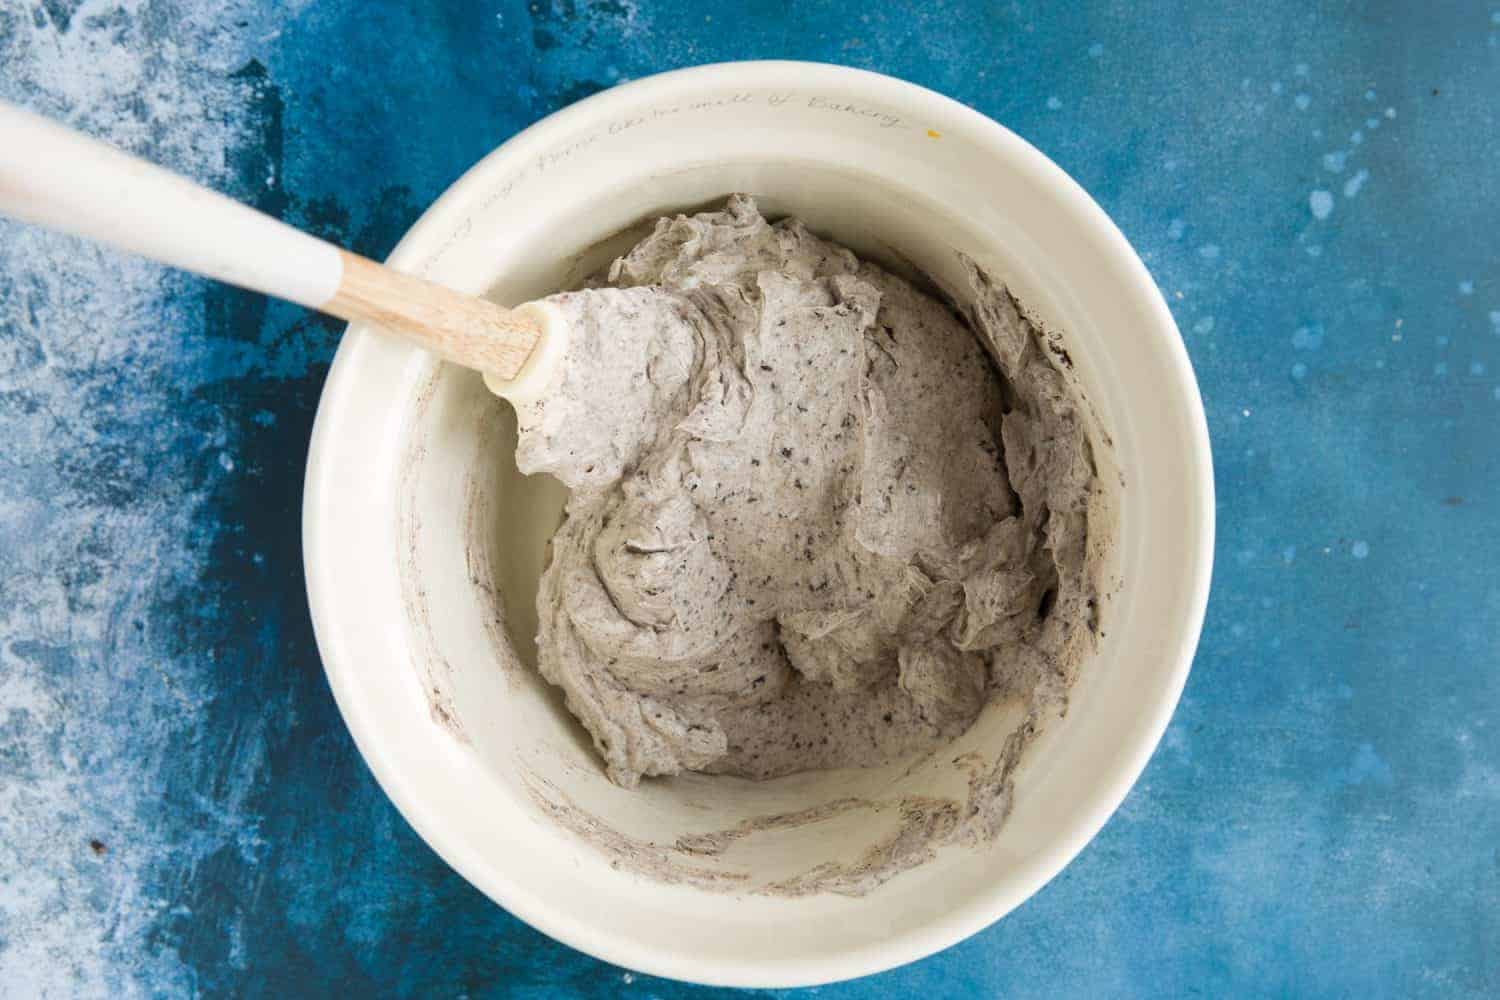
Very gently fold the whipped cream into the cream cheese mixture.
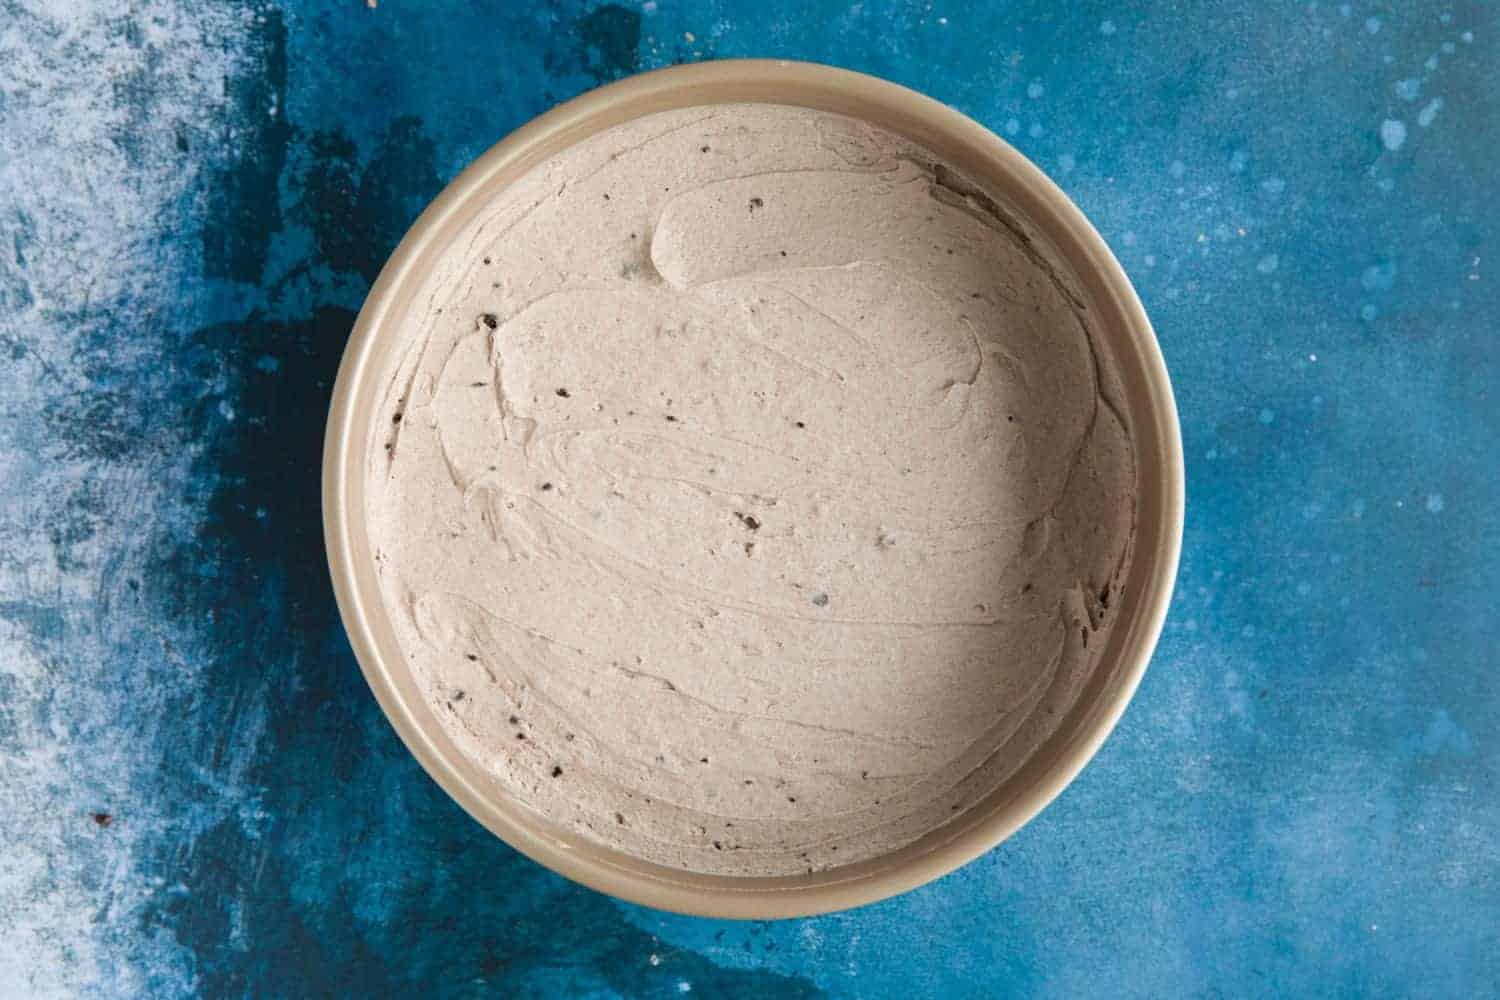
Step Seven: Transfer the cheesecake filling on to the top of the biscuit base.
Smooth the filling with the back of a spoon.
Step Eight: Put the cheesecake into the fridge for at least 6 hours (but preferably overnight) to set.
Step Nine: When the Oreo Cheesecake has set and you're ready to decorate, whip the double cream and icing sugar until it's softly whipped.
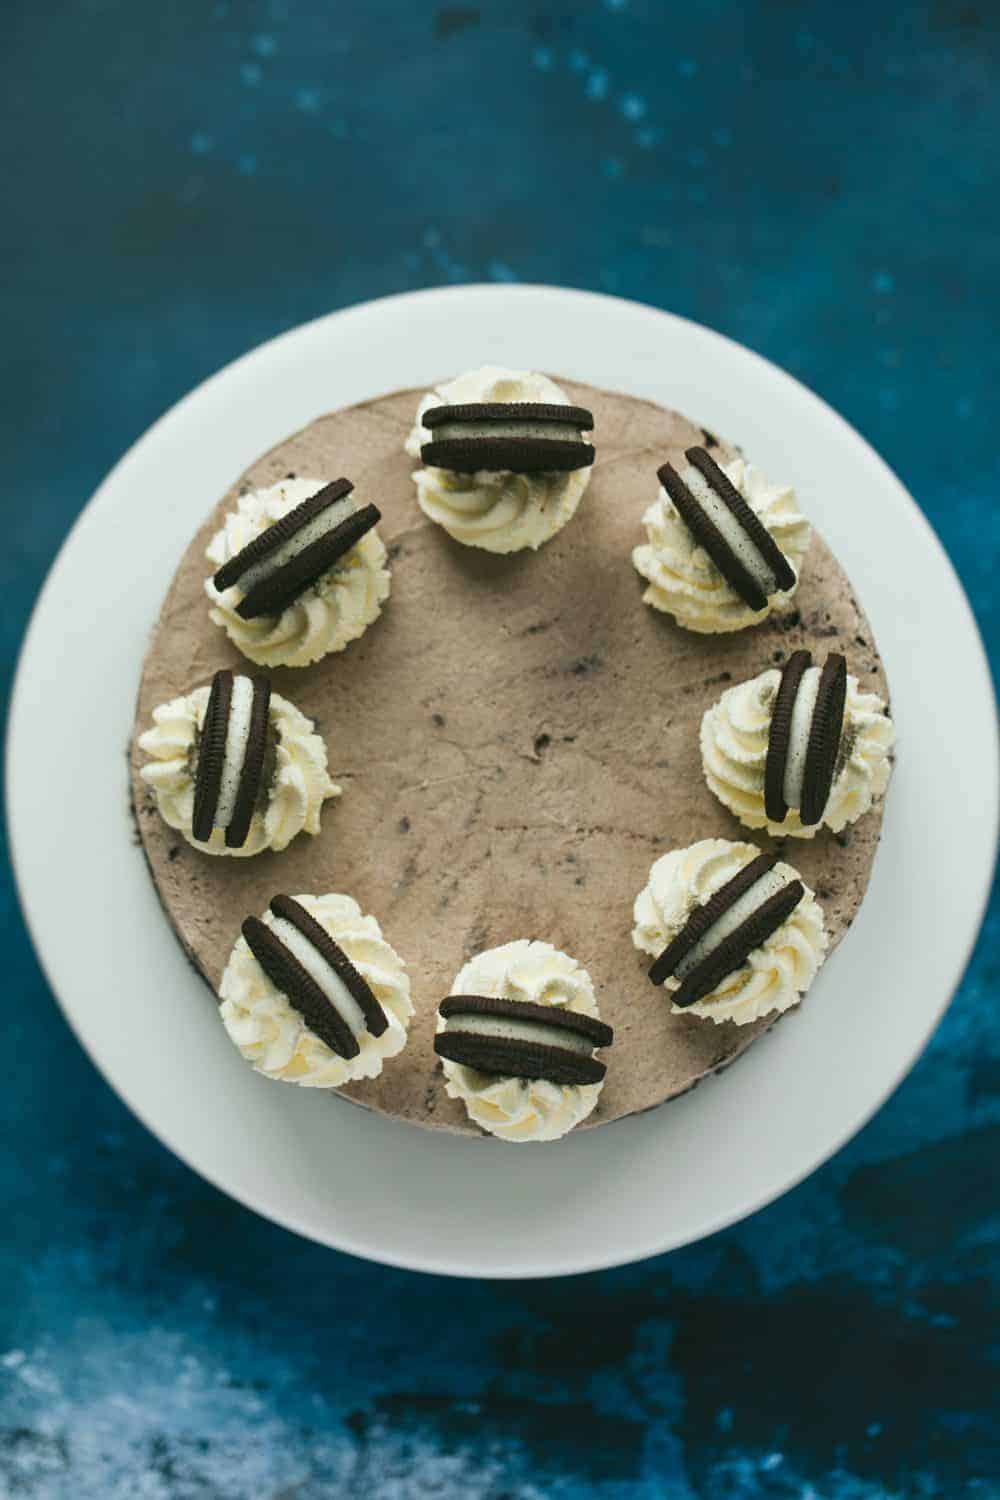
Put the homemade whipped cream into a piping bag fitted with an open star nozzle and pipe swirls on top of the cheesecake.

Decorate each swirl with an Oreo and drizzle over chocolate sauce to serve.

Top Tips
- Use a 20cm loose-bottomed tin.
- Don't press too hard when you add the Oreo crust to the pan or it will set too hard and be difficult to remove.
- You can halve this recipe for a more "normal" sized cheesecake
- Always use room temperature full-fat cream cheese.
- Whip the double cream to stiff peaks BEFORE adding it to the cream cheese mixture.
- You will need to chill this cheesecake for at least 6 hours but overnight in the fridge is best. You could even make it 2 days in advance if you want to.
- To release the cheesecake from the base of your tin, run a sharp knife around the bottom edge of the cheesecake and ease it off the tin.
- To tidy up the edges of the cheesecake, smooth it with a sharp knife or a palette knife.
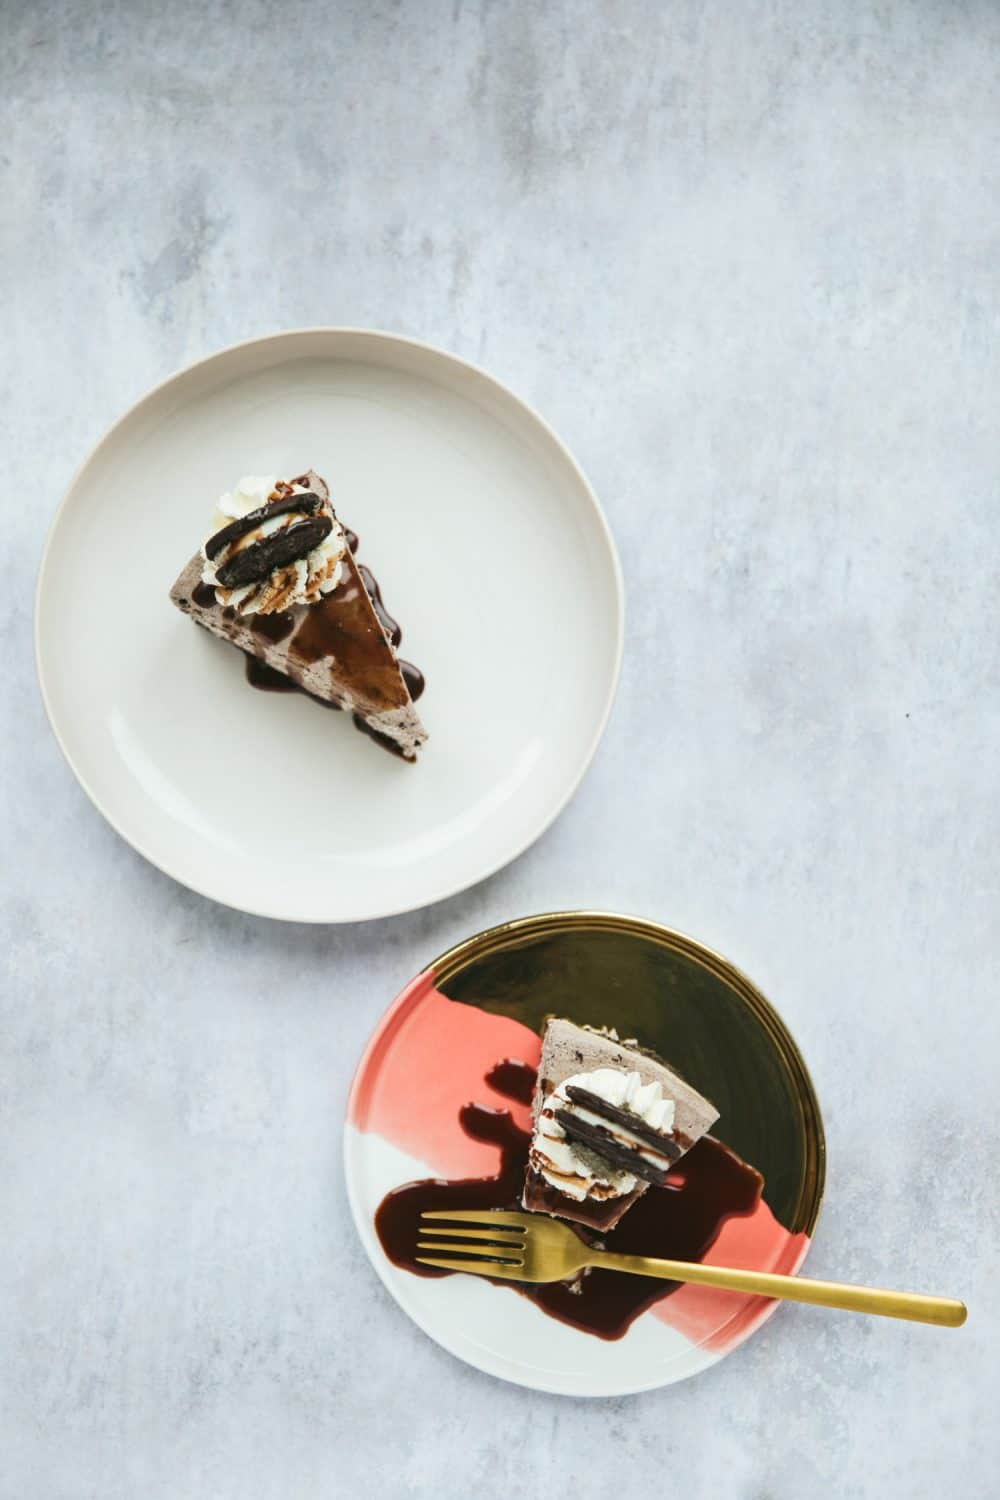
- Slice into pieces using a knife sharp enough to cut through the base so it doesn’t break.
- Storage: leftovers should be stored in the fridge and will keep for 3-4 days. Oreo Cheesecake freezes well (without any decoration) for up to 3 months.
FAQ
Double cream is the UK equivalent of heavy or whipping cream it has 48% fat. However, I believe that in the US whipping cream is around 35% fat and 38% fat in Canada.
If the cream you’re using doesn’t have a high enough fat content then you’ll end up with a soupy mess.
Look for cream with a high fat content or substitute for cool whip.
You can also reduce the whipping cream to 300ml (1 ¼ cups) Increase the cream cheese to 680g (3 8 ounce blocks) and add 60g (¼ cup) sour cream.
The double cream probably wasn’t whipped enough or it didn’t have a high enough fat content (see question above) or you didn’t use full-fat cream cheese.
Unfortunately, Oreos are not gluten-free as they contain wheat.
This recipe is vegetarian as gelatine is not used as a setting agent.
There are 609 calories in one slice of this Oreo Cheesecake.
Yes, Oreo Cheesecake freezes well (without decoration) for up to 3 months.
More Tempting No-Bake Cheesecake Recipes

Oreo Cheesecake Guaranteed To WOW Your Guests!
Incredible No-Bake Oreo Cheesecake with an Oreo crust and silky smooth Philadelphia, double cream and crushed Oreo filling. Topped with sweetened whipped cream swirls, double stuffed Oreos and a drizzle of hot chocolate sauce. This is the ultimate indulgent dessert guaranteed to WOW your guests.
Ingredients
For the base
- 250 g Oreos
- 100 g unsalted butter, melted
For the filling
- 520 g Philadelphia cream cheese, at room temp (1x340g tub and 1x180g tub)
- 100 g caster sugar
- juice of half a lemon
- 1 teaspoon vanilla extract
- 154 g Oreos, crushed (1 packet)
- 450 ml double cream
To decorate
- 150 ml double cream
- 8 Oreos
- drizzle chocolate sauce
Instructions
- Crush the Oreos into fine crumbs in a food processor or put them into a ziplock bag and bash them up with a rolling pin.
- Melt the butter in the microwave and pour it into the Oreo crumbs mixing well until fully combined.
- Tip the Oreo mixture into a 20cm 8-inch loose-bottomed tin. Press the crumbs down with a measuring cup, the back of a spoon or use your fingers.
- To make the Oreo cheesecake filling, add room temperature cream cheese and caster sugar into a large mixing bowl and beat until combined. Add the lemon juice and vanilla extract and beat again for 30 seconds or so.
- Crush the Oreos in a food processor or in a ziplock bag then tip them into the cream cheese mixture and mix thoroughly.
- In a separate bowl whisk the double cream to stiff peaks. Very gently fold the whipped cream into the cream cheese mixture.
- Transfer the cheesecake filling on to the top of the biscuit base. Smooth the filling with the back of a spoon.
- Put the cheesecake into the fridge for at least 6 hours (but preferably overnight) to set.
- When the Oreo Cheesecake has set and you're ready to decorate, whip the double cream and icing sugar until it's softly whipped. Put the homemade whipped cream into a piping bag fitted with an open star nozzle and pipe swirls on top of the cheesecake. Decorate each swirl with an Oreo and drizzle over chocolate sauce to serve.
Notes
Note: You can mix the ingredients with an electric handheld mixer, a free-standing mixer or you can mix by hand. The most important thing is to get the double cream to stiff peaks before you fold it into the cream cheese mix.
Storage: leftovers should be stored in the fridge and will keep for 3-4 days. Oreo Cheesecake freezes well (without any decoration) for up to 3 months.
Nutrition Information:
Yield: 12 Serving Size: 1 gramsAmount Per Serving: Calories: 609Total Fat: 48gSaturated Fat: 27gUnsaturated Fat: 0gCholesterol: 134mgSodium: 351mgCarbohydrates: 41gFiber: 1gSugar: 27gProtein: 6g


Leave a Reply